How to Crop and Straighten in Lightroom- Easy Way
Nowadays, we have digital cameras with higher Megapixels. It is a blessing in disguise, even though it has some disadvantages. The high-resolution photos allow us to crop the image without losing details. Sometimes, you are forced to crop the image due to many reasons. It may be for getting a good Image composition, for a tight portrait of the subject, or to convert the image into a different Aspect ratio. So, whatever be the reason, in this article, I will teach you how to Crop and Straighten in Lightroom.
How to Crop and Straighten in Lightroom?
I will explain the whole process of cropping and straightening an image in Lightroom.
1. Import Image

Open Adobe Lightroom. I will be using Adobe Lightroom Classic CC for this image crop tutorial. You can use the same tutorial for other versions of Lightroom also. Import the photo to crop.
Hit the “D” button to take the image for editing in Develop module. I will use one of my pictures of Rock bunting bird.
2. Crop and Straighten Tool Selection
I have captured this image in the Landscape orientation with a 3:2 aspect ratio. But, I want to crop the image in Portrait orientation to avoid the negative space on the right side with a 4:5 aspect ratio.
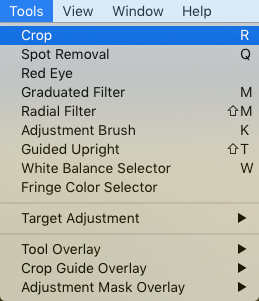
Select the “Crop” option from the “Tools” Dropdown menu from the top toolbar. Otherwise, you can press the “R” button to enable the crop option in Lightroom.
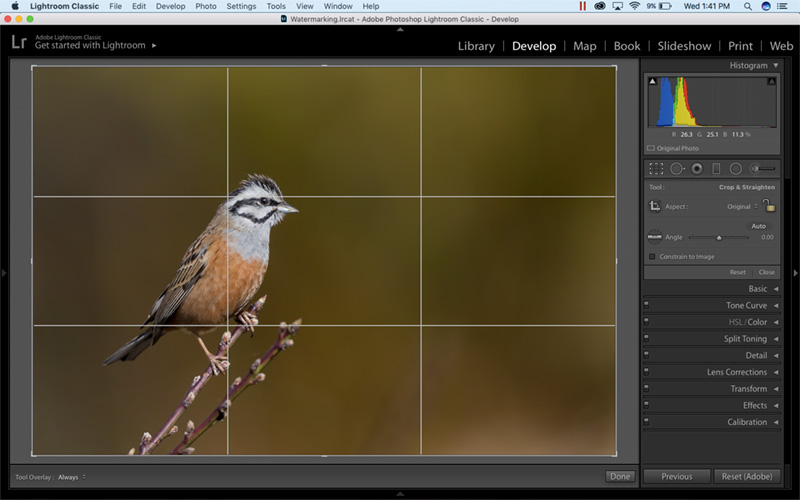
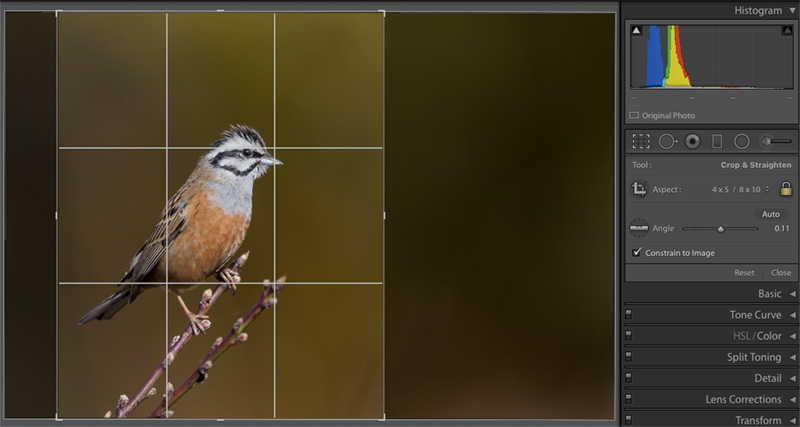
3. Crop Box Adjustments on Image Window
Now, you can see that a transparent 3×3 grid overlay box on top of the picture. It is the crop box. When you move the mouse pointer to the corners or edges of the photo, the pointer icon changes.
You can press & hold the mouse around the edges and corners to vary the crop box size according to your choice.
4. Crop Adjustments in Tools Panel
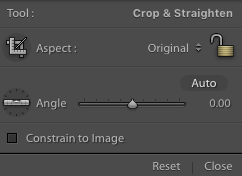
You can also find the Crop and Straighten option in the right side editing window. Here, you have the option to select the Aspect ratio. The original aspect ratio will be there by default.

You can click on this “Original” to change the aspect ratio of your choice.
I will choose the 4:5 aspect ratio for this picture. It also provides you with the option to crop the photo with image resolution.
5. Landscape vs Portrait Orientation
If you want to change the Landscape orientation to portrait, then press and hold the mouse pointer on any of the photo corners.
Move the pointer horizontally; the box will get converted to portrait orientation. You can move the pointer vertically to change portrait to landscape.
6. Move the Crop Box
You can move and position the crop box to achieve the perfect crop.
When you move the mouse pointer inside the crop box, the pointer icon changes to hand icon. Now, you can press and hold the mouse button and move the crop box.
Hit “Enter” to complete the crop.

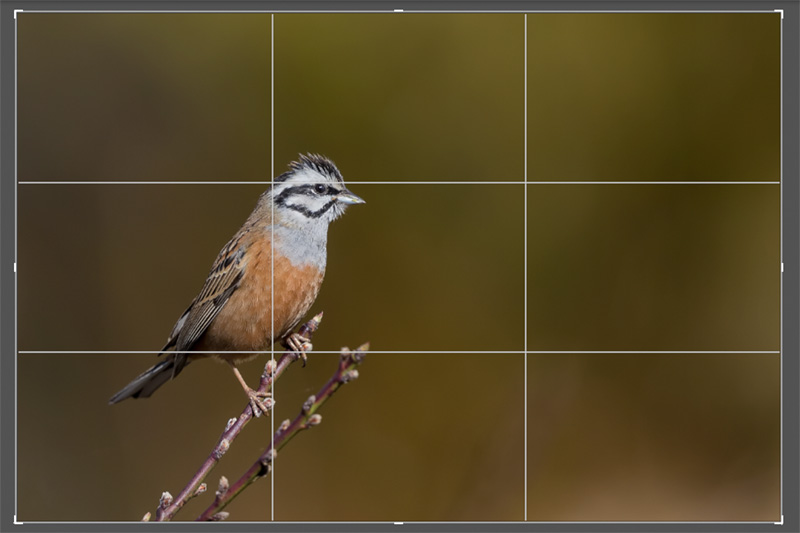
Image After Crop in Lightroom
7. Straighten Image
You can either use the “Angle” slider option in the right-side edit window or use the mouse to straighten the image.
I recommend using the mouse to get a perfect alignment when you straighten.
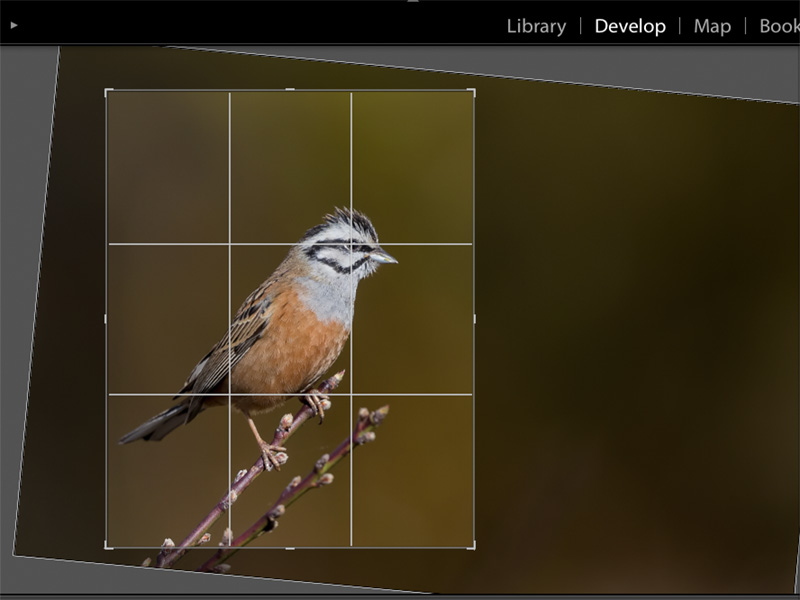
Move the mouse pointer just below any of the edges or corners of the picture to get the straighten option. Press and hold the mouse pointer in the required direction to straighten the image.
Hit “Enter” once you are satisfied with the alignment.
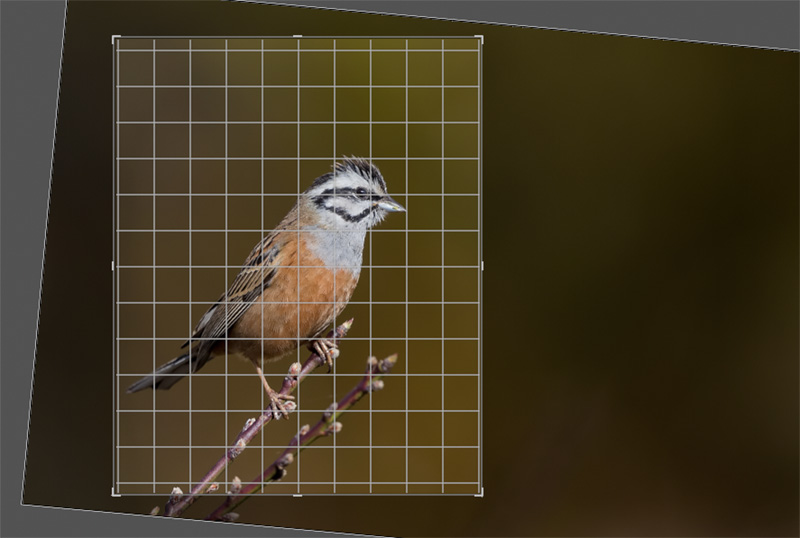
When you are doing this, the whole crop box gets divided into smaller boxes with horizontal and vertical lines. These lines help to achieve a perfect levelled alignment while straightening.

Image after straighten in Lightroom
Conclusion
Now, you know how to Crop and Straighten in Lightroom.
It helps in the image composition process. So, start using the crop tool and create beautiful pictures.