
Mastering the Flambient Technique: Shoot Interior Photography Like a Pro
Interior photography looks deceptively simple. A beautifully designed room may appear bright, balanced, and naturally lit to the eye, but capturing that same scene with a camera can be surprisingly difficult. Windows become completely blown out, dark corners lose detail, artificial lights introduce strange color casts, and flash can make a room look flat or obviously lit.
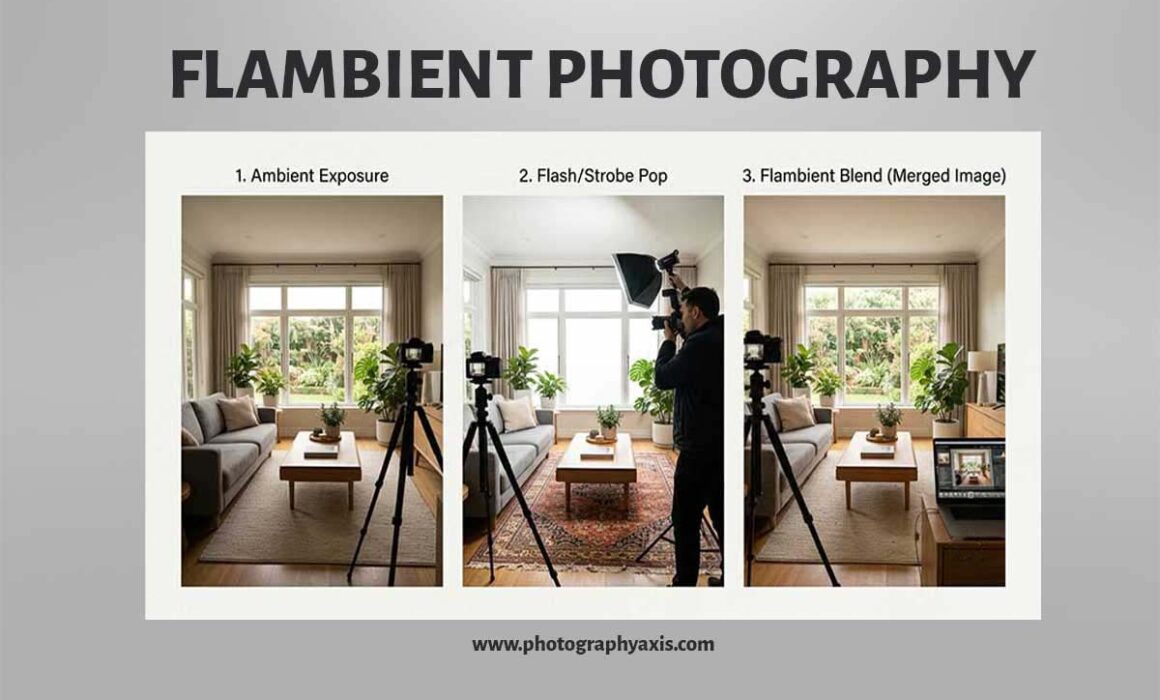
Professional interior photographers often solve these problems by combining multiple exposures rather than trying to capture everything in a single photograph. One of the most effective techniques is known as Flambient photography—a workflow that combines flash and ambient exposures and blends them together during post-processing.
The goal isn’t simply to make a room brighter. The goal is to create an image that looks natural while maintaining clean window views, accurate colors, controlled highlights, and enough detail throughout the room.
What Is Flambient Photography?
The word “Flambient” combines Flash and Ambient.
The technique typically involves photographing the same interior scene using several exposures:
- An ambient exposure captures the natural light and overall atmosphere of the room.
- A flash exposure provides clean, controlled illumination and helps neutralize difficult color casts.
- Additional exposures may be taken specifically for windows or bright exterior views.
These images are then blended together in software such as Photoshop.
The important idea is that you don’t expect one exposure to do everything.
A room may have a bright window, a dark sofa, warm ceiling lights, and daylight entering from outside—all within the same frame. The camera cannot always capture these different brightness and color levels as naturally as the human eye can.
Flambient photography gives you separate exposures for different parts of the scene and allows you to combine their strengths.
Step 1: Prepare the Room Before Shooting
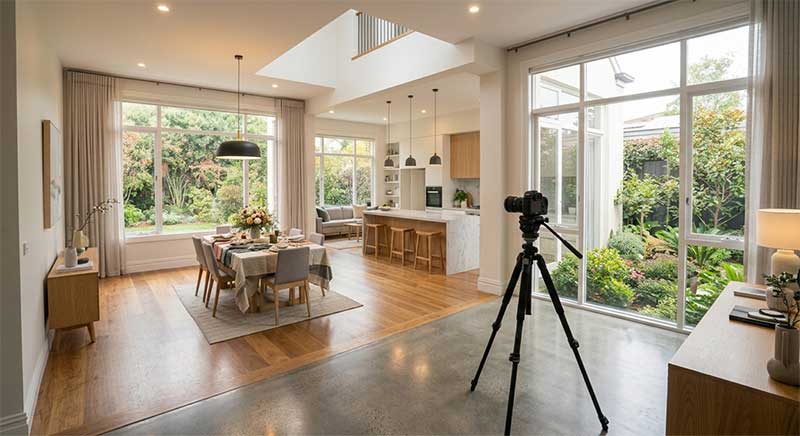
Before touching the camera, prepare the room.
Small distractions become much more noticeable in a professional interior photograph. Remove unnecessary objects from countertops, straighten furniture, hide visible cables, and make sure cushions, curtains, and decorative items are arranged neatly.
Turn on practical lights such as lamps and ceiling fixtures if they contribute positively to the scene. However, be aware that household lights often have a different color temperature from daylight entering through the windows.
This difference in color temperature is one of the main reasons interior photography can look unnatural.
Take a few minutes to inspect the room from different viewpoints. Look for the angle that shows the strongest features of the space while minimizing clutter.
Step 2: Set Up Your Camera on a Tripod
A tripod is essential for a controlled Flambient workflow.
Because you’re going to combine multiple exposures, the camera must remain in exactly the same position. Even a small movement between frames can make masking and blending significantly more difficult.
Use a sturdy tripod and position the camera approximately at chest height or slightly lower, depending on the room and desired perspective.
Keep the camera level whenever possible.
One of the most common mistakes in interior photography is allowing vertical lines to converge dramatically. Walls, door frames, cabinets, and architectural features should generally remain vertical.
Use your camera’s electronic level or grid display to help maintain alignment.
A wide-angle lens is often useful for interiors, but avoid going excessively wide simply to make the room appear larger.
Step 3: Shoot the Ambient Exposure
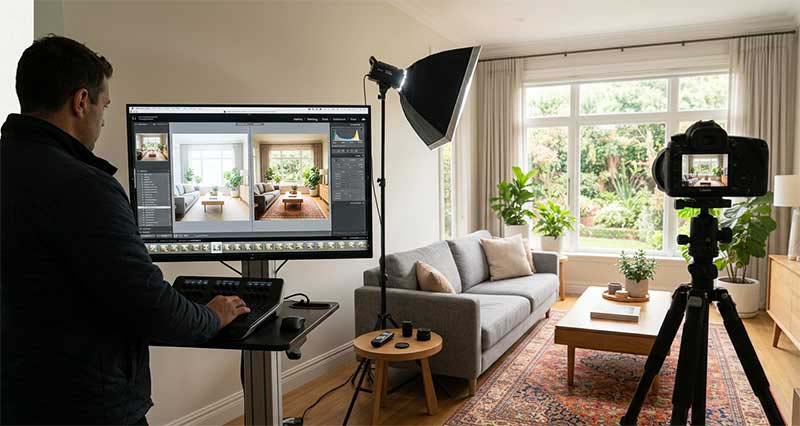
Start with your ambient exposure.
This photograph records the natural lighting conditions of the room. It provides information about the areas that may be difficult to reproduce with flash, including subtle light gradients, reflections, and the atmosphere created by daylight.
Set the camera to manual exposure so that the settings remain consistent throughout the sequence.
A typical starting point might be:
- ISO 100–400
- Aperture around f/7.1–f/11
- Shutter speed adjusted according to the available light
- Manual white balance
The exact settings will depend on the camera, lens, room, and lighting conditions.
The relatively narrow aperture helps maintain depth of field, which is important when photographing rooms where objects at different distances need to remain sharp.
Because the camera is on a tripod, you can use a slower shutter speed when necessary. There is no need to increase ISO simply to maintain a handheld shutter speed.
Step 4: Capture a Dedicated Window Exposure
Windows are often the biggest challenge in interior photography.
The inside of a room may be several stops darker than the outdoor scene visible through the window. If you expose for the room, the window may become a bright white rectangle. If you expose for the window, the interior can become extremely dark.
Instead of trying to solve the problem with one exposure, take a separate exposure specifically for the windows.
Lower the exposure until you can clearly see the exterior view through the glass.
This exposure doesn’t need to look good as a complete photograph. It only needs to contain useful information for the window area.
Later, that portion can be blended into the final image.
Step 5: Introduce the Flash
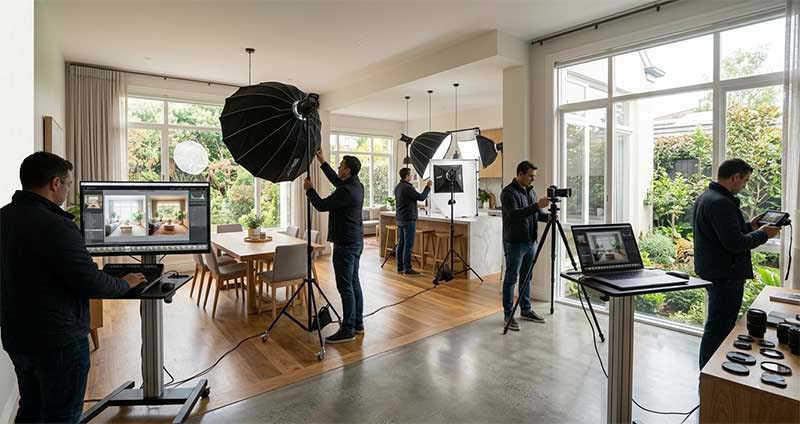
Now comes the “Flambient” part.
For the flash exposure, use a strobe or powerful speedlight to illuminate the interior.
Rather than pointing the flash directly at the room, many photographers bounce it off a wall or ceiling. This creates a much larger apparent light source and produces softer illumination.
A common approach is to position the flash so that it illuminates the room indirectly.
For example, you might point the flash toward a nearby wall or ceiling and allow the reflected light to spread throughout the space.
The objective is not to create dramatic shadows. Instead, you’re creating a clean, controlled lighting layer that can be blended with the ambient photograph.
Step 6: Take Multiple Flash Frames When Necessary
One flash position may not illuminate the entire room evenly.
Large spaces, kitchens, open-plan living areas, and rooms with complicated layouts may require several flash exposures.
Keep the camera completely stationary and move the flash between exposures.
For example, you might capture one frame with the flash illuminating the left side of the room and another illuminating the right side.
You can then blend the strongest portions of each exposure in Photoshop.
This approach provides considerably more control than trying to overpower the entire room with one extremely powerful flash.
Step 7: Pay Attention to Reflections
Reflections are one of the biggest technical challenges when using flash indoors.
Mirrors, windows, glossy cabinets, televisions, polished floors, and glass furniture can reveal the position of your flash.
Before taking the flash exposure, inspect reflective surfaces through the viewfinder.
If the flash or its reflection is visible, change its position or angle.
Sometimes moving the light only a small distance is enough to eliminate the reflection.
You can also use multiple flash positions and later mask the cleanest areas together.
Step 8: Blend the Exposures in Photoshop
Once you have your ambient, flash, and window exposures, import them into Photoshop as layers.
Make sure all images are aligned.
The ambient layer can provide the natural overall appearance of the room. The flash layer can be used selectively to improve color, contrast, and detail. The window exposure can provide the properly exposed exterior view.
Add layer masks and gradually reveal the useful areas of each exposure.
Avoid blending everything at 100 percent.
The best Flambient images usually contain a subtle mixture of exposures. If the flash layer is too dominant, the room may look artificially illuminated. If the ambient layer is too dominant, color casts and muddy shadows may remain.
Use soft masks and low-opacity brush strokes to transition between exposures.
Step 9: Correct Color Before Finalizing
Color correction is critical.
Interior scenes often contain several different light sources:
- Daylight
- LED bulbs
- Incandescent lamps
- Fluorescent lighting
- Flash
These sources can have very different color temperatures.
A room can therefore contain blue areas near windows and orange areas under artificial lighting.
Use your flash exposure as a useful reference for establishing a cleaner, more neutral color balance. Then selectively blend it with the ambient exposure.
Pay particular attention to white walls, ceilings, kitchen cabinets, and other neutral surfaces. If these surfaces have obvious blue, green, or orange casts, the image may immediately feel unnatural.
Step 10: Keep the Final Image Natural
The biggest mistake in Flambient photography is over-processing.
The purpose of the technique is not to make the room look as though it was photographed in a studio.
The best result should feel believable.
Maintain natural-looking shadows. Don’t eliminate every dark area. Don’t make windows unnaturally bright. Avoid excessive HDR effects, aggressive clarity, and extreme saturation.
A professional interior photograph should make the viewer feel as though they are standing inside the room.
If you check images in any real estate photography directory, you will notice that most of the shots are using this technique.
The Key to Professional Results
Flambient photography is less about having extremely expensive equipment and more about controlling the light.
A basic setup consisting of a camera, wide-angle lens, sturdy tripod, and suitable flash can produce excellent results when the workflow is executed carefully.
The most important principle is to stop thinking of the photograph as a single exposure.
Instead, think of it as a collection of exposures, with each frame solving a specific problem.
The ambient exposure preserves the natural atmosphere. The flash exposure provides clean, controlled interior illumination. The window exposure preserves the exterior view. Additional flash frames can solve difficult lighting or reflection problems.
When these exposures are blended carefully, the final photograph can have the best qualities of all three: natural-looking light, accurate color, controlled windows, and excellent detail.
That is what makes Flambient photography such a powerful technique for professional interior and architectural photography.
