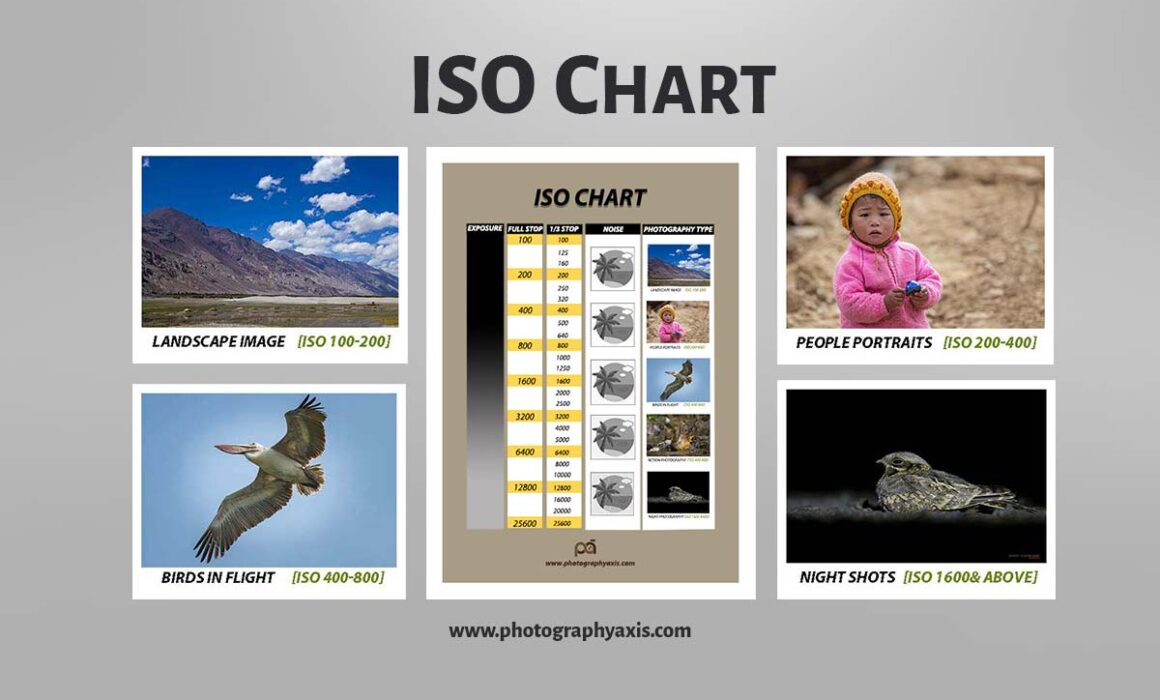
ISO Chart (Image Noise Chart) & How to Use It?
ISO is one of the three components that control the exposure of an image. So, it is the building block of a picture. If you are a beginner in photography, you may find it tough to control the ISO settings in your camera in different conditions, especially when you shoot in manual mode. The ISO chart (Image Noise Chart) can help you in this situation. I will share the ISO chart cheatsheet, which you can download for free and use during your shoots. It will help you to get better control over your camera’s ISO settings.
You can download and keep the ISO chart on your smartphone. Next time, when you are going for a shoot, you can use this cheatsheet to capture better images. I will also explain how you can use this chart during your shoots. Let us get started.
What is ISO Chart?
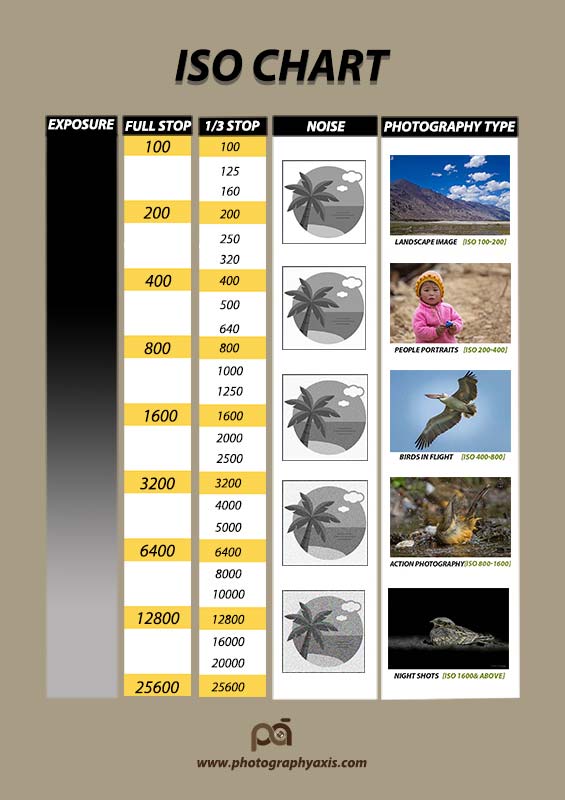
The ISO chart infographic is given above.
If you find it difficult to control the ISO in the camera to get the right image exposure, you can use this visual chart. The link to download the high-resolution version of the ISO chart is given at the end of this article.
The above infographics can be divided into 4 sections – Exposure, ISO Stops (Full Stop & 1/3 Stop), Noise, and Photography type.
Exposure
As you all know, the ISO is linked to the camera sensor. It is nothing but the amplification factor of the light falling in the camera sensor.
In the case of film photography, ISO is the part of the film, which is the recording medium. To change the ISO in a film camera, you need to change the film itself. For digital cameras, the ISO is associated with the camera sensor. You can easily vary the ISO digitally through a set of buttons in the camera.
ISO Stops
The cameras that allow you to set the ISO values will usually support full stops and 1/3 stops. Certain cameras will also allow you to switch the 1/3 ISO stops to ½ stops.
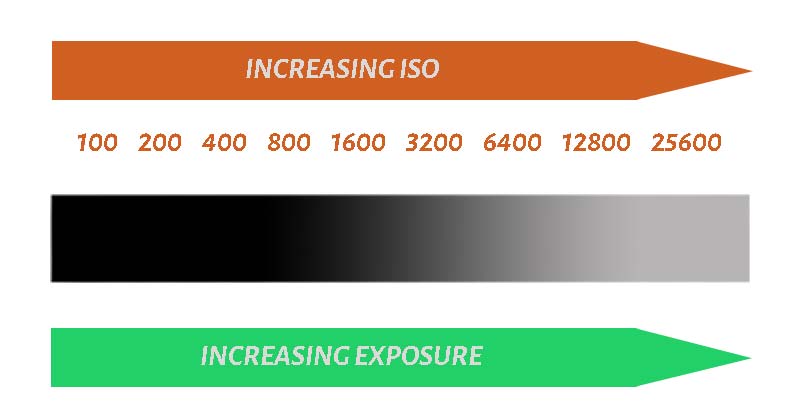
Full Stop

The full stop values of ISO in a typical camera are given above. Most cameras will come with a base ISO value of 100. Some cameras support a base ISO value lower than 100 also.
The ISO stop is said to be a full stop when the overall exposure of the image is doubled. For example, when you increase the ISO from 100 to 200, the image exposure will double. Here, you have increased the ISO by a stop by doubling the ISO value.
1/3 Stop
When you divide two consecutive full stops into 3 parts, each part is said to be 1/3 stop. For example, between ISO 400 and ISO 800, you will have ISO 500 and ISO 640. So, the image exposure will be increased by 1/3 stops when you move from ISO 400 to ISO 500. If you move to ISO 640 from ISO 400, then the exposure is increased by 2/3 stops.
Noise
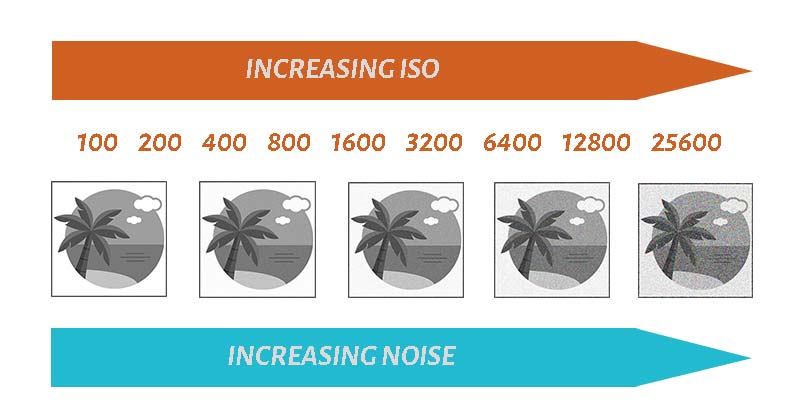
ISO and digital noise in the image are closely related. When you increase the ISO above a particular value, the digital noise increases. You can see it in the form of grains in the image.
In the ISO chart, you can see that the noise increase with the increase in ISO. The noise levels are usually tolerable up to 800 ISO. The grains start to show up after 800 ISO. This tolerance limit will be different for different types of cameras. It will be very high for medium format cameras, followed by full-frame cameras, crop cameras, and point and shoot cameras.
You can see the increase in noise for higher ISO values of 3200, 6400, 12800, and 25600. Some cameras do support ISO values above 25600.
As a photographer, you won’t be interested in capturing grains in your image. But there are situations where you will have to go for high ISO values that result in grains. You can remove this noise to an extent using photo editing software.
ISO Chart & Photography Type
Now, we will see how to use the ISO chart according to different photography situations.. Different types of photography demand different sets of ISO values. Two main factors that decide the ISO value are the lighting and motion of the subject.
Photographing Landscapes 🏞
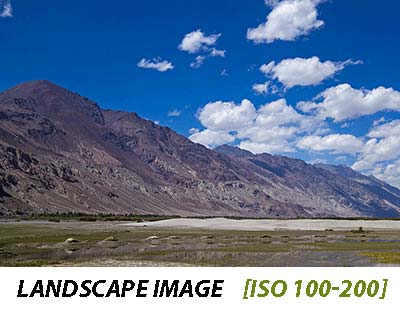
When you are photographing landscapes, you will be using a tripod. Here, you don’t have any issue of camera shake since you are not holding the camera handheld.
Most of the time, you will be having a good amount of light. It allows you to use ISO values of 100 or 200. You will be shooting at higher f-numbers to get a wider depth of field, for getting everything in focus.
Photographing People 👩🏻🌾
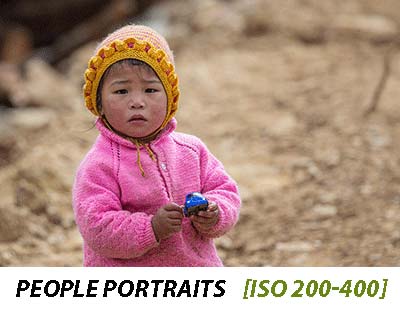
If you are shooting people, then you will be mostly shooting handheld. To get a good shutter speed and to nullify any camera shake, you will have to bump up the ISO slightly.
Here, you will be shooting wide open to get a nice background blur. ISO values between 200 to 400 will be a good choice for photographing people.
Photographing Birds in Flight 🦅
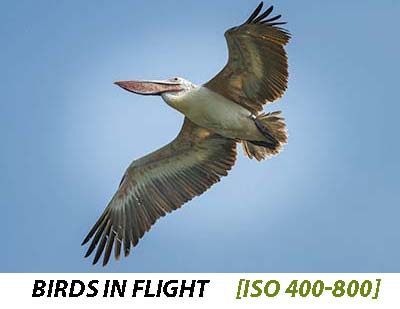
When you photograph birds in flight in bright daylight, you need to freeze the bird in the air. It demands the use of higher shutter speeds. You will be shooting with the aperture wide open.
So, a good amount of light will be entering the camera. Still, you will have to go with an ISO value between 400 and 800 to freeze the action. Otherwise, you may end up in a blurry image due to lack of shutter speed for the set exposure value.
For Action Photography 🚴🏻

If you are an action photographer capturing sports images or wildlife shots, then you need to freeze the motion of the subject. To get a good freeze with proper exposure, you need the right combination of shutter speed, aperture, and ISO.
You will have to go for the maximum aperture supported by the lens with a fast shutter speed. These two settings will demand high ISO values to get proper exposure with good freeze. So, you need to use ISO values in the range of 800 to 1600.
For Night Photography 🌌
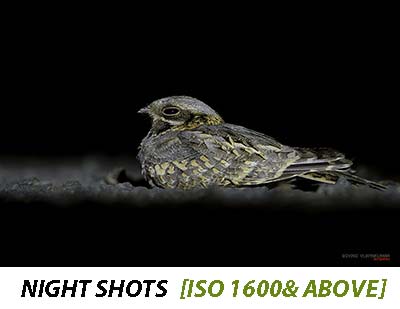
You will have less light to work with when you do night photography like capturing star trails, milky way, nocturnal animals, and birds. So, you need to bump up the camera ISO to a higher level in this situation.
You will have to go for an ISO of 1600 and above. I don’t recommend going for the Extended ISO range in your camera if your camera supports it. It will result in a very poor-quality image with lots of noise. It will be good if you can restrict the maximum ISO under 12800 for your night shots.
Minimum Vs Maximum ISO
If you look at the ISO chart, you can see that the lowest ISO value is 100, and the highest one is 25600. It does not mean that all cameras will have these two values as the minimum and maximum ISO values. The ISO range of a camera is fully dependant on the camera sensor and the firmware of the camera.
This ISO range of 100-25600 is present in most DSLR and Mirrorless camera bodies. Some camera bodies support a lower ISO value of 50 and higher values of 51200 and 102400. These higher ISO values are generally seen on high-end camera bodies.
You can download the high-resolution version of the ISO chart for free. The link is given below.
Final Thoughts 😎
There are no hard and fast rules when it comes to setting ISO values. These are some of the basic guidelines that will help to start your photography and capture good pictures. Once you have a sound understanding of the impact of ISO on your image, you can even go for higher ISO values and denoise the image during editing.
👉🏻 📖 READ MORE: F Stop Chart (Aperture Chart) Cheatsheet