Camera Metering Modes Explained
In this article, we will go through the different Camera Metering modes. It will help you to understand each mode, and after reading this, you will be able to set the right metering mode for different lighting conditions.
In the early days of photography, photographers made use of external light meters to get the incident light falling on the subject. Later, digital cameras came with inbuilt light meters. It has made life so easy for a photographer.
But, still, there are many photographers, who make use of a light meter to get the correct light reading on the subject. It is because, the camera’s inbuilt light meter will give you only the reflected light data, not the incident light.
So, if you use incident light for calculating your image exposure, then you will have to go for an external light meter.
Before starting, let us see, what Camera metering is all about.
What is Camera Metering?
Camera metering is one of the essential camera settings that help in correctly exposing the image. The inbuilt light meter in the camera reads the reflected light from the subject to calculate the exposure.
When you are shooting in Auto mode or semi-automatic modes like the Aperture Priority mode or Shutter Priority mode, then metering plays a vital role in getting the exposure settings.
But, when it comes to Manual mode then, metering is just the light meter reading, given as a feedback to the user, indicating where the exposure would be.
Different Camera Metering Modes
Light intensity varies from Shadows to Midtones to Highlights in different conditions. So, a single metering mode may not be sufficient to capture the scene in the desired exposure. Hence, multiple camera metering modes are enabled in the camera to help the photographer.
So, let us go through the different camera metering modes.
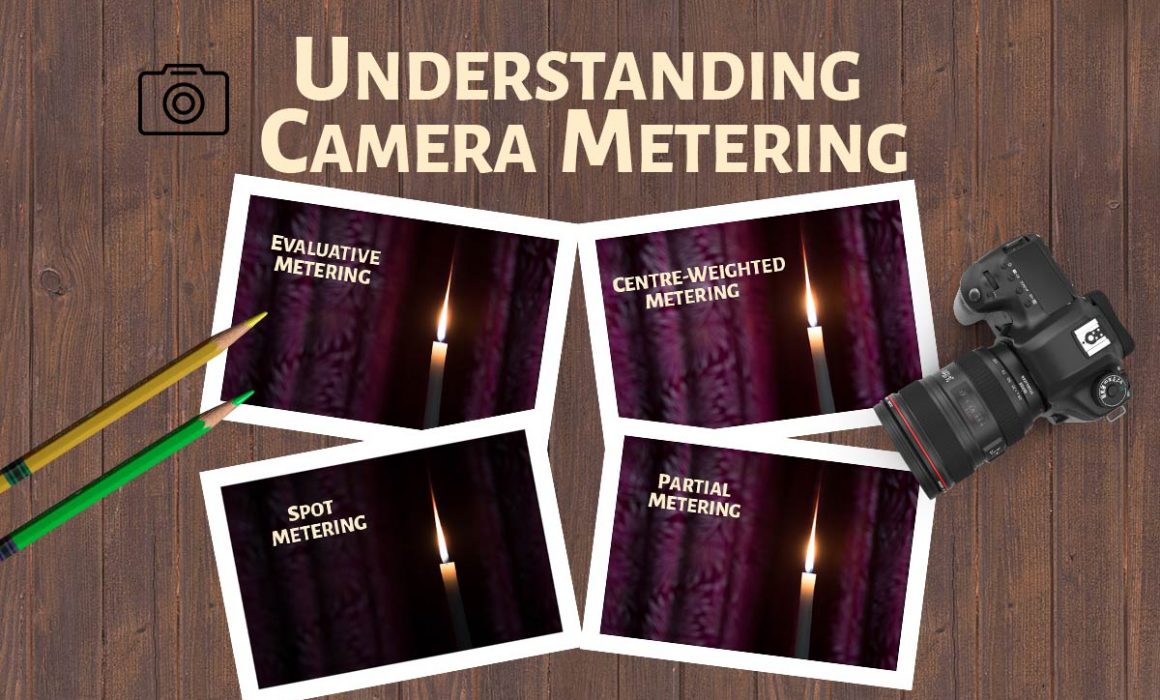
1. Evaluative/ Matrix/ Zone Metering Mode
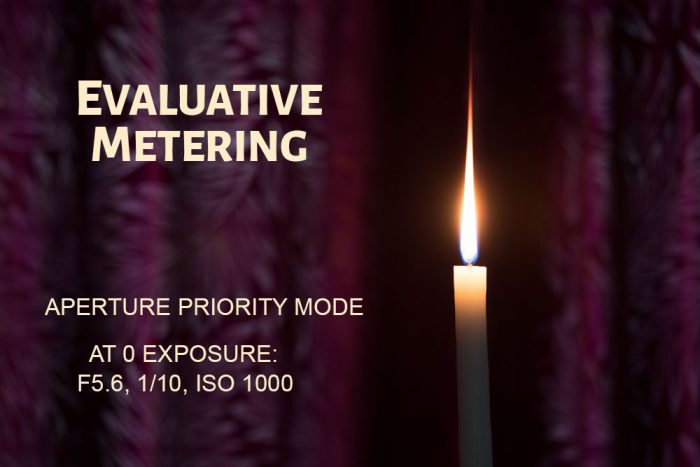
It is the most popular and commonly used metering mode in a camera. You will get the exposure right in 80% of the situation. So, you can set this metering mode to be the default one and change to other modes when required.
Here, the camera’s light meter takes the subject in focus into account along with the whole picture frame to calculate the exposure.
They are known by different names, according to various camera manufacturers. Evaluative metering in the case of Canon cameras and Matrix metering in the case of Nikon cameras.
2. Centre-Weighted Metering
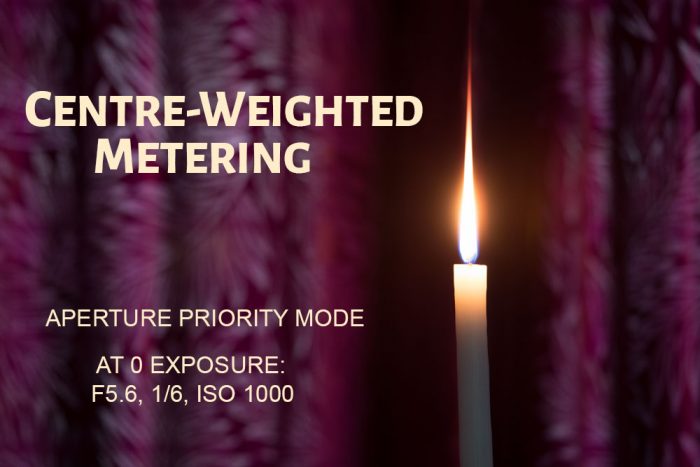
As the name suggests, Centre-weighted metering divides the frame into two zones, and it takes into account the centre portion of the frame for metering.
The rest of the frame is also considered into account for the metering. But the weightage will be more for the centre portion.
3. Spot Metering Mode
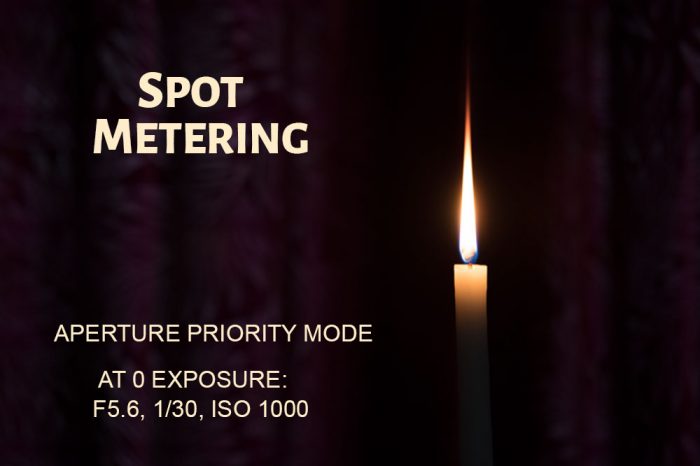
Spot Metering mode only takes 3 percent of the frame area to take the meter reading. So, you will get a precise reading from a small area in the scene.
In most of the cameras, this metering area will be around the active focus point.
4. Partial Metering Mode
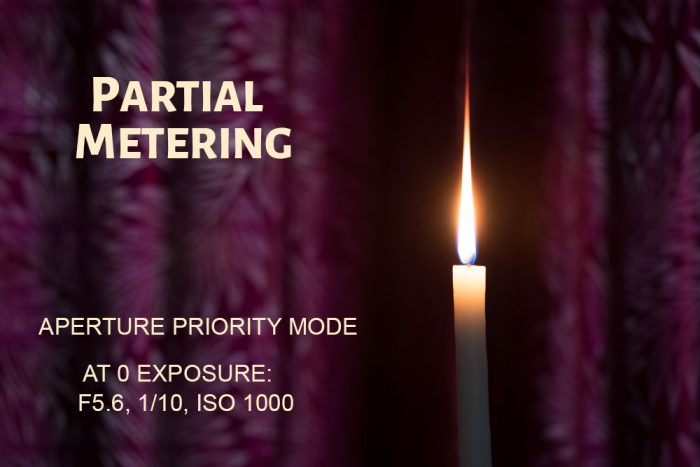
Partial metering is a kind of extended Spot metering, as it takes around 10 per cent of the area into account for metering.
Here also, this metering area will be around the active autofocus point.
Conclusion
Now, you know the different camera metering modes. So, start playing with each metering mode and see the change.