How to Deal with a High Contrast Image?
Exposing for high contrast images can be tricky. If we expose for the highlights then it will result in clipping details in shadows. Exposing for shadows will blow up the highlights.
What is a High Contrast Image?
Image in which the exposure difference between the darkest and the brightest areas are in the extremes is called a High Contrast image.
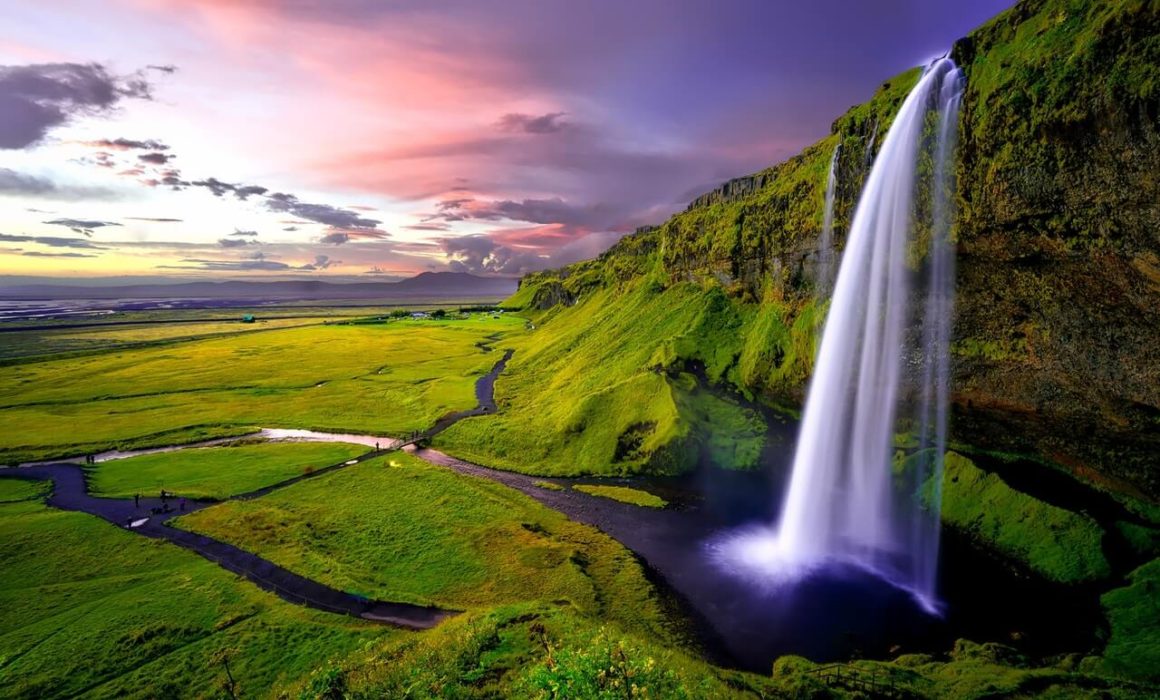
Example of a High Contrast Image
The best example of a high contrast scene is landscapes. All amateur photographers will try to expose for the foreground. This will result in whitewashing the sky. You will lose the sky details. If you expose for sky then foreground becomes dark.
How to expose For High contrast Images?
So, Let us see, how to deal with this situation?
1. Use Graduated ND Filters
Graduated ND Filters are the favorite filters for any landscape photographers out there. You can make use of the dark section against the sky. Thus, you can get a correctly exposed image. You can read Graduated ND Filters if you want to know more about it.
2. Exposure Bracketing
This is one of the best technique to deal with a high contrast image. You can photograph the same scene at multiple exposures using the auto exposure bracketing feature in your camera. You can stitch it later in Photoshop using HDR Merge feature.
By default, the camera takes 3 exposures, one underexposed image, one overexposed and zero exposure image and stitch these three together. Certain cameras allow you to take 5 or 7 images during bracketing.
3. Use In-camera HDR Mode
Certain DSLR cameras and point and shoot cameras come with an in-camera HDR mode. You can enable this mode in your camera and try shooting the scene. The camera will take multiple pictures at multiple exposures and stitch it using the in-camera software.
4. Fill in Flash Technique for Backlit Subjects
Another High contrast image situation is a backlit subject. If you are a portrait photographer then you would have definitely come across such situations.
If you expose for the Subject then the background will be blown up. Exposing for the background will make the subject dark. Here, the best technique is to fill in some light on the subject and expose for the background.
You can make use of fill-in flash technique here. This will ensure that the subject is lit. You can even make use of a reflector to bounce the light onto the subject.
5. Exposure Adjustment
You can even set the exposure somewhere in between so that the brightest portion becomes less bright and the darkest part becomes less dark. You need to shoot in RAW format.
The final captured image needs to be edited in any post processing tools like Lightroom or Photoshop for exposure correction. You can make use of the digital filters available in these tools for exposure correction.
Basically, you are applying the filters after capturing the image.
The dynamic range of the camera sensor is less when compared to that of a Human eye. This is the reason why it is not able to expose correctly for a high contrast image. So, understand the dynamic range of the camera. This would help in finalizing what technique to be used in such a situation.
Infographics: How to Deal with a High Contrast Image
