iBoysoft Data Recovery for Mac- In-Depth Review
As a photographer, you will have to deal with lots of data in the form of photos and videos. It demands lots of storage space. Hard Disk Drives, SSDs, and NVMes, are some of the popular photo storage options for a photographer. These storage drives can fail at any time because of the failure of electronics inside.
You will often have to use some recovery software to recover data from these drives. In this article, I will review the free version of the iBoysoft Data Recovery for Mac and see if it meets our expectations.
I will be testing it on my MacBook Air 2020 running Mac OS Monterey.
Installation of iBoysoft Data Recovery for Mac
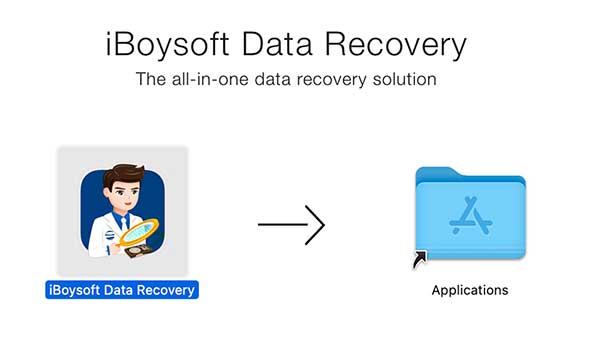
The installation process is relatively easy and does not take much time.
The size of the downloaded installation file is around 12.3 MB. So, it is pretty lightweight.
Recovery Tests with iBoysoft Data Recovery for Mac
I will try recovering data from the following storage options.
1. External HDD
2. Memory Card from Camera
3. Mac Hard Drive
4. External SSD
1. Recovery from Portable External Hard Disk Drive
I will do a full scan on a 2TB Seagate Portable Hard Disk Drive using the iBoysoft Data Recovery software.
1.1 HDD Selection
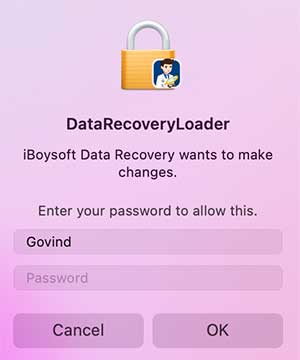
I will open the iBoysoft recovery application now. A new window called “DatRecoveryLoader” will pop up, asking to enter the password for the laptop. This window pops up every time you open this application.
After entering the password, it will take you directly to the application. There is no delay in loading this application.
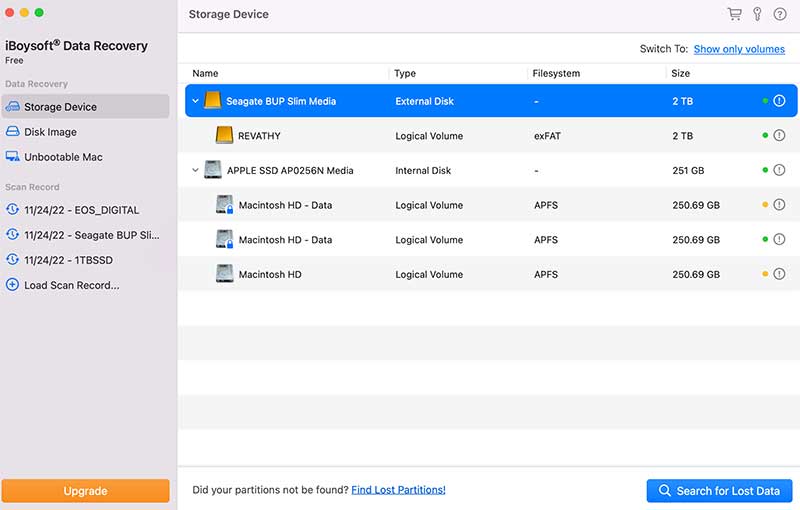
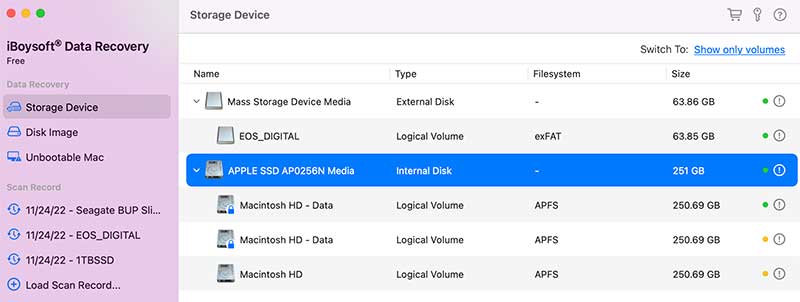
You can see all the storage drives listed in the application. I will select the “Seagate BUP Slim Media” which is the 2TB HDD.
1.2 Scanning
Now, I will click on the “Search for Lost Data” button to start the scanning process.
The scan happens at a pretty good speed. There is no lag or delay. Also, you can pause or stop the scan in between.
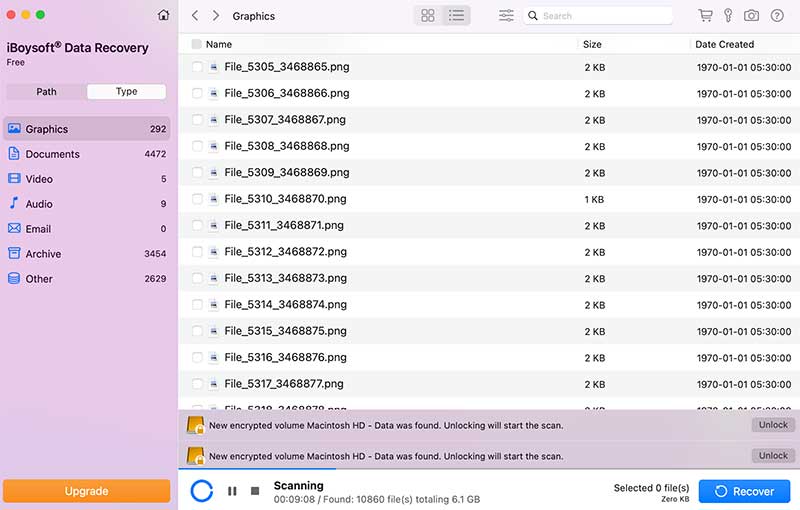
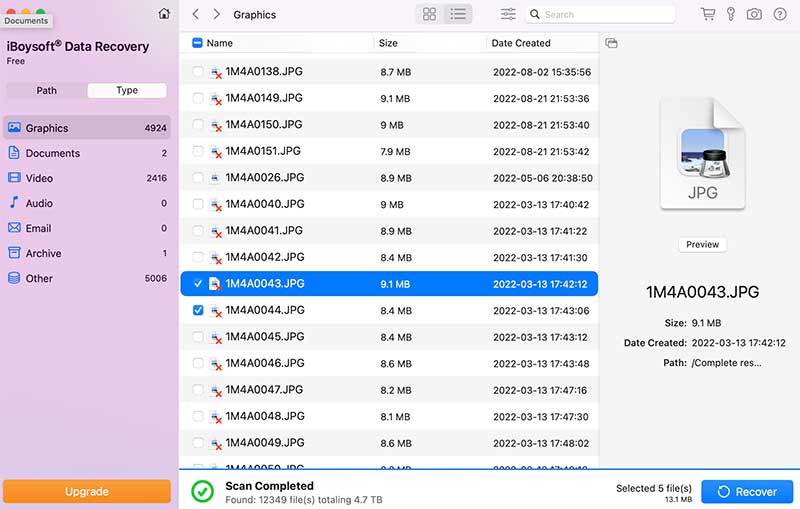
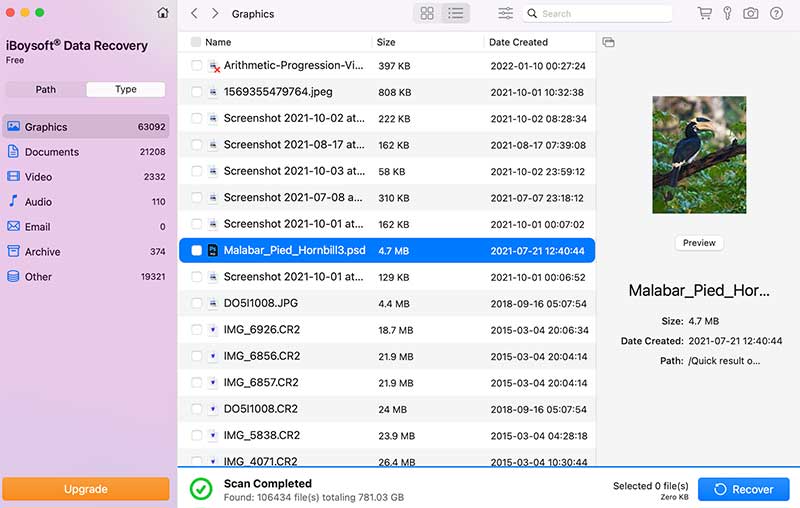
On the left-hand side, you can see the different file types and the number of each file type that the software has scanned and detected from the HDD. It is a handy feature to have for recovery software.
If you are only interested in retrieving a particular type of file, say video files, you can just click on the video and see the files.
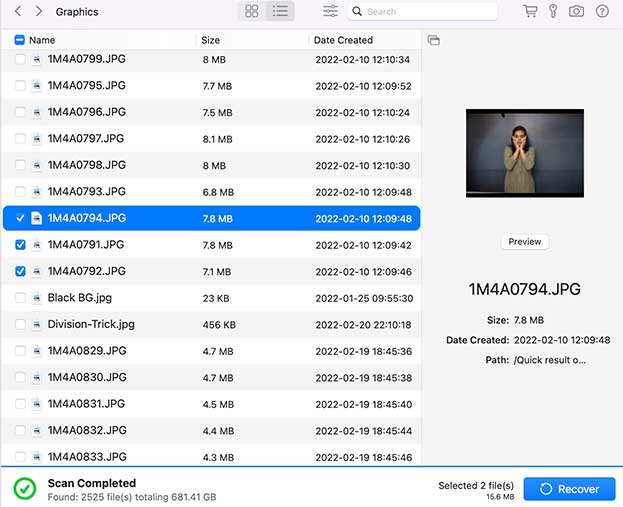
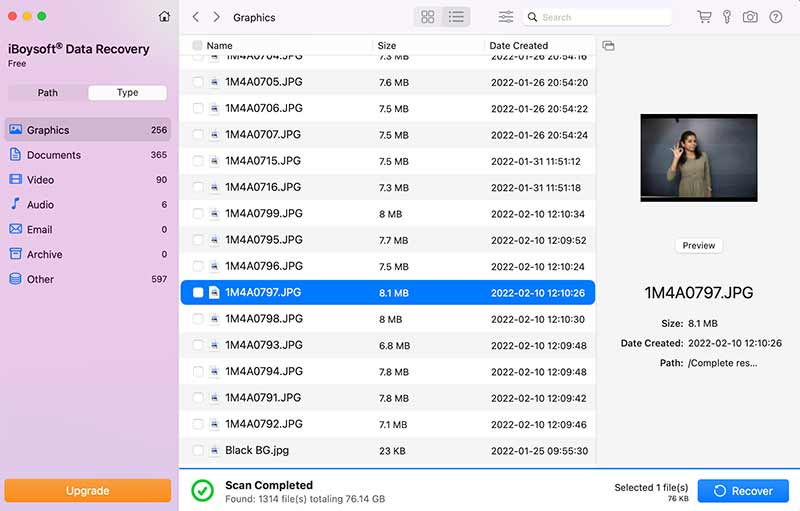 You can see the file preview on the right side window if you click on the file. So, if you are only interested in recovering certain files, this feature will be useful.
1.3 Recovery
You just need to select the checkboxes against the filename and hit the “Recover” button. Now, the application will ask you to select the destination location to recover the selected files.
You can choose the destination location and click the select button to start the recovery process.
One thing I observed here is that when I select 3 files, it shows “Selected 2 files” in the bottom panel. When I deselect one of these files, it will show 3 files.
If I go for 5 files, it shows 4 files. I hope they can fix this issue in any of their upcoming releases.
Only the selected files are restored. So you don’t need to worry too much about this.
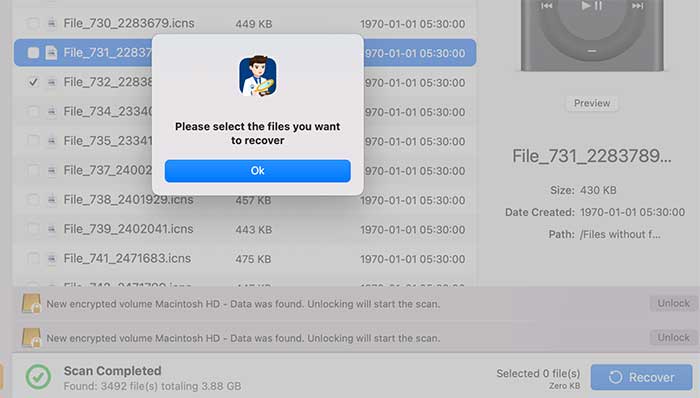
Also, when I select one file and click the Recover button, a window pop up telling me to choose the files, I want to recover. So, at least two files must be selected for recovery.
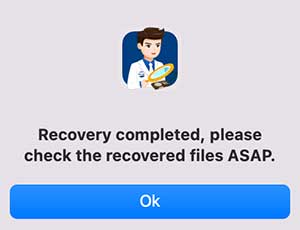
Once the recovery process is complete, you can see a notification from the application. This notification tells that the recovery is successful.
If you click “OK” on this notification, it will open the destination folder directly. I like this feature. You don’t have to browse and find the destination folder.
I tried opening the recovered images. The recovered files were intact. It was not corrupt or damaged.
2. Recovery from Mac Hard Drive
Now, I will try to recover some of the files from the SSD drive of my MacBook Air.
In order to do this scan, you need to give the necessary access to this application. After selecting the Mac storage section, a new window will pop up when you click the scan option.
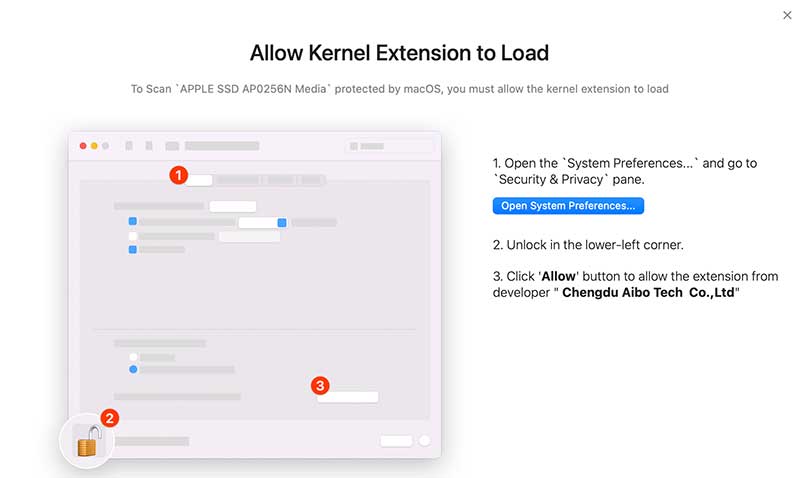
This window will show you how to give access.
You need to go to System Preferences > Security & Privacy.
Unlock the lock in the bottom left corner. You need to click Allow to give access to the “Chengdu Aibo Tech Co., Ltd.”
This procedure needs to be done only once.
Once you give this access, you can start the scanning. You can see a notification on the bottom screen now.
The free version of this software cannot scan the encrypted section of a hard drive. You need to buy the premium version to do this scanning. But you can scan and get the files from the non-encrypted part.
I tried recovering some deleted files from this section, and it was successful.
3. Recovery from the Memory Card of the Camera
I have deleted all the pictures and videos from the 64 GB SanDisk Extreme Pro SSD card.
Now, I will connect it to my MacBook Air and see if I can retrieve the deleted images using this software. The memory card is connected to the MacBook Air via a Card reader.
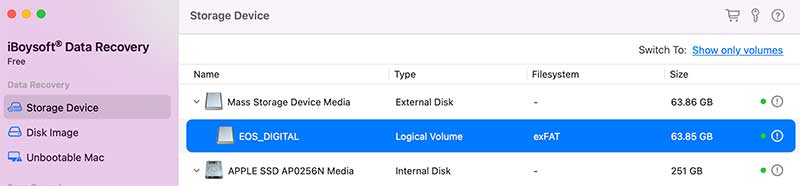
After opening the program, I can see the EOS_DIGITAL storage device in the last.
I will select this volume and click on the “Search for Lost Data” button.
It will start the scanning process.
You cannot see the file preview while the scanning is happening. The preview will be available only after the scan is complete or stopped.
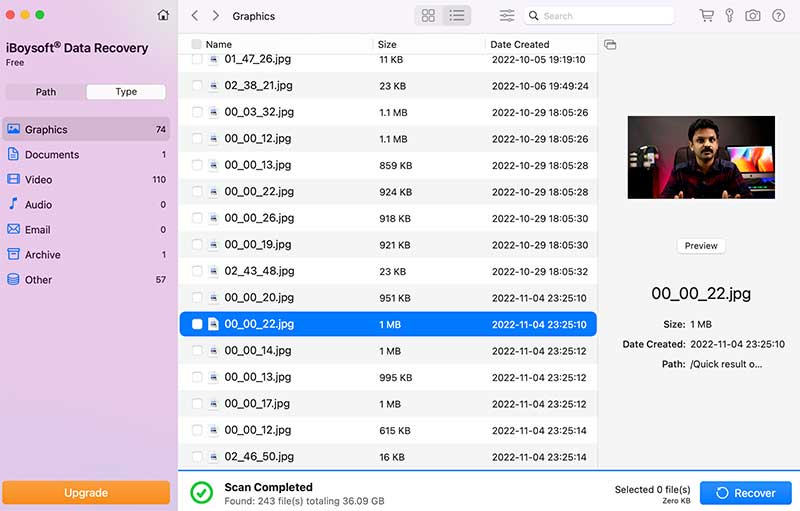
It took around 1 hour and 20 minutes to run a full scan on my 64 GB SD card memory.
The application was able to scan and find around 36.09 GB of data.
Out of these files, some came with the cross mark.
These files were damaged. I tried to recover and open these files. But could not open it since the files were fully corrupted.
I tried recovering other files. It was successful. I was able to open the images after saving them.
4. Recovery from Portable External SSD
I will try to recover some of the deleted files from my SanDisk portable external SSD.
After connecting the SSD, I will open the software.
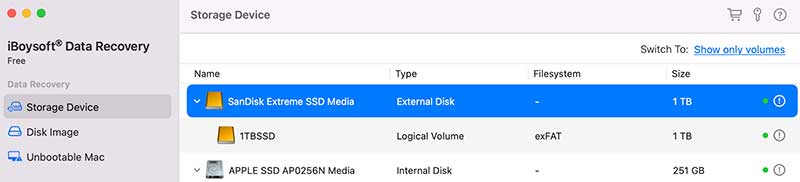
You can see the “SanDisk Extreme SSD Media” on the right.
I will select this storage and click “Search for Lost Data” to scan for deleted files in this drive.
I stopped the scan in between and tried saving some of the recovered files. It was successful.
Pros
👉🏻 1. I liked the simple user interface.
👉🏻 2. The application will also show the corrupted deleted files on the hard drive. Thus, you can avoid restoring these damaged files.
👉🏻 3. The software comes in a small package (under 15 MB). So it does not occupy much space.
Cons
👉🏻 1. There is a mismatch in the number of files selected and the number displayed in the application. It does not affect the recovery process.
👉🏻 2. Whenever I open this application, it asks me to enter my laptop password, which is quite annoying.
👉🏻 3. Free version supports only the recovery of 1GB of data.
Final Thoughts
The iBoysoft data recovery for Mac does a decent job of recovering deleted files from the drive. You can always give it a try with their free version.

You can only recover up to 1GB of data using the free version. If you want to recover more data, you can always go ahead and purchase this application.
Also, using the free version, you cannot recover data from an unbootable Mac or encrypted APFS drive.
You can also read this article to learn about some of the best data recovery software programs for your Mac.