Recover RAW Files from SD Card: A Photographer’s Guide
When you finished the photoshoot, you removed the SD card from the camera and inserted it into the computer to review them. But instead of seeing your photos, you get a message saying that the card needs to be formatted before it can be used. This is definitely not what you’d expect to see after taking hundreds of important photos. If you’re not sure what to do next and are worried about making things worse, we’ll show you the safest way to approach the recovery process.
⚠️ Note: First, check the SD card in Disk Management (Windows) or Disk Utility (Mac). If it shows the correct capacity, you can continue with the article. If it appears as 0 bytes or displays an incorrect capacity, the card may have suffered physical damage. In that situation, it’s best to avoid DIY recovery and turn to a professional data recovery service.
What Is a RAW SD Card and Why Does It Happen?
When an SD card becomes RAW, the operating system can no longer recognize its file system. In simple terms, the photos are not necessarily gone. The problem is that the file system – the structure that tells the operating system where files are stored and how they are organized – has become damaged or unreadable.
There are several reasons why an SD card that worked perfectly fine yesterday may suddenly appear as RAW today.
One of the most common causes is file system corruption. This can happen if the card is removed while files are still being copied, if a transfer is interrupted, or if a camera loses power while writing photos to the card. Even a brief interruption at the wrong moment can damage important file system metadata.
Hardware and connection problems can contribute to SD card corruption. A faulty card reader, unstable USB connection, overheating hardware, unexpected computer shutdown, or power outage during a transfer may leave the card in an unreadable state.
Sometimes the problem comes from compatibility issues. For example, a card formatted by one device may not be recognized properly by another device or operating system. In those cases, the card may appear as RAW even though the data is still present.
Physical damage is another possibility. Exposure to water, excessive heat, bending, or other physical stress can damage internal components and make the card inaccessible.
Finally, SD cards simply wear out over time. Unlike hard drives, flash memory has a limited lifespan. After years of use, memory cells can become less reliable, increasing the risk of corruption and data loss.
How to Recover RAW Files from SD Card Using Recovery Software
The easiest and most effective way to recover files from a RAW SD card is to use data recovery software. These tools can scan the card directly and locate photos even when the file system is no longer accessible. The same approach also works for micro SD card raw file system recovery, so whether you’re using a standard SD card or a micro SD card from a drone, action camera, or other device, the recovery process is largely the same.
⚠️ Note: If your SD card suddenly becomes corrupted or appears as RAW, stop using it immediately. Avoid saving new files, formatting the card, or attempting repairs before recovery. Any write operation can overwrite recoverable data and reduce your chances of restoring lost photos successfully. Remove the card from the device and leave it untouched until you’re ready to start the recovery process.
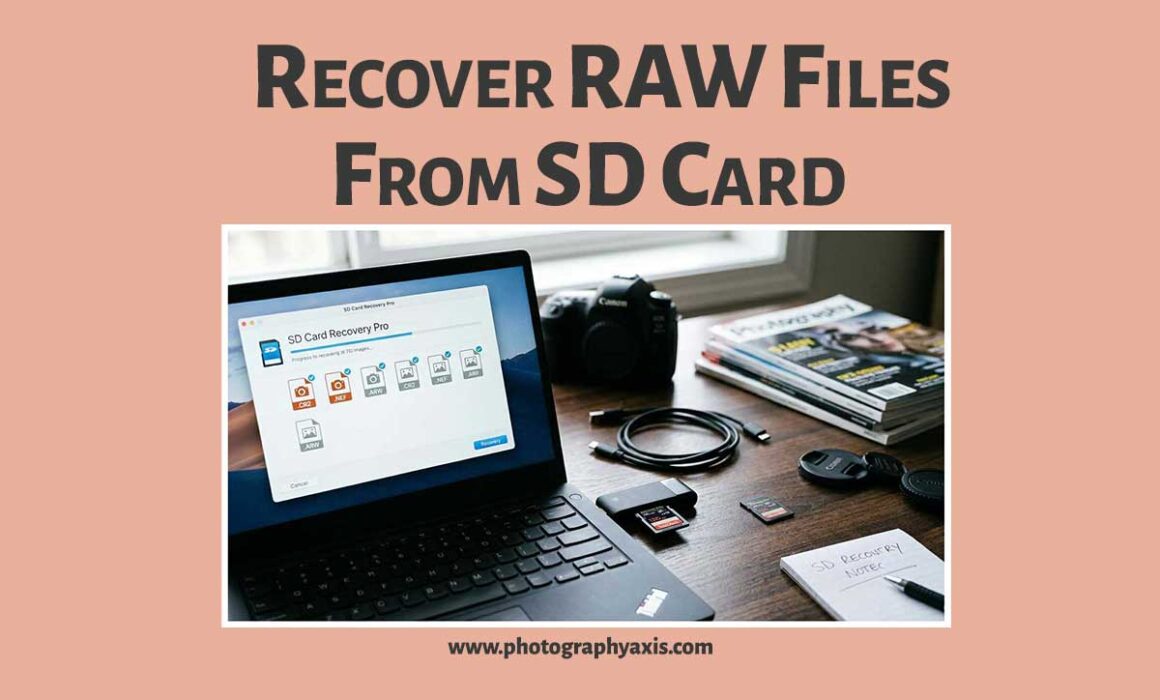
When you look for the best SD card recovery software, choose a tool with a user-friendly interface and support for a wide range of file formats. The same recovery software used for RAW file system issues can often also recover deleted files from SD card, making it useful in a variety of data loss scenarios. One good example is Disk Drill. It supports hundreds of file types and can perform SD card recovery on both Windows and Mac, making it a convenient option regardless of which operating system you use.
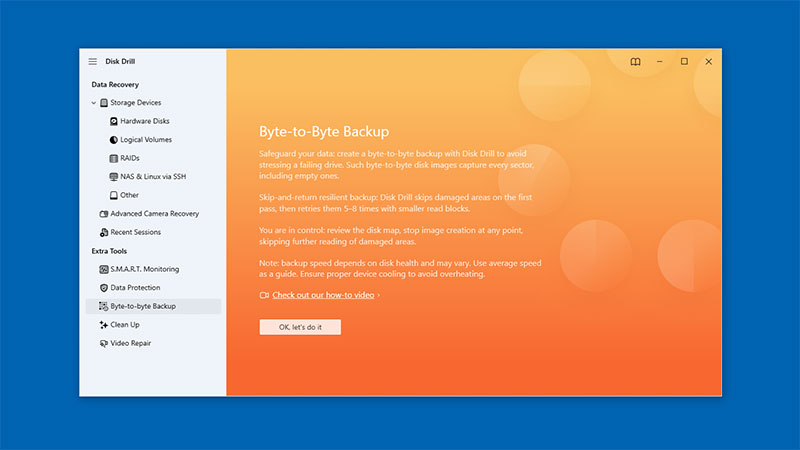
Before you start the recovery process, it’s a good idea to create a disk image of the SD card. This way, if something goes wrong during recovery or the card’s condition worsens, you’ll still have an exact copy of the original data to work with. Fortunately, Disk Drill includes a built-in tool for creating a disk image, so you can create a disk image and recover files from the image instead of working directly with the original SD card.
Create a disk image with Disk Drill:
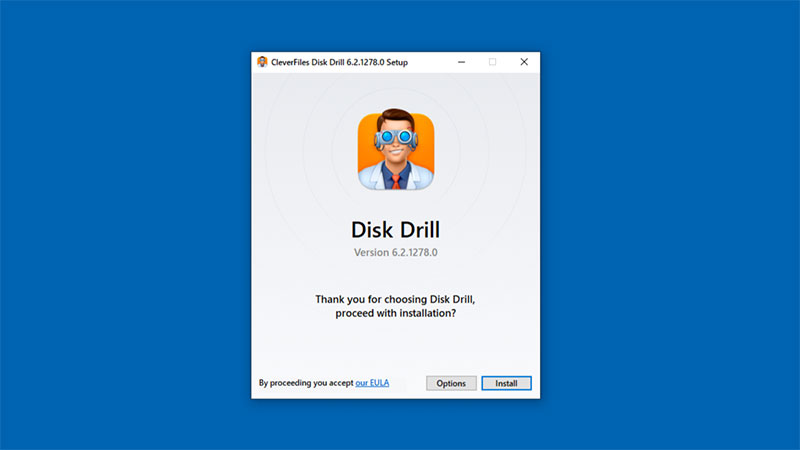
1. Download and install Disk Drill on your computer. Once the installation is complete, connect the SD card using a card reader or your computer’s built-in SD card slot.
2. Select Byte-to-byte Backup from the sidebar.
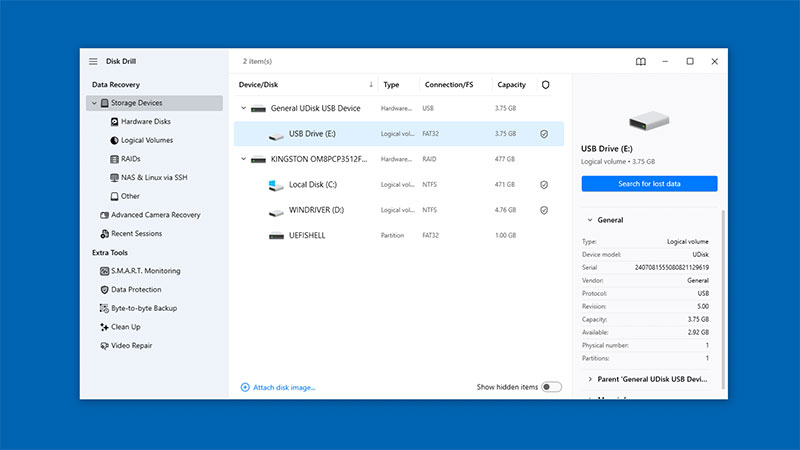
3. Choose your SD card from the list of available devices.
4. Click Create Backup.
5. Select a destination folder on a different healthy drive.
6. Click Save and wait for the disk image process to finish.
Recover raw files from SD card with Disk Drill:
1. If you didn’t follow the previous advice and didn’t create an SD card image, download and install Disk Drill now. Once the installation is complete, connect the SD card using a card reader or your computer’s built-in SD card slot.
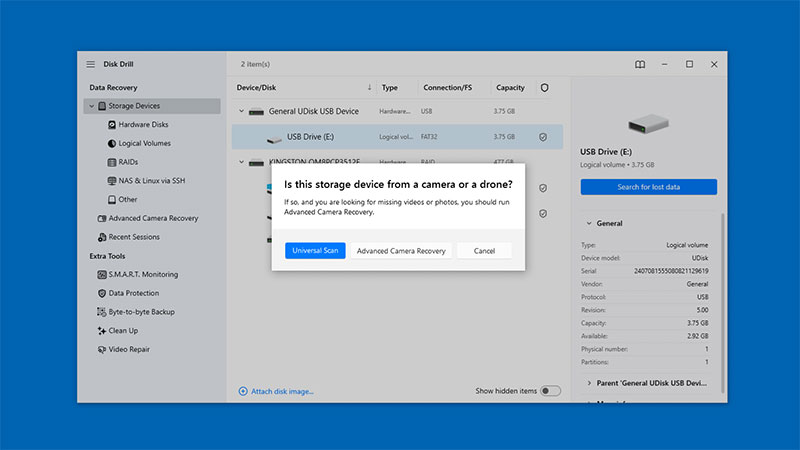
2. After launching Disk Drill, locate your SD card in the list of available storage devices. Select it and click Search for lost data to start the scan. If you created a disk image, add the disk image to Disk Drill and select it for scanning.
3. Disk Drill offers several scanning methods. For most recovery scenarios, start with Universal Scan, which supports photos, videos, documents, archives and many other file types. If you are recovering footage from a camera or drone and the recovered videos do not play correctly, try Advanced Camera Recovery, which is specifically designed to repair fragmented video files.
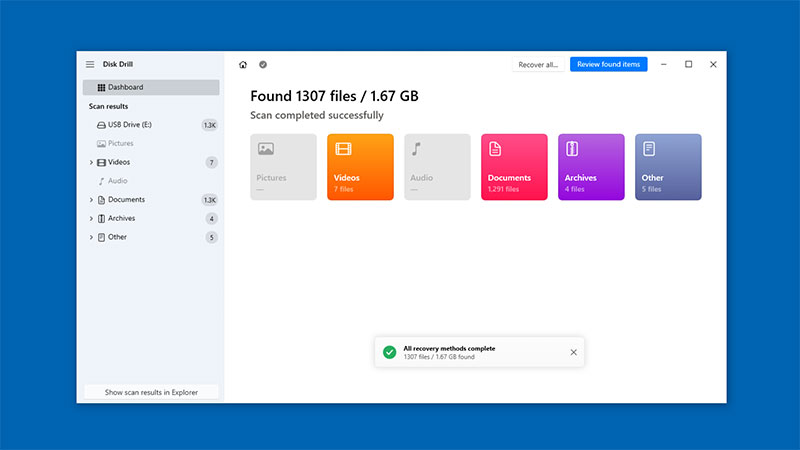
4. Once the scan finishes, click Review found items to browse the results.
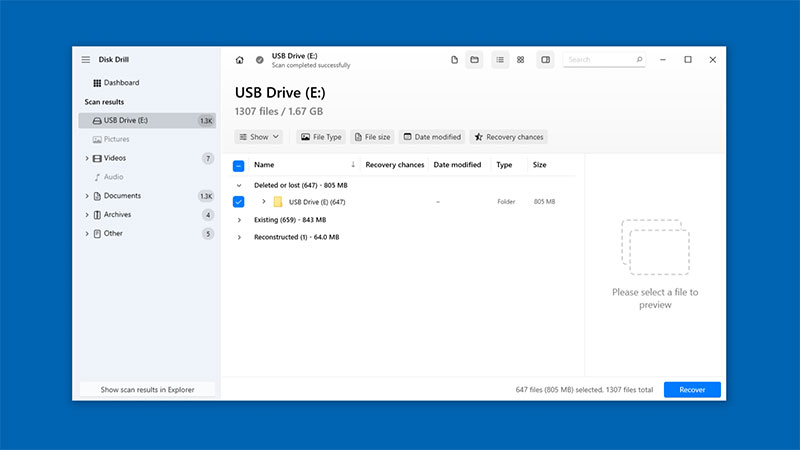
5. Use the Preview feature to verify that your photos are recoverable before restoring them. You can also use filters to narrow the results or search for specific file formats.
6. After finding the files you want to restore, select them and click Recover.
7. Choose a destination on your computer, an external drive, or another storage device. Avoid recovering files directly back to the SD card because this can overwrite other recoverable data that may still be present.
8. When the recovery process finishes, open several photos to verify that they were restored correctly. Once you’ve confirmed that the files are intact, you can safely copy them back to the SD card if necessary.
⚠️ Note: Once you’ve successfully recovered your files and verified that they’re safely stored elsewhere, you can format the SD card to restore it from the RAW state. If the format completes successfully and the card continues to work normally afterward, it may be used again.
How to Prevent RAW SD Card Problems in the Future
A few simple habits can help reduce the risk of SD card corruption and prevent similar problems in the future.
- The most effective protection against data loss is a reliable disk image routine. Try to copy your photos to your computer or an external drive after every shoot rather than leaving them on the SD card for a long time.
- Before you remove an SD card from the camera, make sure the device is powered off or in a safe state. Removing the card while the camera is still writing photos or updating files can damage the file system and lead to corruption.
- Avoid unplugging a card reader immediately after transferring files on your computer. Even if the transfer appears complete, the operating system may still be performing background write operations.
- Although less common than hardware-related issues, malware can sometimes damage files or interfere with storage devices. If you frequently move files between different computers, running an antivirus scan occasionally can help identify potential threats before they cause problems.
- SD memory cards are quite durable, but they can still be affected by excessive heat, water exposure, bending, impacts, and dust. If you want to extend their lifespan, store them in a protective case when you’re not using them, keep them away from extreme temperatures and moisture, avoid touching the metal contacts, and never force the card into a camera, card reader, or other device.
- Instead of relying on a single memory card, consider rotating between several cards. This helps distribute wear more evenly and reduces the risk of losing an entire shoot if one card fails.
- Replacing older cards periodically is also a good practice, especially if you use them frequently for high-resolution photos or video recording.
Conclusion
A RAW SD card doesn’t automatically mean your photos are lost. Tools such as Disk Drill can often help with raw SD card recovery quickly and efficiently. However, prevention is just as important as recovery. Creating disk images, handling memory cards properly, and replacing older cards when necessary can help you avoid similar problems in the future.
Frequently Asked Questions
Can I recover RAW files from SD card?
Yes. In many cases, the files are still present on the card even though the file system is no longer accessible. Data recovery software such as Disk Drill can scan the card, identify recoverable files, and restore them quickly with minimal effort from the user.
Should I format a RAW SD card?
Not before recovering your files. Formatting may make recovery more difficult and can affect the original file structure. It’s generally safer to recover your data first and format the card afterward if needed.
Can I recover deleted files from an SD card on Mac?
Yes. The same recovery tools used for RAW file system issues can often help you recover deleted files from SD card on Mac after accidental deletion.