Remo Recover Mac Software Review
As a photographer, you may face situations where you must recover deleted or lost photos and media files from your hard drive and memory cards. You will need a recovery software to do this job.
In this article, I will review the Remo Photo Recovery for Mac and see whether it meets our expectations.
I will use the Remo Recover Mac on my 2020 MacBook Air running Mac OS Monterey, version 12.4.
I will connect a Seagate 5TB Hard Disk Drive & a 64 GB SanDisk SD card to the MacBook Air for testing this recovery software.
Downloading & Installing Remo Recover Mac
The installation file for this recovery software comes in a small package.
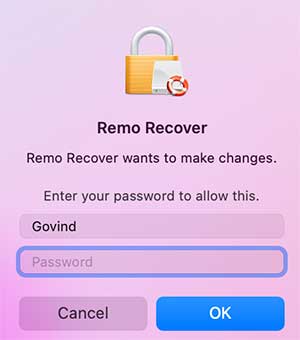
After installation, once I open the program, a window pops up asking to grant permission for the software to make the changes. You need to enter your laptop password here.
One thing I observed here is that whenever I open the software, it asks for a password.
I have seen this similar thing in many other recovery programs too. It is quite annoying to enter the password every time. I hope they can make it a one-time process.
After entering the license key, I can see three editions of this software.
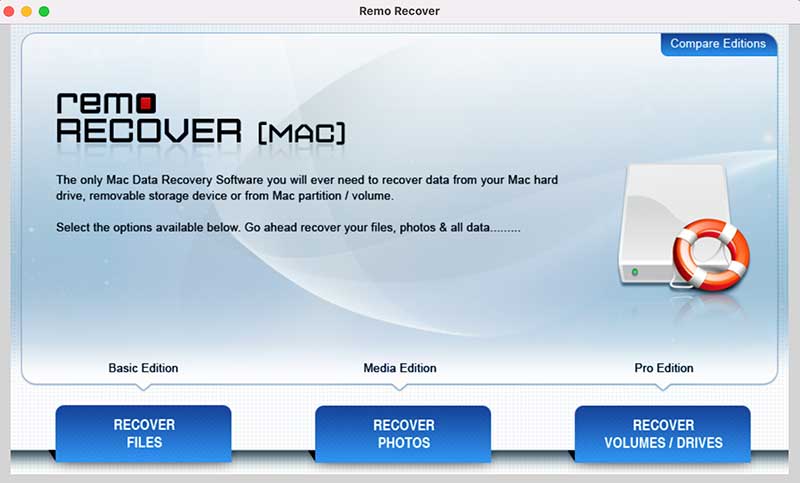
Basic Edition
In the Basic Edition, you can see the button showing the “Recover Files” option.
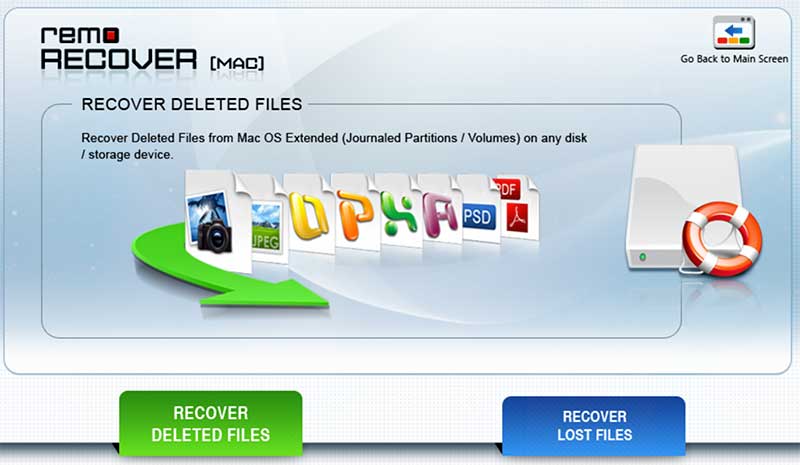
Once you click this button, you can see a couple of options- Recover Deleted Files and Recover Lost Files.
The Recover Deleted Files will be a good option if you want to recover accidentally deleted files from the hard drive.
If you want to scan and recover lost and deleted files, you need to choose the other option.
Only the Seagate external HDD is displayed when I click on either of these options. So, you cannot use the basic edition to scan your memory card or your computer HDD.
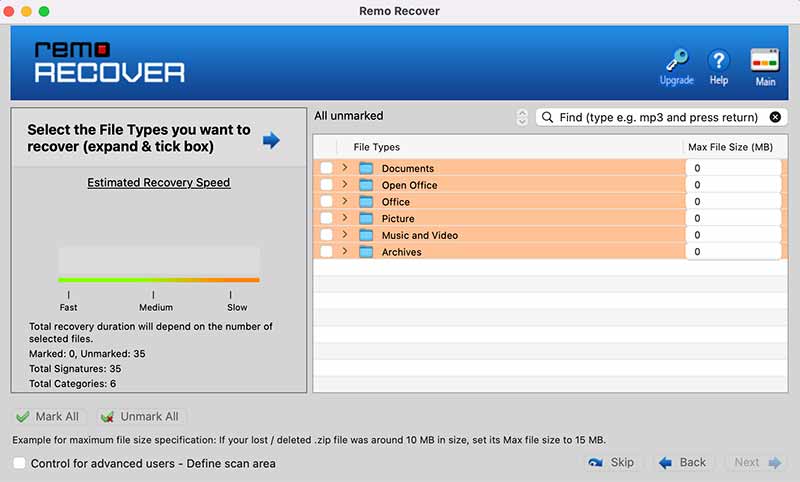
After selecting the hard drive, you will be able to see the different file options. If you are looking only for a particular file type, you just need to select it.
You don’t want to see all the files in the drive after the scanning. It is a useful feature to have.
You also have the option to define the scan area.
After that, I selected the Pictures folder option to scan only the image files.
I started the scan and ran it for a few minutes. After that, I can see files listed by the software.
There is the option to show only the “Deleted Files” instead of all the files. I selected this option so that only deleted files are listed.
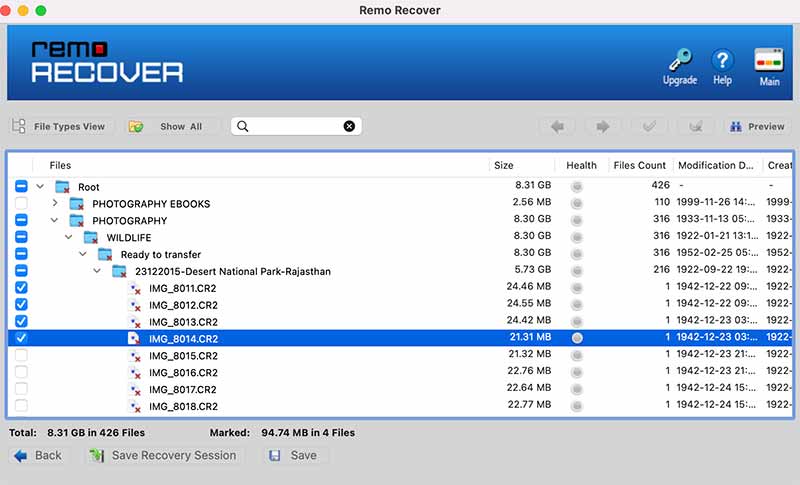
I tried recovering 4 RAW image files and saved them on a different SSD drive connected to it.
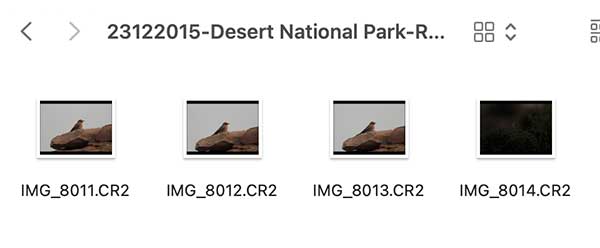
Here, I was able to open these RAW images once the saving was complete.
The Basic edition costs around $60.
Media Edition
You can see the button showing the “Recover Photos” option in the Media Edition.
In the Media Edition, you will get all the features of the basic edition along with some other features.
The additional features include recovering RAW images, pictures, videos, and music files.
If you are a photographer, you can go for this edition. I will test how well this edition can recover deleted pictures first.
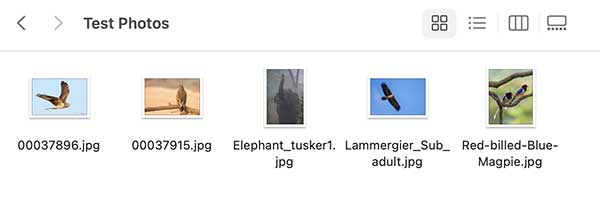
I will copy five images to my SD card memory, EOS_Digital, inside the Test Photos folder. Now, I will delete all these five images from the folder.
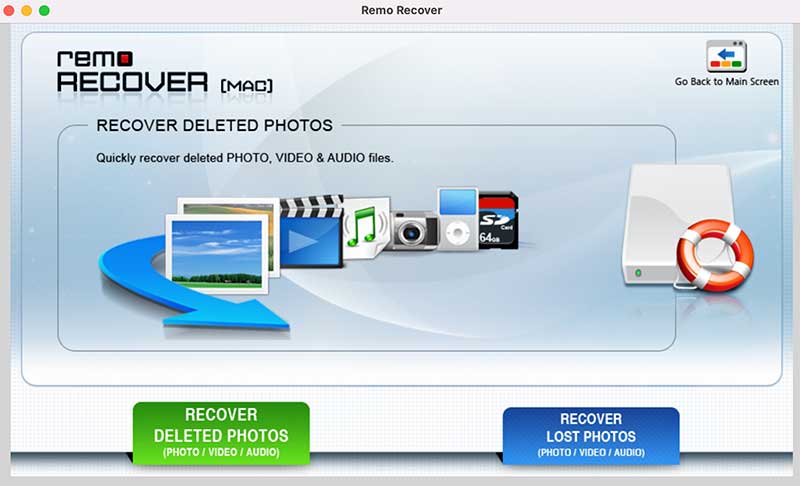
There are two clickable options in the Media edition of the Remo Recover Mac.
I will click on the Recover Deleted Photos option. I was a little surprised to see that only my external HDD is showing here. The memory card is not getting displayed. I think this option is only suited for external Hard Drives.
Let me try the other option, Recover Lost Photos. Here, I can see the memory card storage. I will select this option.
Now, I can see the different file options I can choose for scanning.
I will select the JPEG files option alone since I am interested only in recovering the five deleted photo files from the SD card.
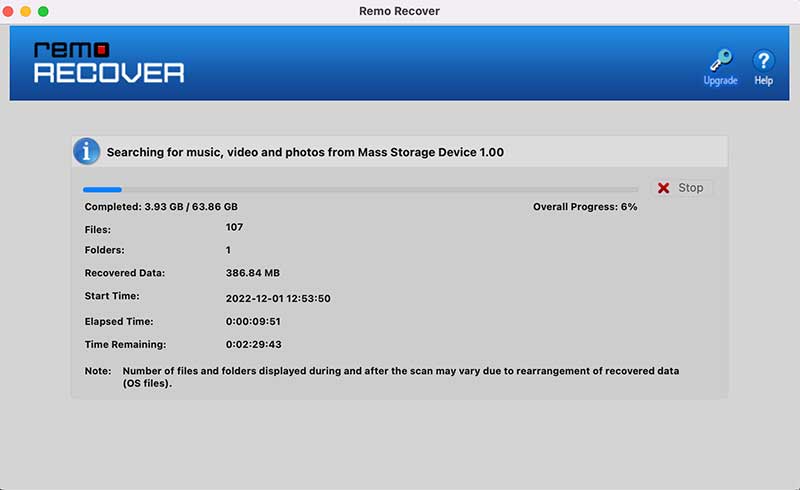
It took around 5 hours and 42 minutes to complete the scanning on the 63.86 GB storage space of my SanDisk Pro Extreme SD card.
The scanning time will depend on the amount of storage space and the file types you have set for scanning.
I tried recovering some of the displayed deleted files, and it was successful.
The Media edition costs around $70.
Pro Edition
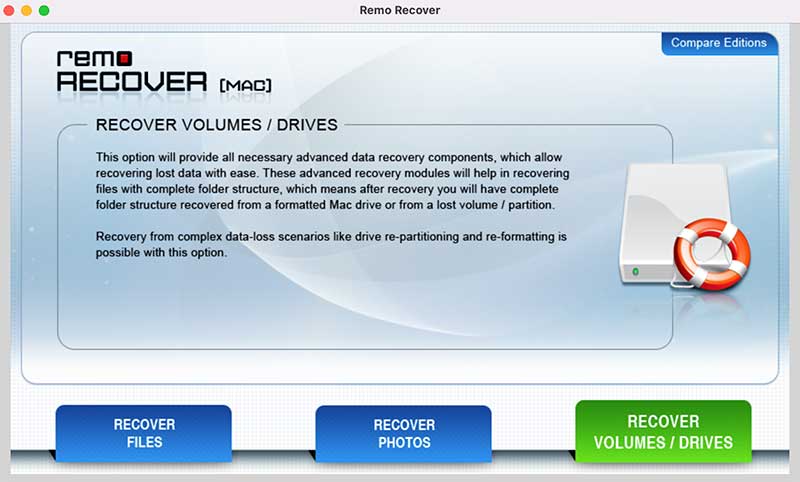
In the Pro Edition, you can see the button showing the “Recover Volumes/Drives” option.
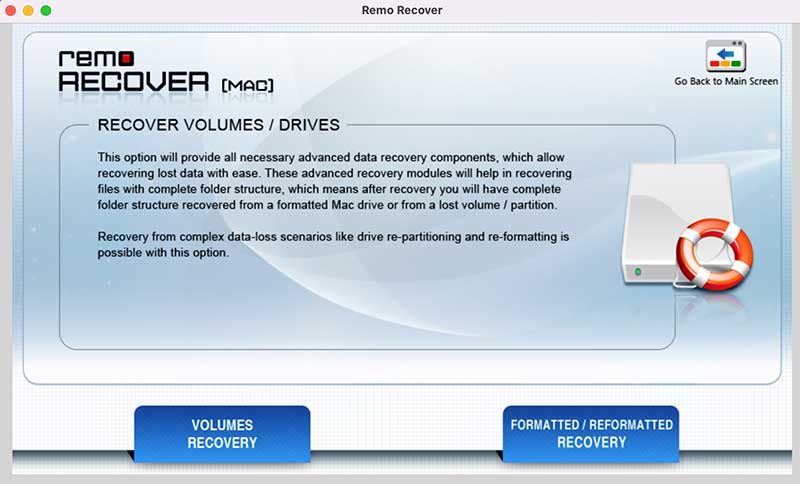
Once you click this button, you will be able to see two options – Volumes Recovery and Formatted/ Reformatted Recovery.
 When you click the Volumes Recovery, you can see all the storage drives connected to your system, including your Mac SSD.
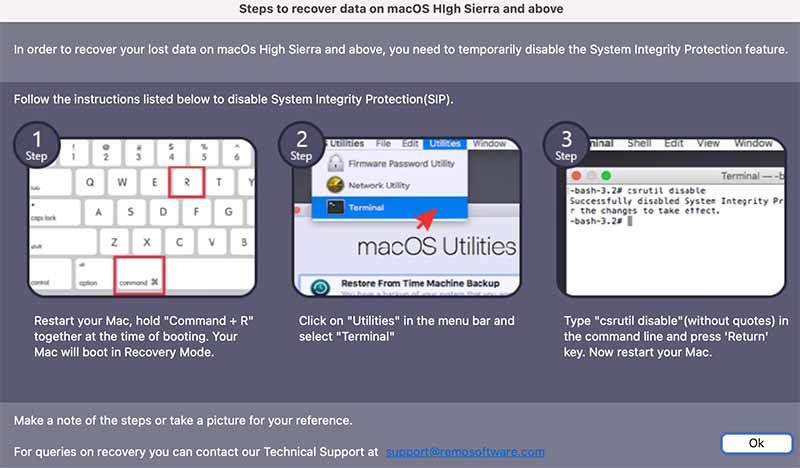
When I selected the laptop’s SSD drive, I got a notification that I needed to temporarily disable the System Integrity Protection to scan the MacBook Air’s drive.
So, if you want to scan and recover data on your MacBook hard drive with Mac OS High Sierra and above, you need to go ahead and disable the SIP through the instructions in the pop-up window.
The Pro edition costs around $180.
What I Liked 😎
1. I liked the user interface of this software.
2. The lightness of the software installation package.
3. I liked the option to set the maximum file size of files while scanning.
4. The option to scan only particular file types is a useful feature.
What I Didn’t Like 🤓
Whenever you open this software, it asks you to enter the laptop’s password.
1. I was not comfortable temporarily disabling the system integrity protection for scanning my laptop’s hard drive with this software.
2. You cannot scan SD card memory in the Basic Edition
Final Thoughts
In my opinion, they have designed this software with photographers in mind, especially the Media Edition.
The Remo Recover Mac does a decent job of recovering deleted files from different types of storage drives.