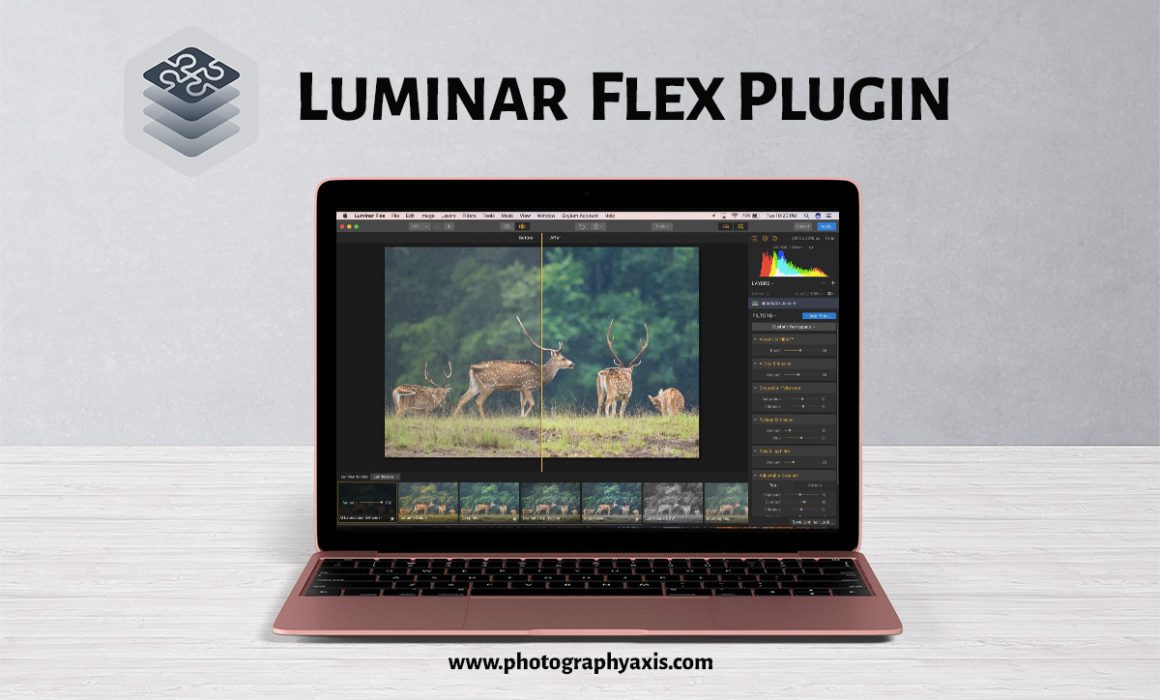
Luminar Flex- Is it an All in One Plugin?
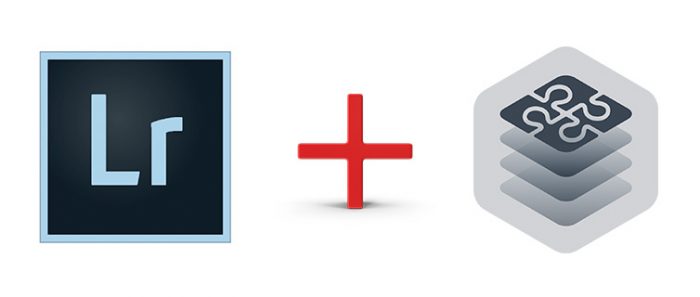
Skylum has announced a new plugin software, “Luminar Flex.” It goes with Lightroom Classic, Photoshop and Photos (Mac software).
So, Is this plugin going to be a game changer? Let us find out.
I got a prerelease version of Luminar Flex from Skylum to test. So, I will share my review on the Luminar Flex plugin based on this version.
It is available for both Mac as well as Windows OS.
System Used
I will be using my 13” MacBook Air with the following specifications to review Luminar Flex plugin.
1.3 GHz Intel Core i5 Processor with 4GB DDR3 Memory, and Intel HD Graphics 5000 1536 MB Graphics
How to Use Luminar Flex?
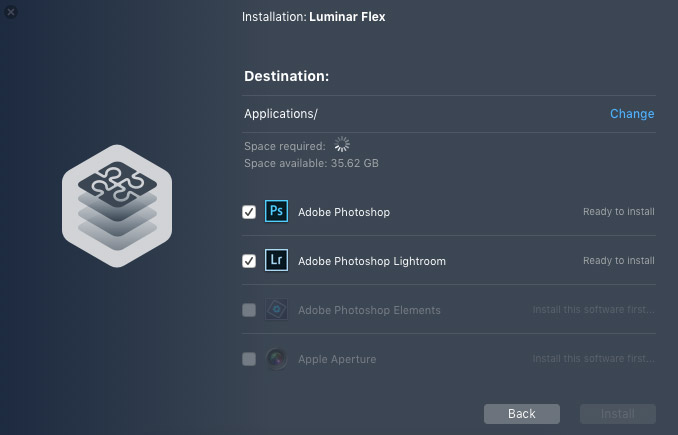
1. Install Luminar Flex. The software automatically detects the installed versions of Lightroom or Photoshop or any of the other compatible host software and automatically select the checkboxes during the installation process.
If you don’t want to add it as a plugin to all the compatible software, then you can unselect the corresponding tick box.
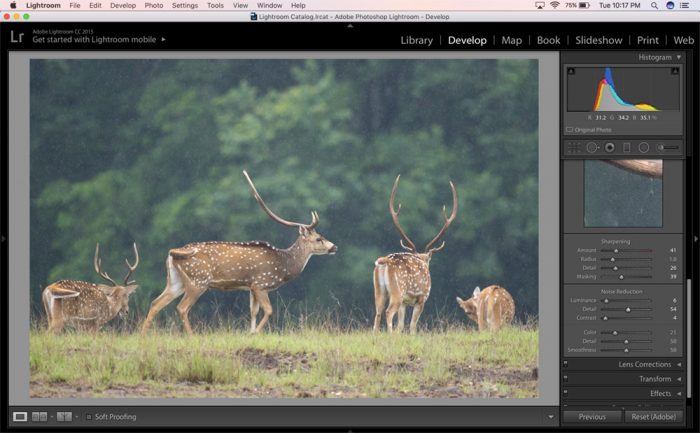
2. I will use it as a plugin with Adobe Lightroom for this review.
3.Open Adobe Lightroom. I have selected one of my wildlife images for processing, Deer flock in the rain, photographed from Bhadra Tiger Reserve in Karnataka, India.
I will do the basic editing in Lightroom. It includes Exposure and White Balance Correction, noise removal and sharpening.
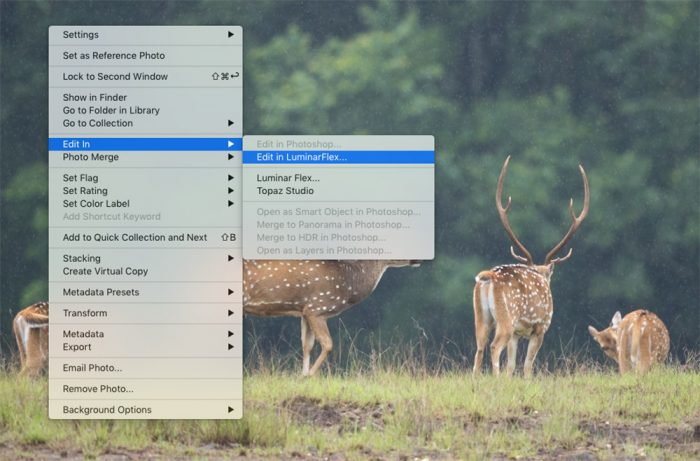
4. Now, I will open the image in Luminar Flex plugin . Make sure that you are in the Develop module of Lightroom. Right click on the image and select “Edit in Luminar Flex” option to open the image in the plugin.
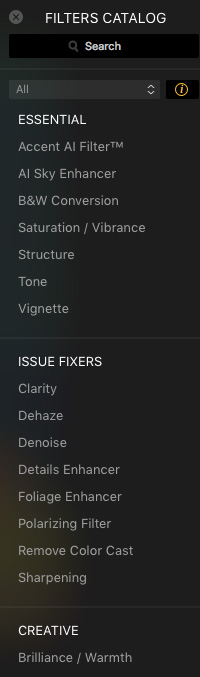
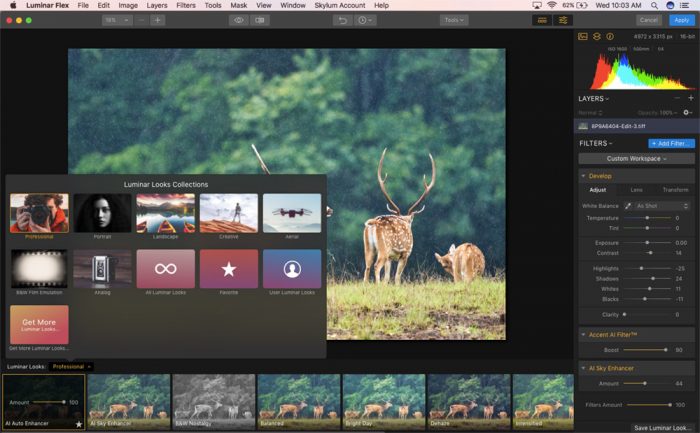
5. I will do the rest of the edits in Luminar Flex. I will use the the Looks and Filter options to enhance my image.
These are the two things which attract photographers to this plugin. Looks option allows you to color grade your image. It’s like the LUTs.
6. I liked two types of looks for this image. One with the AI Landscape Enhance Looks and the other one with Dramatic Landscape Look.
So, whenever you are editing with Luminar Flex, try out all the different Styles/Looks effect and see which ones suit the best. It varies with the feel and mood of the image.
You can even create your custom Looks to get your signature style color graded photos. So, it is like the presets in Lightroom.
7. Click on Apply button on the top right corner of the this plugin window to apply your Luminar settings to the image. Now, the plugin window will close, and the image can be seen in Lightroom with the applied Luminar settings. You can export the photo from here to save the final image. You can even do some more fine tuning in Lightroom if needed. But, I prefer to do the initial edits in Lightroom and the final ones in Luminar Flex and export the final file from Lightroom.
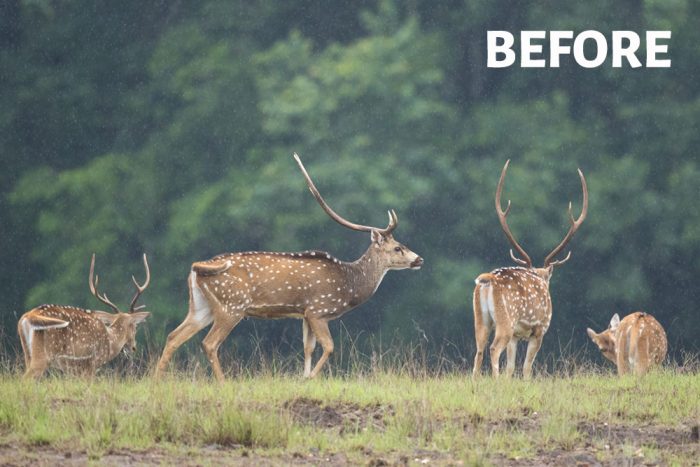
8. Now, let us see the Before and After images. This Before image is after editing the image in Lightroom.
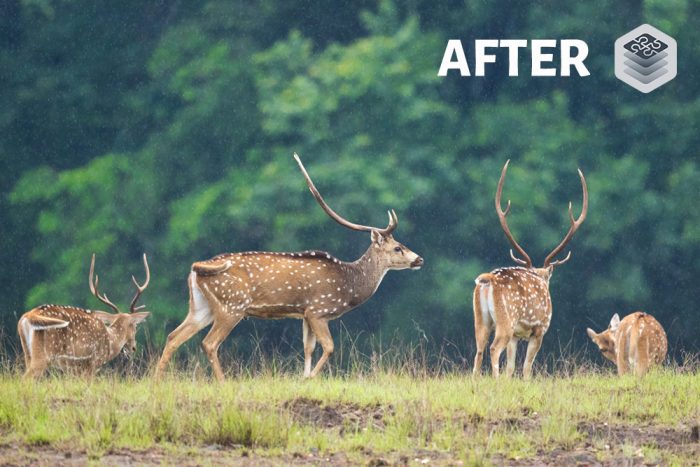
In the above image, I have applied the AI Landscape Enhancer Looks to the image.
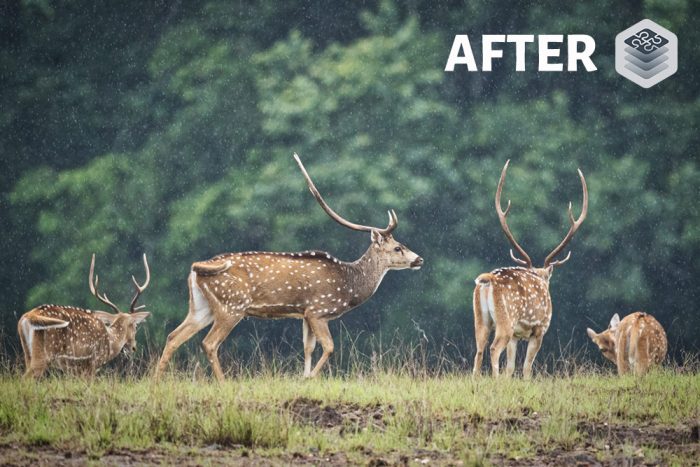
I liked the Dramatic Landscape Look also, shown in the above image. So, which one did you like? You can share it in the comments section.
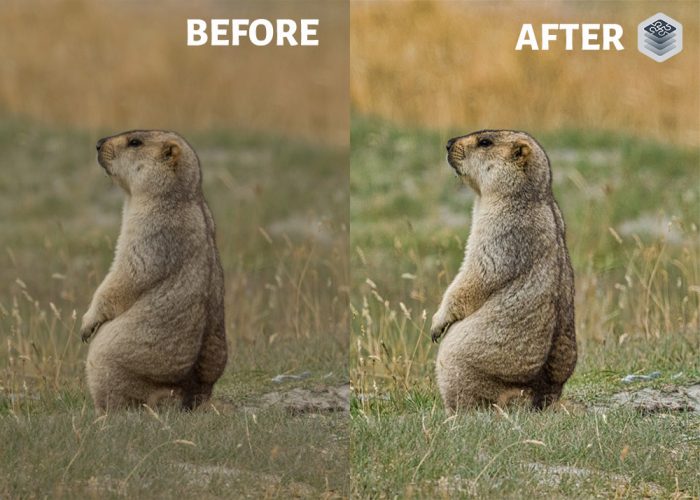
Luminar Flex Before/After Images
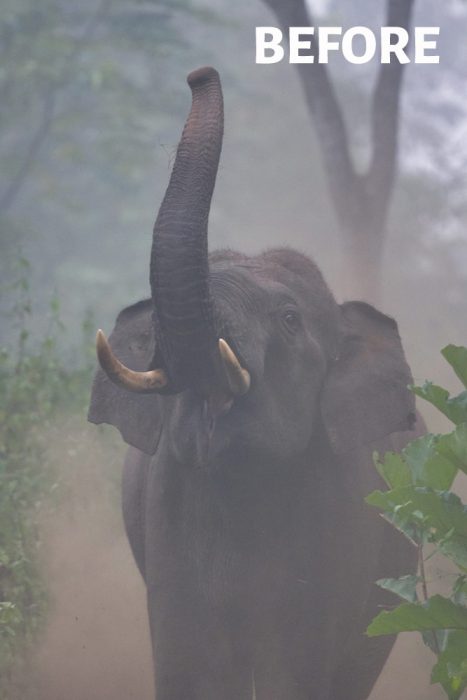
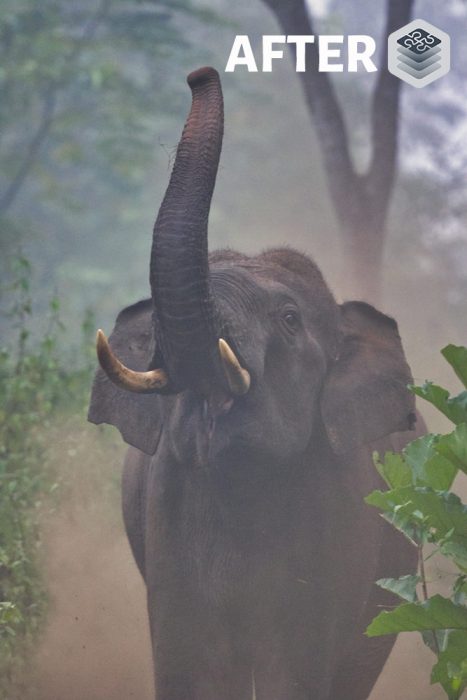
I have applied the Dehaze look to this elephant image, which was covered with the early morning fog.

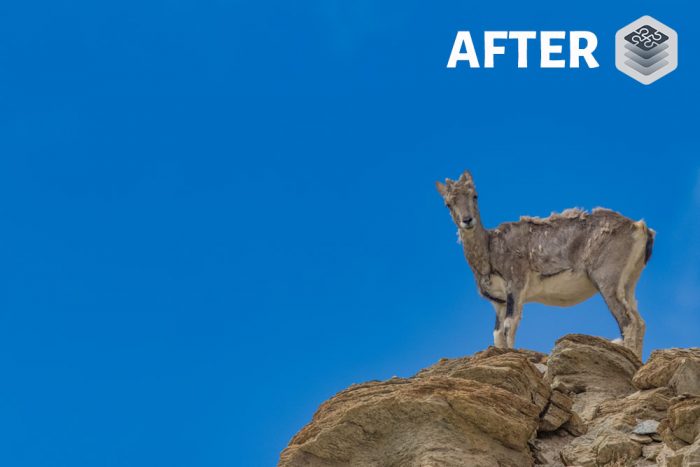
AI Sky Enhancer Looks used for the above image of the Himalayan Blue sheep with sky in the background.
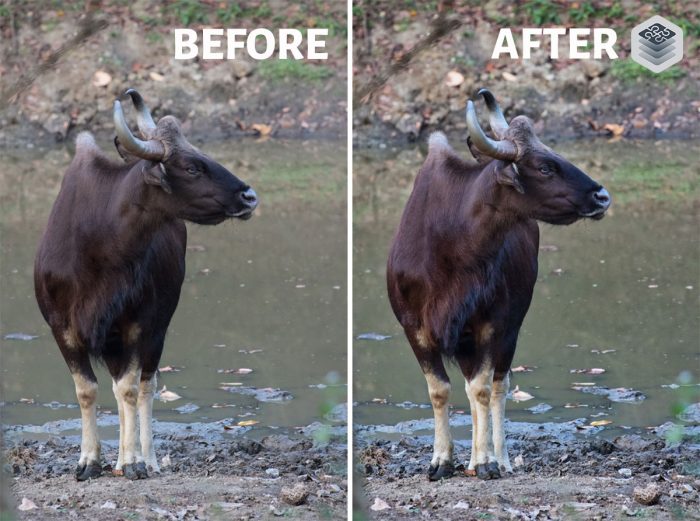
I have used the DeHaze look for the above image of Indian Gaur photographed from Bhadra Tiger Reserve in Karnataka, India.
Conclusion
Now, the question would be, Is Luminar Flex For you?
If you are very much attached to Lightroom or Photoshop or any of the other Luminar Flex supported host post-processing software then you won’t be interested in switching to standalone Luminar software.
But, if you love the variety of adjustments and effects which Luminar provides, then you may want to add these features to your Lightroom or Photoshop. If you are in such a situation, then this plugin will be a good addition.
With AI integration, this software plugin is capable of reducing your effective processing time.
So, you can use software like Lightroom for basic adjustments and make use of Luminar Flex plugin for color grading and other advance filter effects and looks to your photos. Thus, you can speed up your post-processing.
So, I would say that Luminar Flex is a Flexible version of Luminar which fits some of the best post-processing tools in the market. Thus, making these photo editing tools more powerful.
Luminar Flex Coupon Code
It comes at a one-time price of $59. If you are interested to give a try then use this link, Try Luminar Flex Plugin.
Don’t forget to use my coupon code “PHOTOGRAPHYAXIS10” to get a $10 discount on your purchase.
Another good news is that it is free for all users who have already purchased Luminar 2018 and Luminar 3.