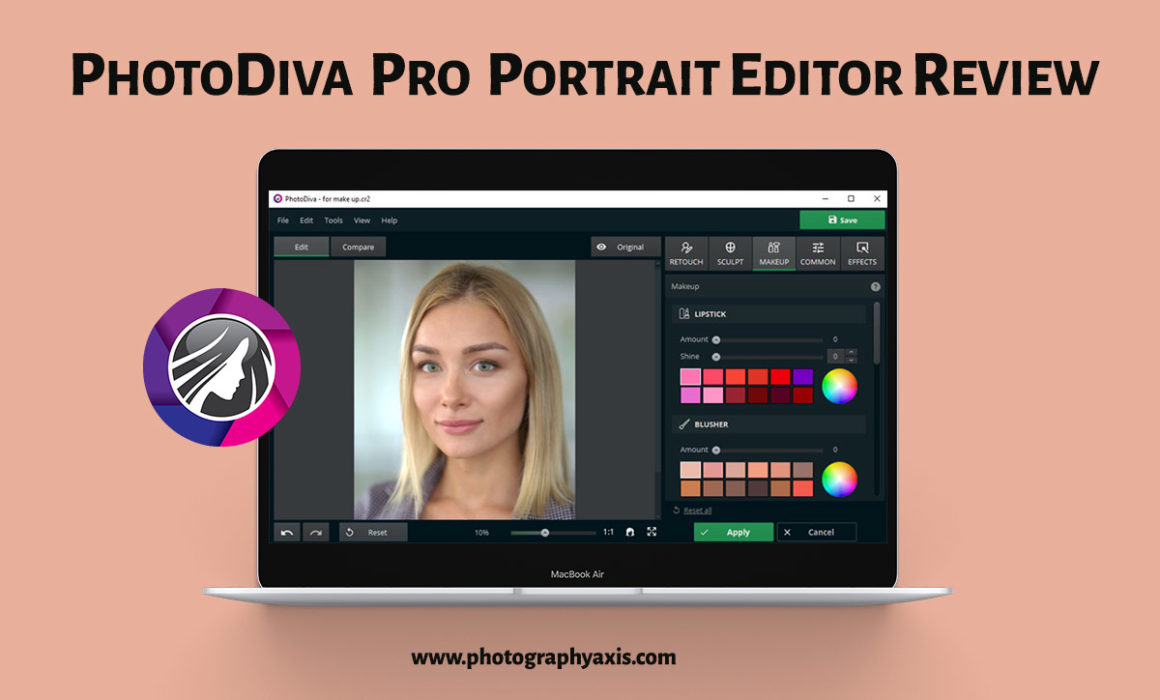
Portrait Retouching with PhotoDiva Pro
PhotoDiva is a portrait photo editor from AMS Software. In this article, I will review the Pro version of this portrait retoucher. This software is for the Windows operating system. PhotoDiva software uses AI algorithm for smoothening skin, reshaping face, and adding makeup to the portraits.
Retouching with PhotoDiva Pro
So, let us see what PhotoDiva is capable of doing.
1. Import Image
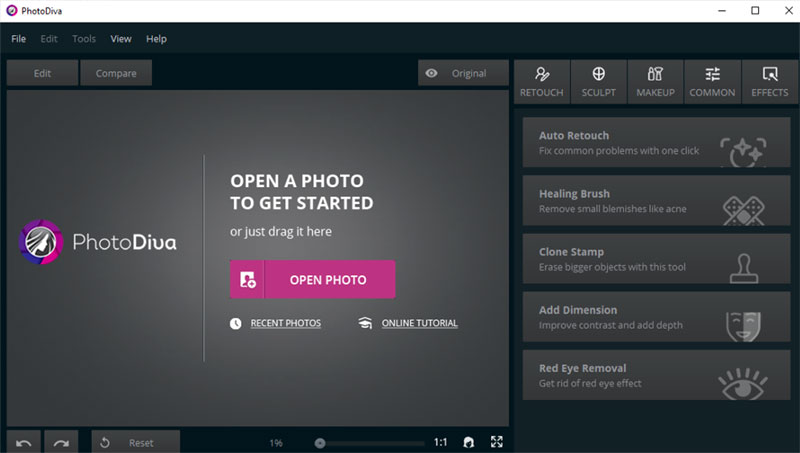
Open the portrait editor PhotoDiva. You can see the “Open Photo” option to import the image. So, I will import one of the beauty portraits to test this software.
I tried importing both RAW and JPEG versions of the same image to PhotoDiva. The Pro version supports both.
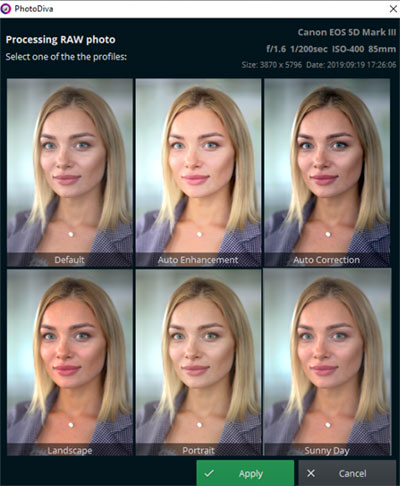
When you import the RAW version, then you will get a pop up to set the color tone of the picture. I selected the portrait tone for this image.
So, I will do the retouch on this version of the image
2. Image Retouching
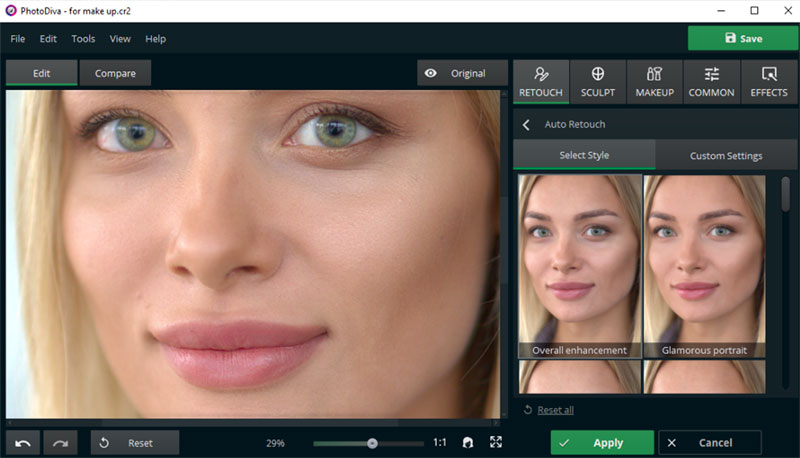
Once the importing is complete, you can select the Auto Retouch option from the right side window. It comes with lots of predefined set of styles which you can choose and apply to the image.
If you are looking for a quick fix, then you can select any of these styles and click the “Apply” button.
The automatic style options which I liked remove eye circles, make smile shiny, eyes clear, face lighter, skin smoother, remove face shine, make lips brighter, do overall enhancement, and glamorous portrait. All these styles do a decent job.
You can also use the healing brush to remove acne or marks from the face. Red eye removal and clone stamp are the other retouch options. You can also use the “Add Dimension” option to improve the depth and contrast of the image.
3. Custom Retouching
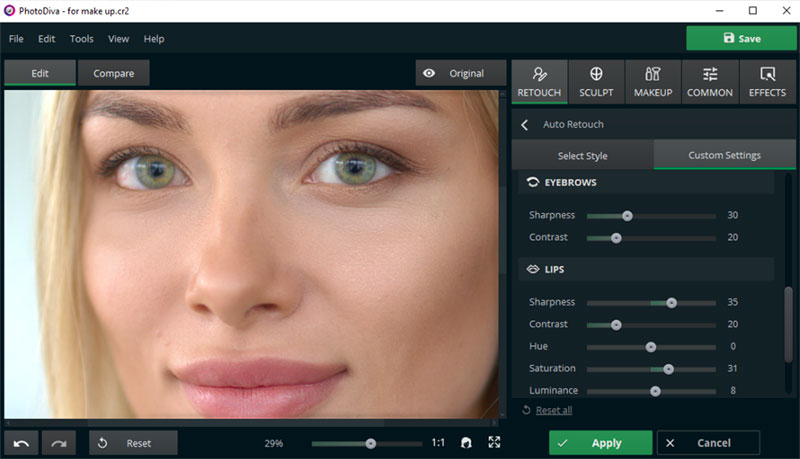
You can also do custom retouching with the help of the “Custom Settings” module, adjacent to the “Select style” option.
I fine-tuned the image by adjusting the sliders further in the custom settings section. It comes with sliders to adjust the skin, eyes, lips, teeth, and eyebrows separately.
Thus, you can achieve precise portrait edits without any complicated controls.
In my opinion, you can select one of the auto styles first, then go to the custom settings to fine tune the values for a better-processed portrait.
TIP: You can zoom in the image to 80 to 90 percent and see the effect of each of the edit to ensure that you are not overdoing any edits.
4. Sculpt Option
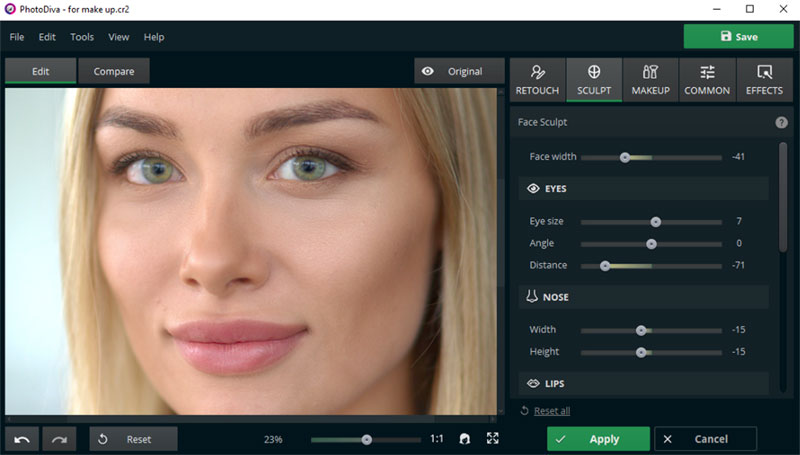
Next, we will move on to the sculpt option. This part is exciting. It allows you to modify the face width, eye adjustments, nose adjustments, lips, chin, and eyebrow adjustments.
Different sliders are provided for the precise adjustment of each part. Professional portrait retouchers and portrait photographers will love this feature.
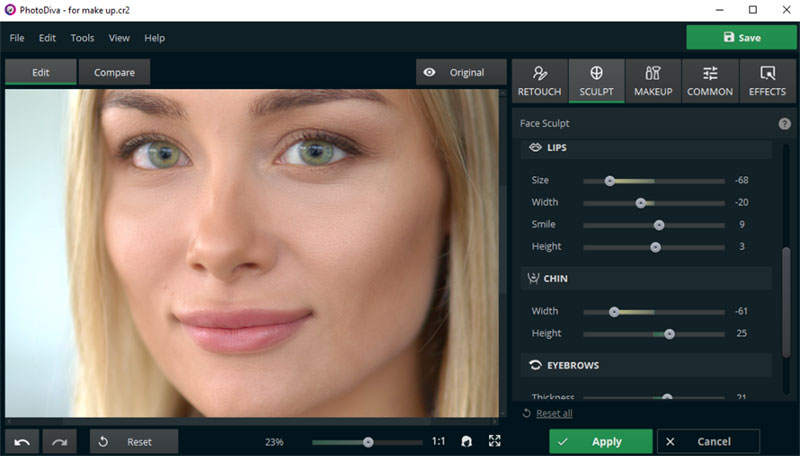
So, I just fine tuned these settings for this portrait shot.
5. Makeup Module
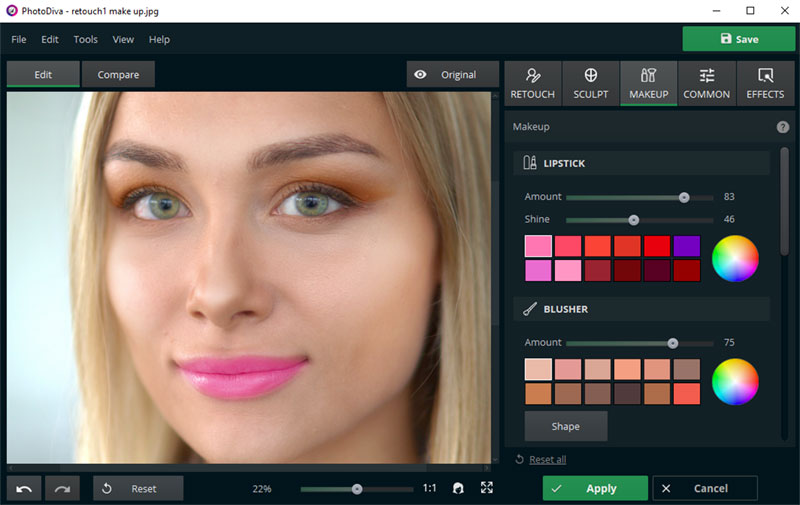
The makeup module comes with lots of options.
It starts with the lipstick sliders, where the user can select the lipstick color and vary the strength and shine.
The blusher comes with lots of color options and there is a shape option provided to vary the cheek of the person according to your wish, really loved this part.
It is followed by the bronzer, upper eye shadow, lower eye shadow options. All these options will come with the color wheel to pick any color along with the standard color options. It makes life easy for the retoucher. The shape option is also included in all these.
Looks like, now you don’t need a professional makeup artist in the field.
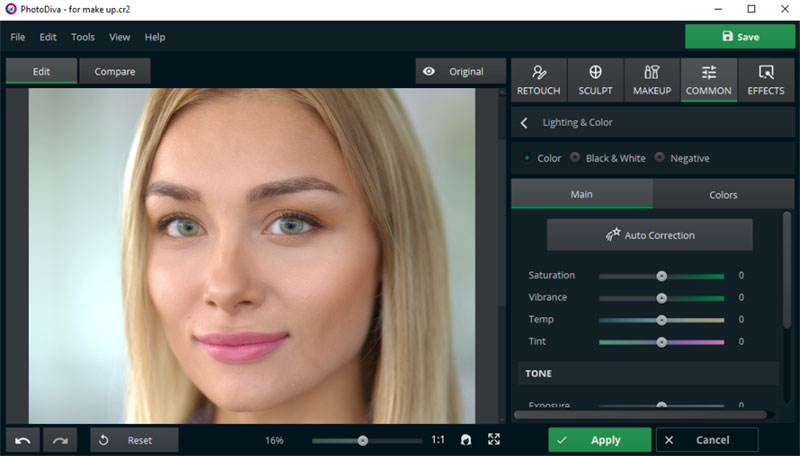
6. Common Settings Module
The “Common” module comes with three sub modules, “Lighting and Color”, “Sharpen and Blur”, “Vignetting.”
The “Exposure” and “Color” balance settings can be adjusted in the lighting and color section.
It also has a separate “Colors” section to adjust the different color tones like reds, oranges, greens, purple yellow, aquas, and magenta separately under the “Hue”, “Luminance”, and “Saturation” section.
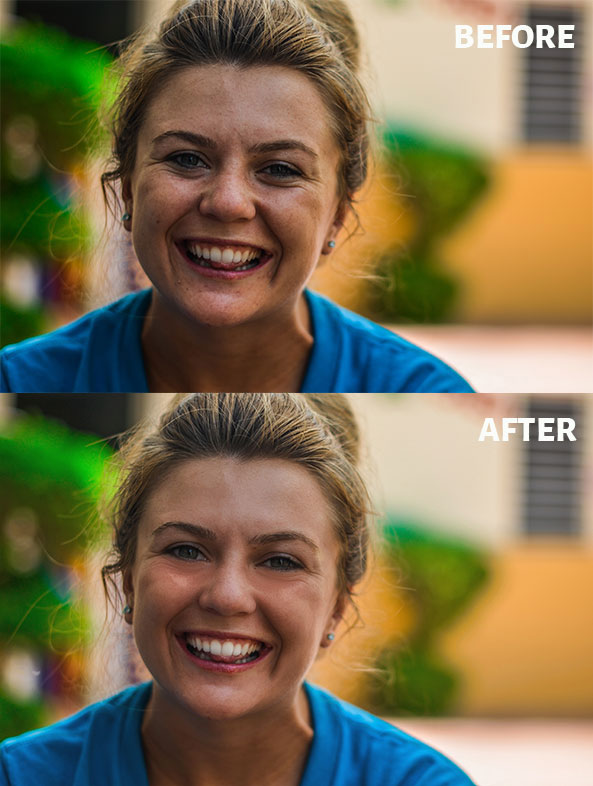
So, you can adjust the color balance according to your choice. Above you may see the difference after all the retouch on my before and after image.
The program also provides you with the “Black and White” and the “Negative” options.
If you are interested in black and white portrait shots, then the “Black and White” section will be handy for fine tuning the image tones.
I did some fine tuning in this section to save a copy of the image in Monochrome.
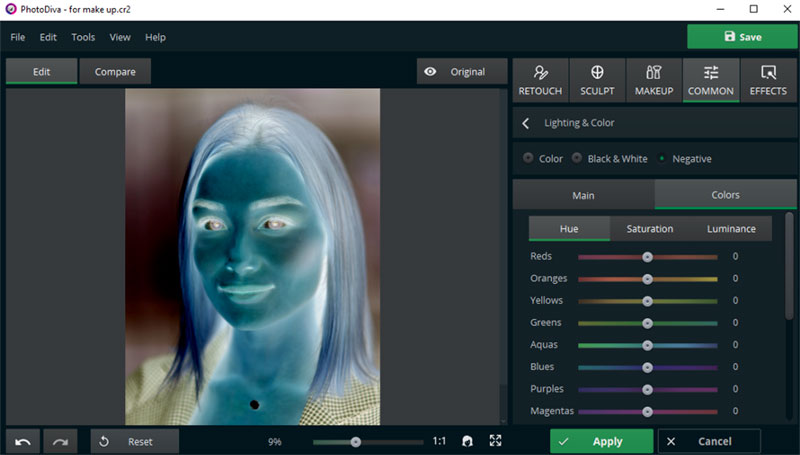
I did not find the “Negative” section that useful because I don’t usually process the photos to negatives.
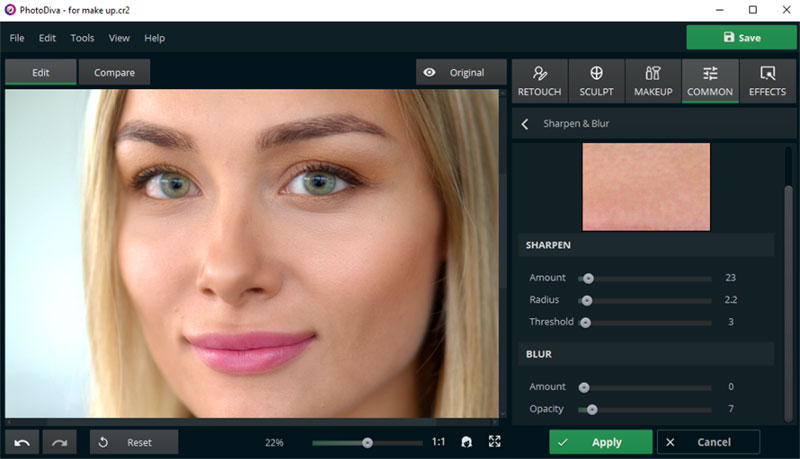
The “Sharpen” and “Blur” module is another interesting retouch option under the common module.
The slider provided in the Sharpen section helps to vary the sharpness of the image and the blur module to give a blur effect.
These two options helps to provide more fine tuning of the image.
The “Vignetting” option comes with sliders to darken or lighten the image sides.
7. Effects Module
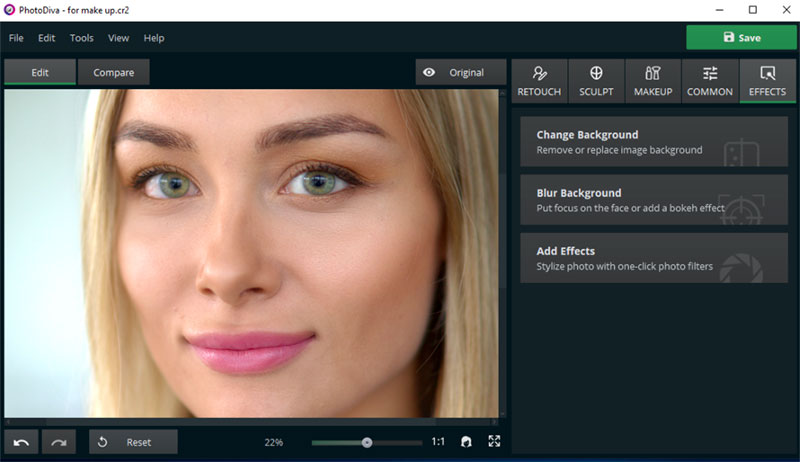
The “Effects” module comes with three options: “Change Background,” “Blur Background,” and “Add Effects” option.
The Change background comes with the option to select the subject and the background easily with the help of AI to change the background.
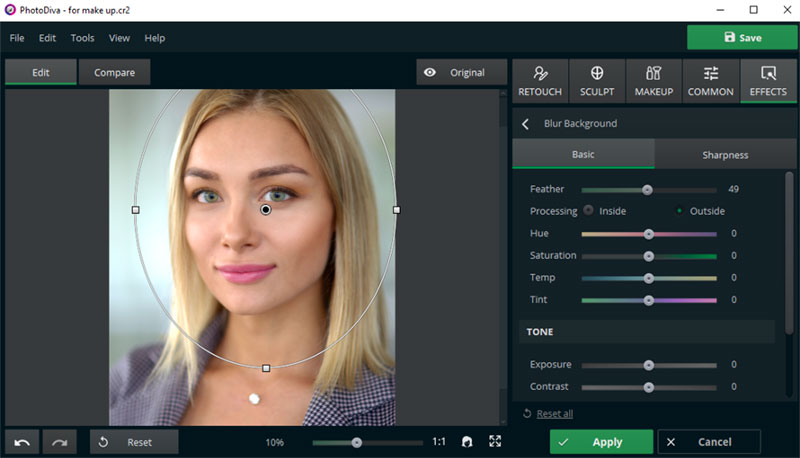
The blur background comes with the option to draw around the face for applying the selective blur. You will be able to draw a circle or oval shape around the face to make the adjustments.
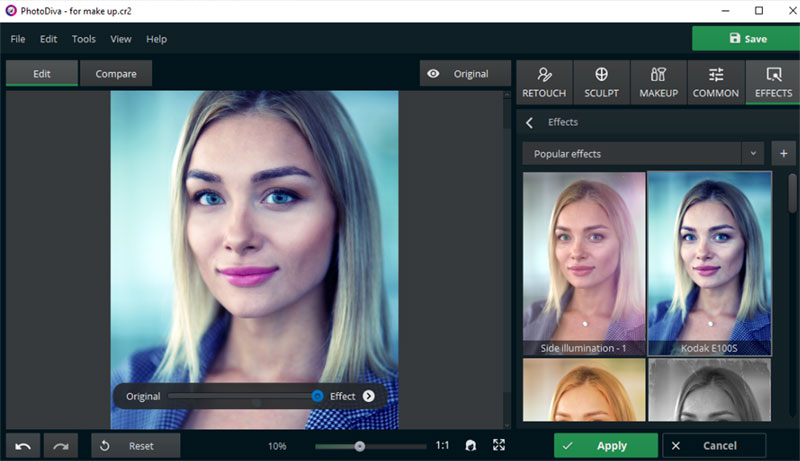
In the “Add Effects” section you may find filters, just like those on Instagram. There are multiple varieties of filters to choose from. It includes vintage effects, toning effects, movie effects, photographic film effects, and lighting effects.
The program provides you with a slider to vary the strength of these effects.
So, if you want to give special effects to the image, you can do it using this module.
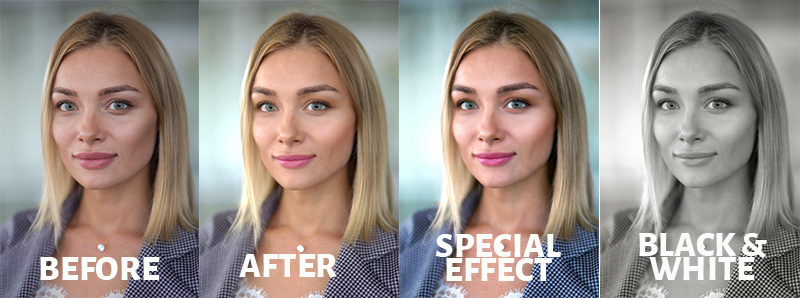
The before-after effect of PhotoDiva Pro on the beauty portrait is shown above.
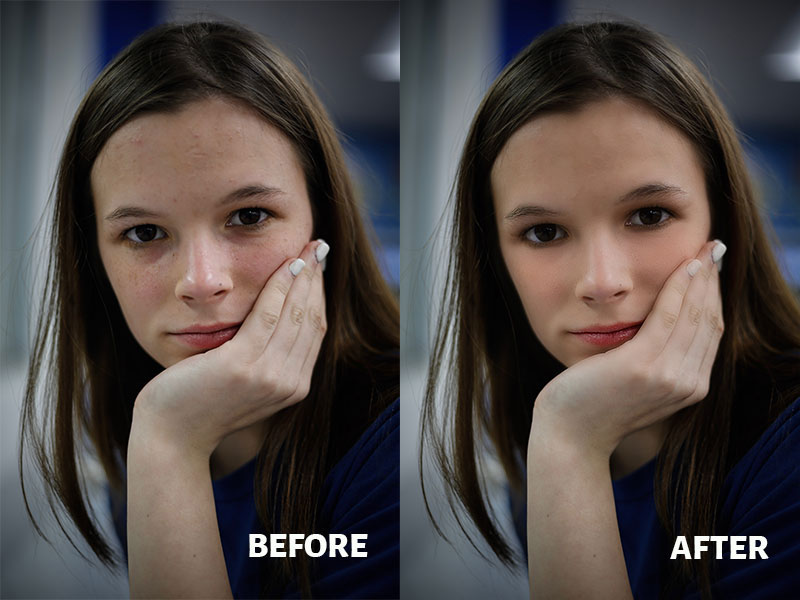
PhotoDiva Pro Before-After Images
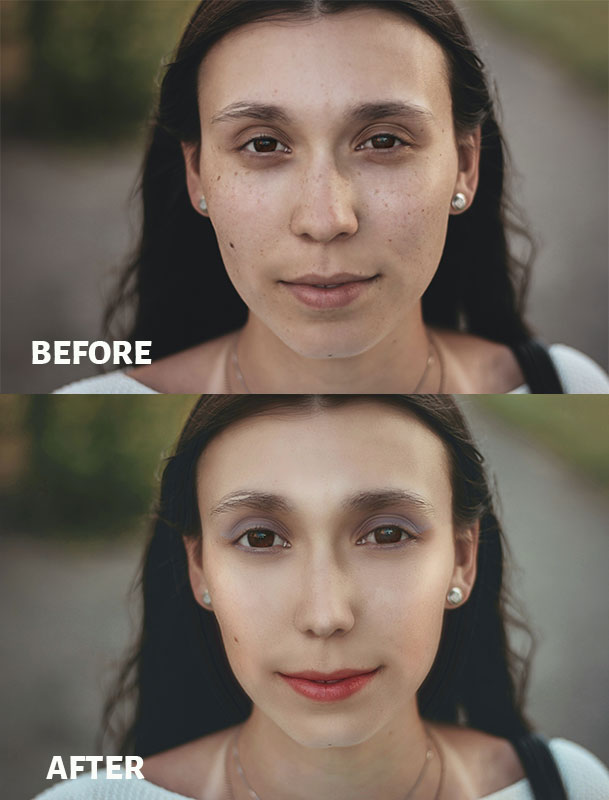
I have tested the software on a few other images also. The before-after retouching images are shown below. I have used the spot Healing brush and Clone stamp for these three images. It does a good job. But, I feel that the Healing brush needs a little more improvement.
Conclusion
PhotoDiva Pro does a decent job when it comes to portrait retouching. So, if you are looking for an easy-to-use free portrait editing software, then PhotoDiva can be a good option. You can download and use the free version also. The only difference is that the free version does not support RAW files, Makeup Module, Sharpen and Blur submodule, change background option, and the blur background option.
I liked the face sculpting, makeup module, and the retouch options. They are cool and easy to use.
You don’t have to take care of complicated settings like Adobe Photoshop for facial retouching.
I wish they release this software for the Mac OS also. Many of the photographers and photo retouchers (including me) use Macs for their photo edits.
There is no lag or delay while using this free portrait editor.
This software will really help to save good amount of post-processing time.
Another thing which I liked about the PhotoDiva Pro software is that when you close and open the same image for editing, then the software will ask you whether you want to load the version with the previous edits of the same image.
You can always give it a try by downloading the free portrait software that comes with limited features and further upgrade it to PRO.
I think the full version of the software will be needed if you are planning to use it for professional portrait image retouching.
It’s good to have these tools, but like with many things, they should be used in moderation. I tend to only remove blemishes in skin which would be temporary anyway. Removing someone’s pores is too far for me. I actually enjoy looking at images that have texture in the skin because these days it feels more authentic. I’m sure the person in the photo would rather look 10 or more years younger though.