10 Useful Focusing Tips for Photographers
As you all know, all the latest digital cameras come with an autofocusing feature. It is one of the fastest and easiest methods to achieve a focus lock on the subject. Still, there are many photographers out there who are facing issues while using the Autofocus feature.
You will be doing a photo shoot and when you sit in front of the computer to edit the images, you may be surprised to see that many of your images are not focused properly. There are many reasons for this. In this article, I will share some useful camera autofocusing tips. You can use these tips to reduce such focusing errors.
1. Shutter Button for Autofocus
In all the cameras, the focusing will be integrated with the shutter trigger button by default.
When you half-press the shutter button, the camera’s autofocusing system locks the focus on the subject. When you fully press the shutter button, the camera captures the image.
So, make sure to have a good focus lock on half-press. Only after that do the full press for capture.
You should be stable while doing this process. You can even mount your camera on a tripod to capture the image.
Most cameras will not allow you to trigger the shot unless the focus is locked, in Auto Focus mode.
The image can become blurry if you don’t use the right camera-holding technique or if your shutter speed is not enough to freeze the action.
2. Back Button Focus for Autofocus
All DSLR/ Mirrorless cameras come with the Back-button autofocusing feature.
Here, basically, you are removing the half-press autofocusing feature of your shutter button. So, you will need one more finger to do the focusing part.
This button will be usually located on the top right-hand side of the camera, next to the viewfinder. Certain cameras allow you to set this feature on other camera buttons also.
Back button autofocusing is useful in many situations. If you have a stationary subject and your camera is mounted on a tripod then you don’t have to focus on the subject every time when you take the shot.
You can use the Back-button focusing to set the focus locked on the subject and you need to just press the shutter button whenever you want to capture the image. It helps to improve your focus lock accuracy.
You can save some battery life by doing this. The camera draws a good amount of power when it is trying to focus. So, you are losing battery life whenever the camera tries to achieve focus.
3. Live View Focusing

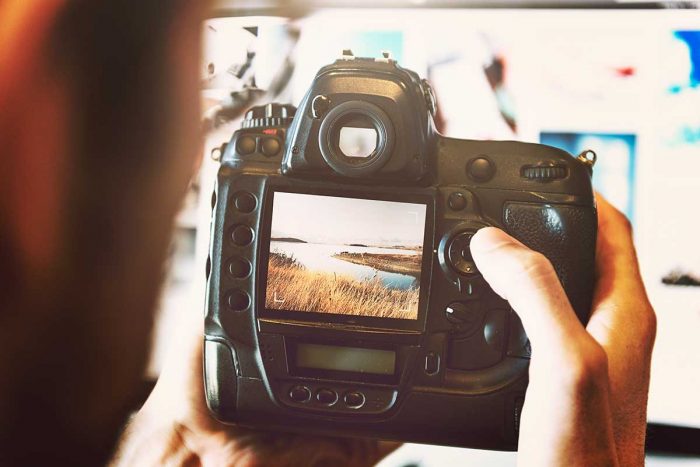
Live View gives the advantage to crosscheck whether you are getting a good focus lock.
You can zoom in on the scene in Live View to 100% and see if the subject is in focus or not. It is not possible when you use the viewfinder. It is more useful when you use Manual focus.
Nowadays, many cameras are coming with a touchscreen display and which allows you to focus on the subject by tapping on the screen. You can use this “Tap to focus” feature also.
4. Focusing in Low Light Conditions
Getting a good focus lock can be tricky in low light conditions.
The first thing you need to try is to bump your ISO level.
But, there is a limit up to which you can take your ISO value. If you cross that limit the image would be full of grains, which even the latest denoising software can’t remove.
So, you need to switch to Manual focus if you cross the ISO limits.
5. Auto Focus Point Selection
Nowadays, you have cameras that come with 9 autofocus points to 256 autofocus points.
One thing to remember is that all these autofocus points will not have the same type of focusing sensors.
Certain focusing points will be faster when compared to others. So, make use of these focus points for a fast focus lock.
6. The Right AutoFocus Mode
Most DSLR and mirrorless cameras come with 3 types of Autofocusing features.
They are “Oneshot AF mode”, “AI Servo AF Mode” and “AI Focus AF Mode”.
You should select the right AF mode from these 3 modes to get a better focus lock.
Consider reading, Understanding Camera Focusing modes to get a better understanding of these 3 AF modes.
7. Cross-Type Auto Focus Point

A cross-type focusing point is believed to be the fastest focusing point in a camera’s autofocusing system. It is nothing but two standard focusing points crossing each other.
You can get a more precise autofocus lock with these focusing points since they work for both horizontal as well as vertical lighting patterns.
80% of the cameras will use a cross-type sensor for the center AF point. Certain high-end cameras will have more cross-type AF points.
So, check out your camera’s user manual to find out which AF points are cross-type. Use these autofocus points to get a fast AF lock.
8. Autofocus Visual Indicator
All cameras will have a visual indicator that gives feedback to the user that the focus is locked on the subject.
If you use a camera viewfinder, the focus point will flash in Red or Green color to indicate focus lock.
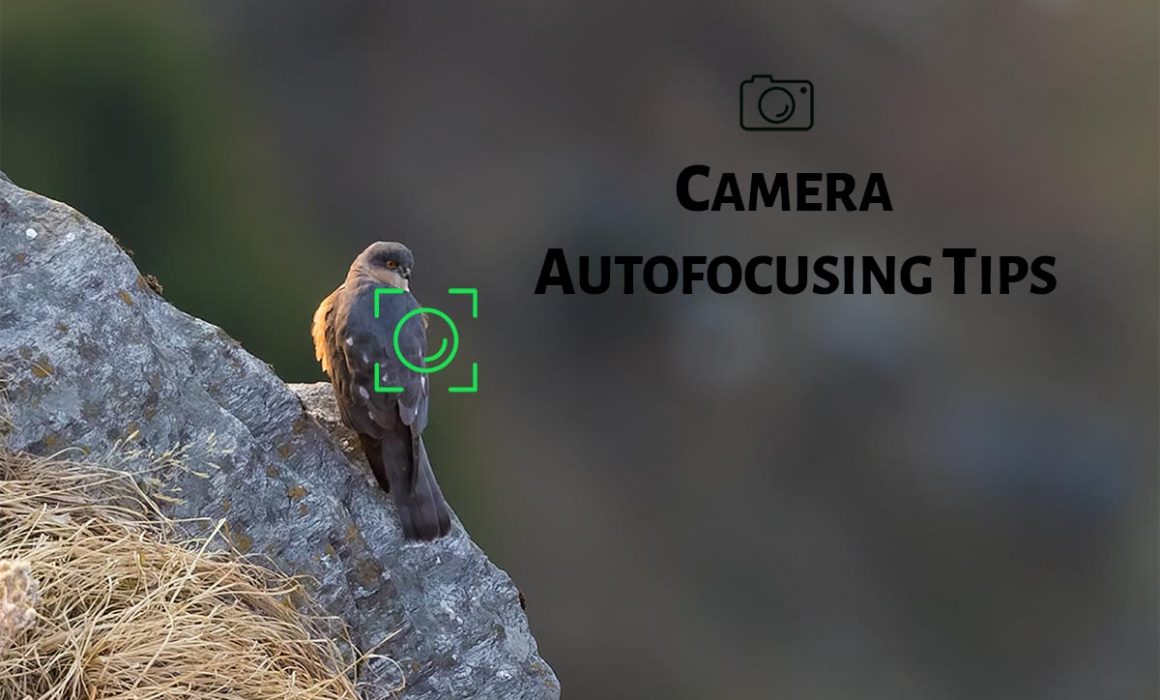
If you use Live View, the focus box will usually turn to green color when the focus is locked and shows Red color when it could not lock the focus.
9. AutoFocus Lock Indicator by Sound
In most cameras, the Autofocus lock will be indicated by a small beep sound.
Make sure to press the shutter button fully only after hearing this beep sound. It ensures that you get a good autofocus lock on your subject.
You can turn off the beep indicator if you want. When you do wildlife photography, you don’t love to hear the beep sound while focusing. There is a chance that this can scare the animal. So, it is your choice whether to use this feature or not. It is good for photographing portraits.
10. Avoid Auto AF Point Selection
Your camera may be intelligent enough to select the subject of interest in the frame and focus accordingly.
But, I highly recommend avoiding this Auto AF feature in cameras.
It can fail in many situations. Sometimes, the subject of interest would be in the background and the camera focuses on the subject in the foreground.
So, it is better you select the AF point rather than allowing the camera to select one automatically.
11. Using AF Assist Points

Newer cameras are coming with AF assist points. It helps you to add more AF points to your current focusing point.
Thus making it a group or zone of focus points. The additional focus points will assist the main focusing point to achieve a good focus.
The active focus points can be seen in the form of clusters. It is useful if you are tracking focus when the subject is in motion.
12. Sharper Details in Front or Back of the Subject
When you check your images on the computer, did you notice that the details in front or a little behind the focus points are sharper than at the focus point spot? If you find this issue then it is time to recalibrate your camera lens.
You don’t have to take your camera lens to a service center for recalibration. You can do it by yourself.
There is a recalibration option in the camera settings. Use it to calibrate your camera lens.
If you are not able to correct it even after recalibration then you need to take it to a service center.
13. Use the Focus and Recompose Technique
Even though cameras come with multiple focus points, there are situations where your subject of interest would not be in any of these focus points.
So, what will you do? Here, you need to use the Focus and Recompose technique.
Use the nearby focus point to focus on the subject. When the focus gets locked, hold the shutter button in the half-pressed position (if you are using the shutter button for focusing also).
If you use the Back-button focus, you need to press it to lock the focus. Then, move the camera sideways in such a way that you get your desired image composition and trigger the shot.
It is a good habit to check the image once to ensure that things are in focus.
14. When Autofocus fails
There are situations when autofocus can fail. It can be due to an error in the camera and lens system.
When you are in such a situation, switch to Manual focus and turn the focus ring in the clockwise or anticlockwise direction to get the focus locked.
It is recommended to use a Tripod when you use manual Focus. Also, do a 100% zoom to get the perfect focus lock.
Make use of these focusing tips to capture better images.

