Why Are My Pictures Blurry + 15 Ways To Fix It
Are you getting blurry pictures in your camera? If yes, then you are making some mistakes while capturing the image. Blurry images are a common mistake made by most amateur photographers. There are multiple reasons for this unnecessary image blur. I will explain the different mistakes that cause this blur and how to fix them. If you are a beginner in photography, then you will find it really helpful.
15 Tips To Avoid Blurry Pictures
1. Select The Correct Shutter Speed 📷
The most common issue that I have seen across amateur photographers is the wrong shutter speed selection. Your image will be blurry if you don’t select the right shutter speed.
First of all, you need to take the motion in the scene into account. You need to set higher shutter speeds for fast-moving subjects like a moving car, flying bird, running animals.
If you choose a slower shutter speed, then you will end up in a blurry image of the subject. The choice of shutter speed will vary for different subjects and it will depend on the speed of the subject.
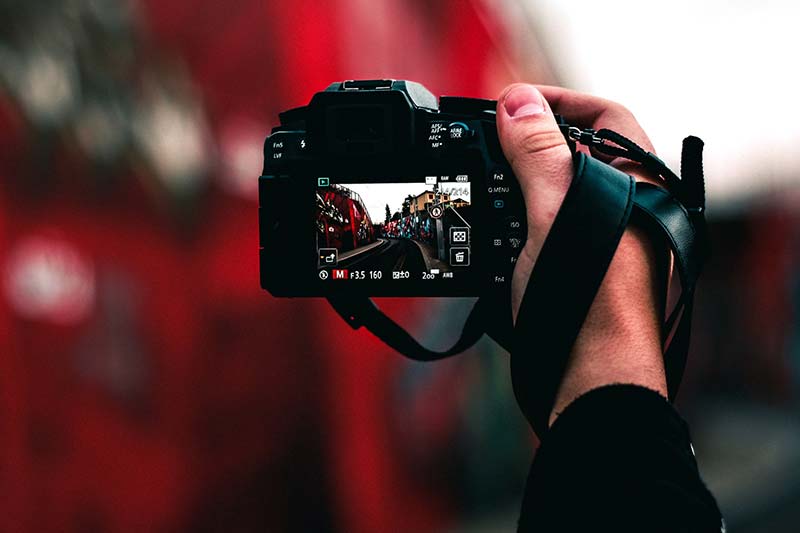
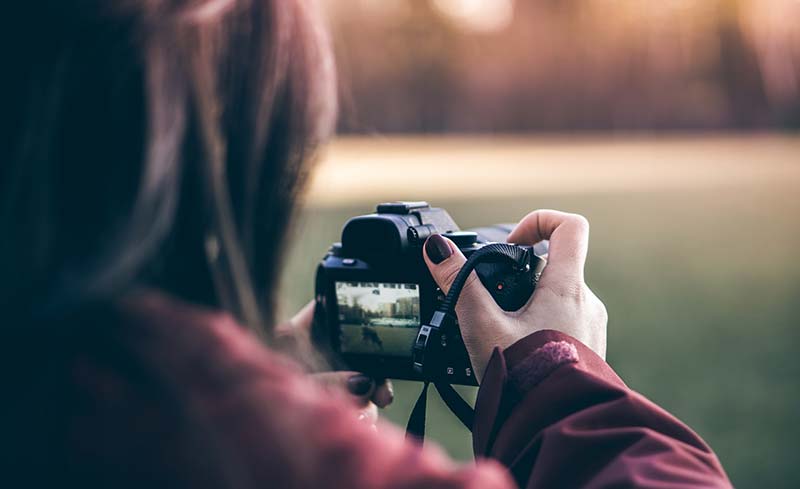
2. Right Camera Holding Technique 🤳🏼
If you are a newbie in photography, then you must learn how to hold the camera properly and take the photo. If you hold the camera in the wrong way and capture the image, then you will end up shaking the camera a lot. It will result in a blurry image.
So, use the right technique for holding the camera. It will help to avoid the shaky image to an extent.
3. Use Mirror Lock-Up For DSLR 📷
If you are using a DSLR camera then you can enable the mirror lock-up feature in your camera. In the normal operating mode of a DSLR camera, when you press the shutter button, the mirror in the front will go up so that the light entering the lens can reach the camera sensor. This jumping of the mirror can create some camera shake which will result in a blurry image, even if you are using a tripod. This technique is mostly used by landscape photographers who use slow shutter speeds for their pictures.
Mirrorless cameras will not have this mirror. So, you cannot use it there.
4. Consider the Wind Factor 💨
You need to take the wind factor also into account. If you are doing photography in a windy location, then it can introduce some blur in the image.
When you have wind, then the leaves of the trees and clothes in the scene will be in motion. So, it will appear blurry in the picture. You need to use a slightly higher shutter speed in this scenario. If the wind is heavy, then a very high shutter speed needs to be selected.
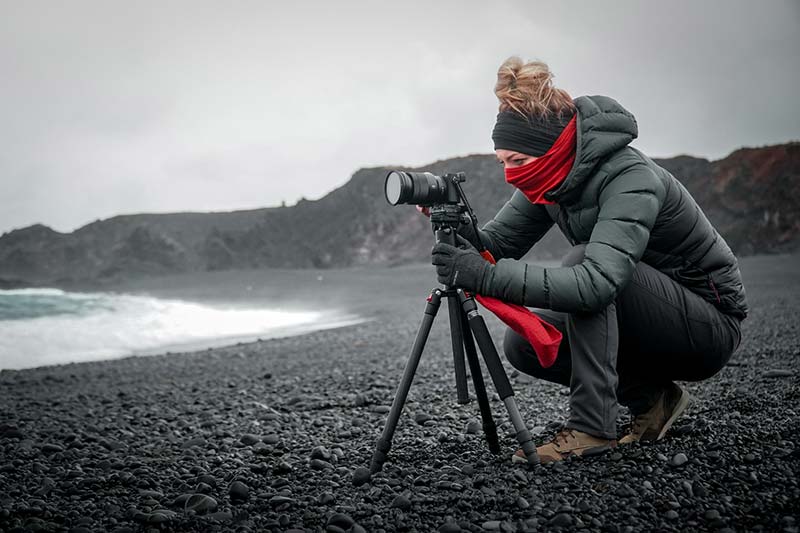
5. Use A Sturdy Tripod 😇
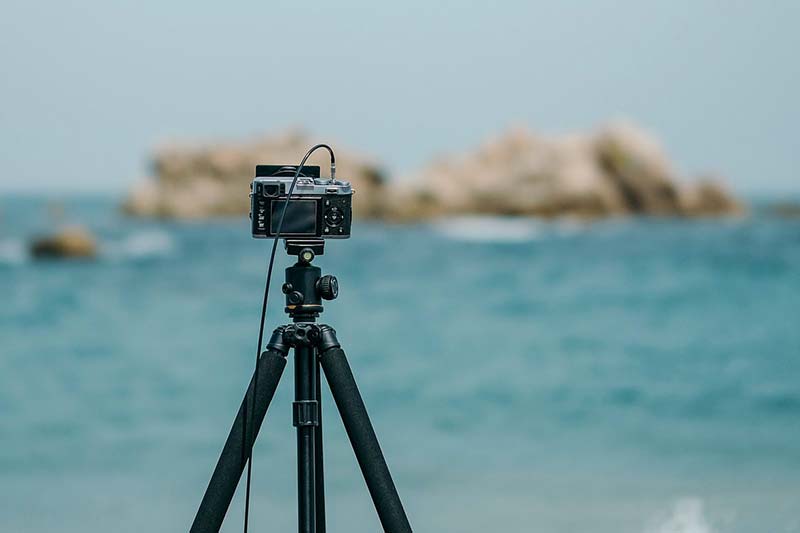
If you are doing photography at slower shutter speeds, then you must use a good tripod. A sturdy tripod will help you get blur-free images. There are different types of tripod heads available in the market. You can choose any according to your photography requirements.
👉🏻 📖 READ MORE: Tips To Select The Right Tripod
6. Use Remote Trigger 😎
Sometimes, even if you use a sturdy tripod, the image can become blurry. When you press the shutter button in your camera then that press can account for a small camera shake. This shake will result in a blurry image if you use slow shutter speeds.
You can use a remote trigger to eliminate the camera shake due to the shutter button press. It can be a wired or wireless trigger.
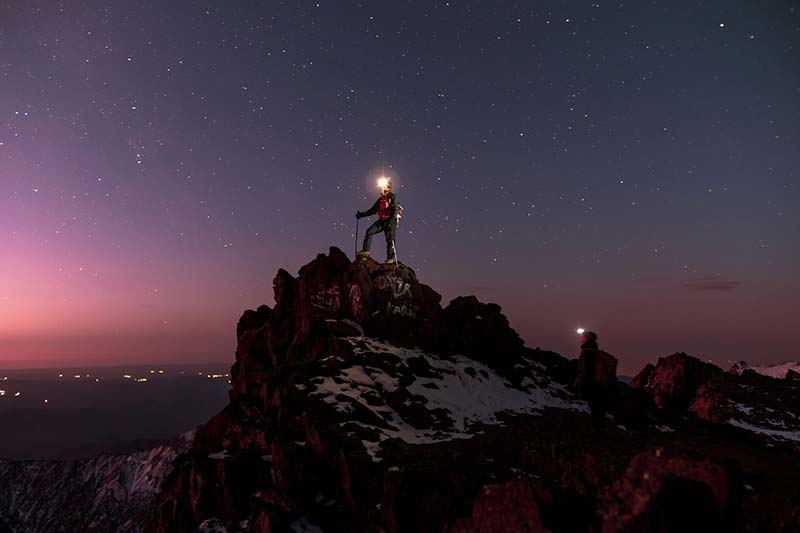
7. Shoot at the Right ISO 🌆
ISO is another key factor that many amateur photographers miss. As you all know, Aperture, Shutter Speed, and ISO combine to give the exposure for the image.
In certain situations, you may have to go with a slower shutter speed to get the correct exposure. But, if you capture the image at these shutter speeds in the handheld state, then the picture will be shaky unless you use a tripod. In such situations, you need to go for higher shutter speeds. The best way to achieve this higher shutter speed is to bump up the ISO. It will ensure that you get the same exposure.
You must not increase the ISO beyond a particular limit. This limiting value will vary for different types of cameras. If the image is too grainy, then even if you use good noise reduction software, the image will be very soft.
8. Shoot at Wide Aperture for More Light 🌅
One way to fix the slow shutter speed issue is to shoot wide open.
You can go for the largest possible aperture in your camera. Thus, more light will enter the camera body which will help you to go for a higher shutter speed. It will help to prevent the image blur due to the camera shake or the motion of the subject.
9. Focus Properly on the Subject 🌄
If you have selected to focus on the wrong part of the subject, then you may not get good sharpness in the desired part. It will result in blurry pictures.
When you are using the autofocus feature in your camera, make sure that the focus is properly locked on to the subject. You must fully press the shutter button after achieving the focus lock only.
If you are using the manual focus option, then make sure that the subject is properly focused by turning the focus ring in the lens. You would be looking into the camera dioptre to confirm that the subject is focused during the rotation of the manual focus ring. Here, you need to ensure that the dioptre power is calibrated for your eye. Otherwise, you may not get sharp images when you press the shutter button.
So, getting the focus right is very critical to avoid blurry images.
10. Choose the Correct Aperture Value 🌃
When you have a fast lens, then you would be tempted to go for a shallow depth of field by choosing the lowest f-number supported by the lens. When you choose a large aperture opening, the plane of focus will be very narrow. If you don’t align the camera properly, then the shift in the arrow focus plane can make the image look blurry.
You can solve this issue in two ways. Firstly, you can go for a higher f-number. Secondly, you can increase the distance between you and the subject with the same lower f-number to get more plane of focus.
11. Clean Camera Lens Front To Remove Smudges 📸
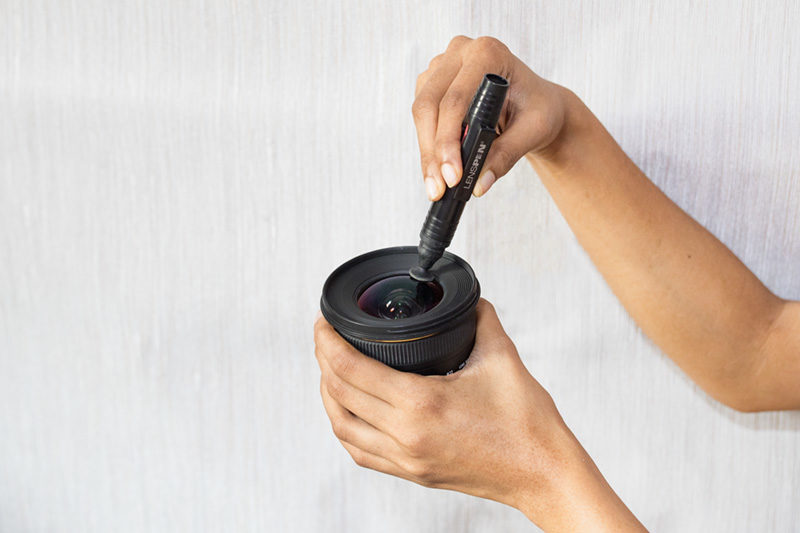
If you are using the camera lens for a long time without cleaning it, then there is a chance that there will be dust and smudges in the front part of the lens.
If the smudges are heavy then it will make the picture soft. So, clean your camera lens properly to remove all the dust particles and fingerprints.
12. Calibrate Your Lens 📷
Sometimes the reason for blurry images can be due to the autofocus issue of the lens. One thing you can try is to calibrate the lens. Calibrating the lens is the process of fine-tuning the autofocus of the lens.
Over a period of time, there can be some margins of error in the lens due to the slight deviations of glass elements inside it. You can easily adjust this shift in autofocus in the lens by attaching it to a camera body and calibrating this setup. All DSLR/ Mirrorless cameras come with the calibration option. Refer to the camera manual for more details.
Once the calibration process is over, you can try capturing some pictures to see if the images are getting sharp or not.
13. Haze in the Scene 🏝
If there is haze in the scene, then it can make the image appear more dreamy. So, you may not get a good tack-sharp image even if you use the best lens. It is basically a weather condition where you don’t have much control. It is commonly seen when you try to capture images in the desert during the afternoon time.
The only way to fix it is to avoid shooting in such weather conditions. Sometimes, moving closer to the subject can help you to remove some amount of haze. But, you may not be able to do it every time.
14. Fungus in Lens Elements 📷
If there is a fungus in the lens element, then the images will look hazy. Thus, your pictures will look blurry. If that is the case, then the only way to fix it is to give the lens to the authorized service center for cleaning to remove the fungus. The fungus will appear in the form of webbing inside the glass elements of the lens. You can hold the lens alone and see it for yourself. So, you cannot remove or clean it by yourself.
15. Give Camera For Service 😎
If you have tried all the above tips and still you are getting all blurry images in your camera, then there is something really wrong with the camera. So, it is better to give the camera to an authorized service center for checking. If there is an issue with the focus system or any elements of the camera they will be able to find it out and fix it.
Conclusion 🚀
Now, you know why your pictures are blurry. You would have also learned the different fixes that you can do for each of these issues. If you face a blurry image issue anytime, then you can definitely make use of these tips to get the picture right.