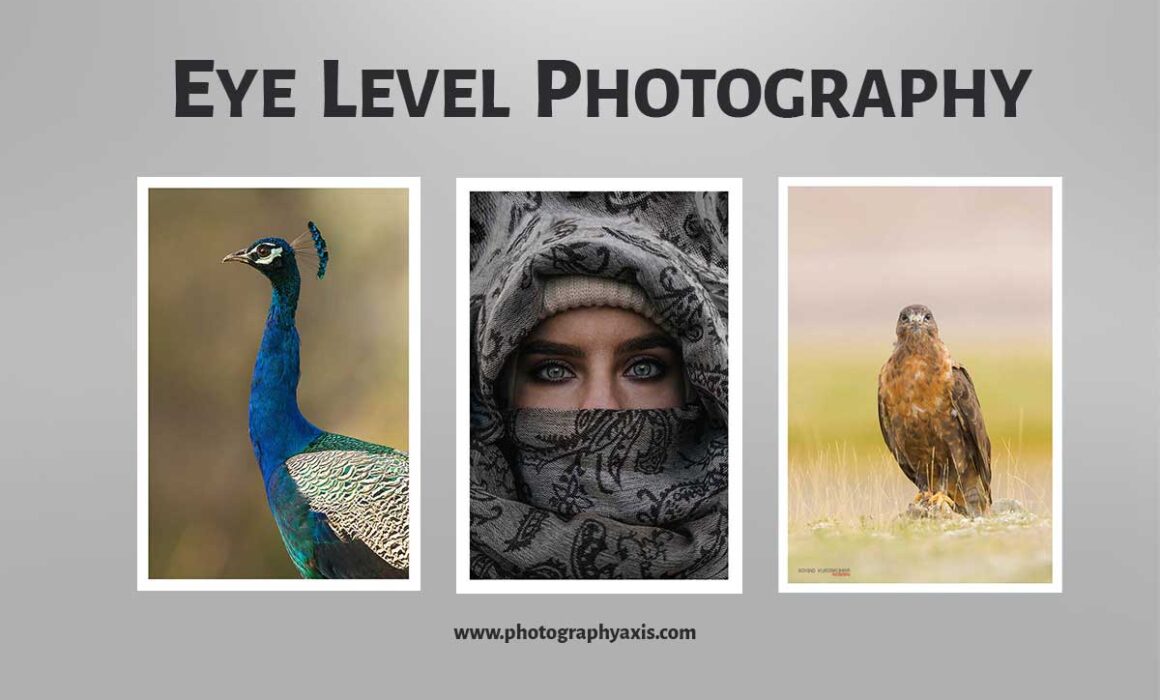
Eye Level Photography – How It Helps to Improve Images?
When it comes to photography, there is something called the “point of view“. It is the place where you keep the camera for a photoshoot with respect to the position of your subject. There are multiple points of view in photography. Eye level view photography is one such view.
As a photographer, it is essential to understand the eye level point of view in photography. We will learn about this photography technique in detail in this guide. There are many ways to achieve an eye level shot in photography. We will also see all those techniques.
What is Eye Level Photography? 📷
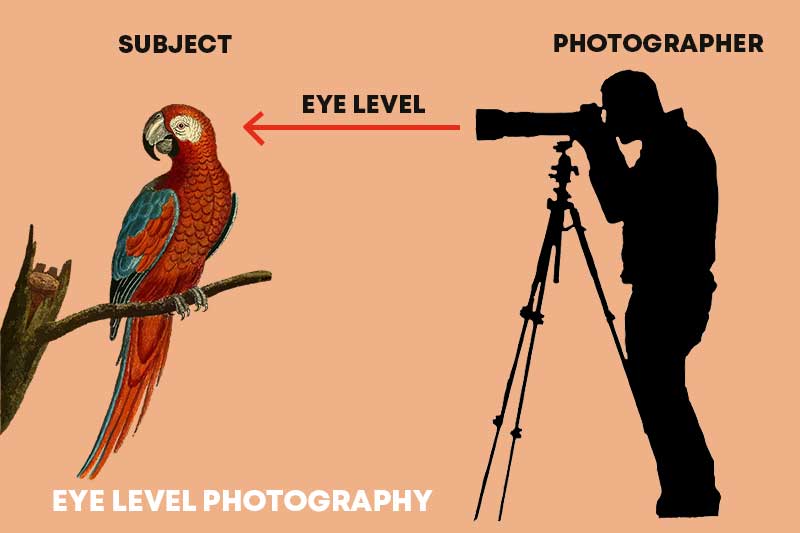
Eye level photography is a point of view in photography. Here, the camera will focus on the subject with the subject’s head at level with the camera. It applies to all types of photography. It helps to connect the subject with the viewer easily. It is also the most commonly used angle to photograph a subject, knowingly or unknowingly. It is often referred to as a neutral view.
Eye level angle photography does not imply that the camera needs to be positioned exactly at the same level as the subject’s eye. Also, it does not mean that the eye of the subject needs to be visible in the image. You can also photograph the subject from behind also. There won’t be any eyes in the final image in such a case.
Eye Level Photography Explained with Example 💥
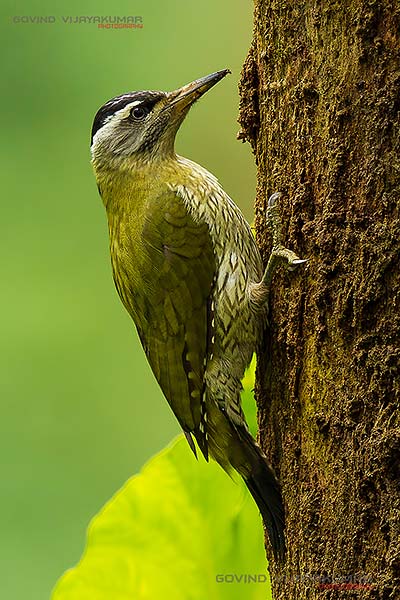
The above image of the Streak-throated woodpecker bird is a great example of eye level view photography. Here, I have photographed this bird with my lens front glass parallel to the bird’s body, and the camera at the same level as the bird.
If I were shooting from a lower angle, with the bird at the top, the image would have a different perspective, and the bird’s body would be out of proportion. This viewpoint works best for portrait shots of birds and wildlife.
Why Use Eye level shots? 🤔
There are many advantages of capturing eye level shots. This angle ov view is one of the best ways to capture the subject’s emotions. Emotion can be anything. It can be sad, happy, angry, etc.
It helps to point out the subject in the image to the viewer. It also helps the viewer to make a good connection with the subject. Thus, this point of view in photography makes the picture more powerful and appealing.
How to Capture Eye Level Shots?🕺🏻
You can use multiple techniques to capture pictures at eye level camera angle. It also varies with different photography genres.
For Portrait/People Shots 👩🔬
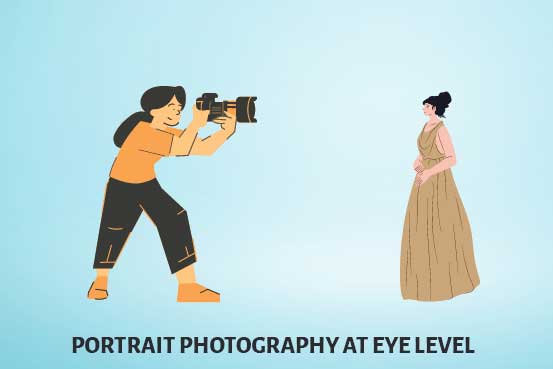
If you are shooting people portraits with your subject standing, you can capture images standing and handholding your camera. You can also use a tripod in this situation. If you use a tripod, you need to adjust the tripod height so that the camera height meets the subject’s face.
If the person is lying down, you also need to lie down to capture the image at eye level angle.
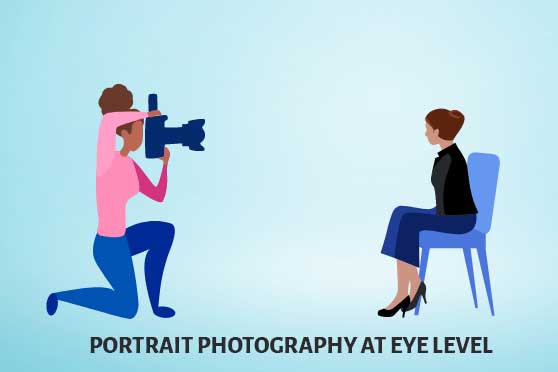
If the person is sitting in a chair, you can bend to get the camera height the same as the person’s face.
The eye level vantage point works best for people portraits.
📖 👉🏻 READ MORE: Birds Eye View Photography
For Wildlife & Bird Photography 🐆🦉
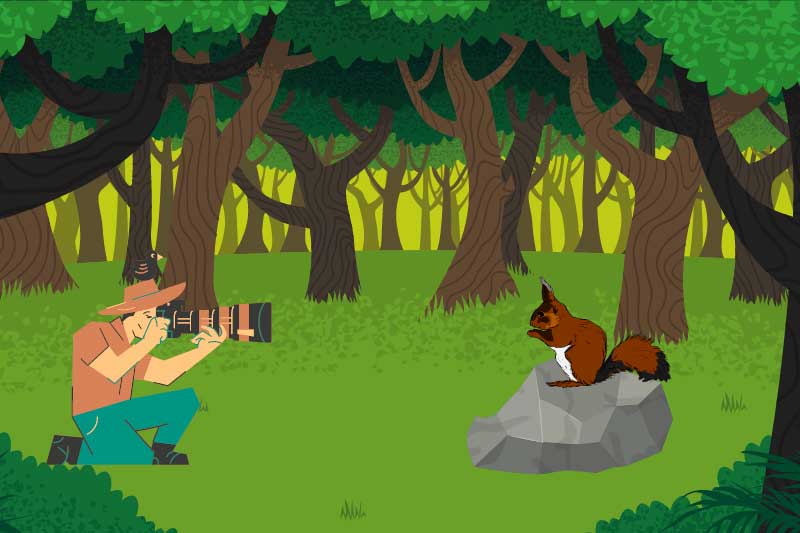
When it comes to wildlife subjects, you will be photographing wild animals and birds. Here, you can’t position your subject. The only way to get an eye level image is by using certain techniques.
As a wildlife photographer, I try to capture most of my pictures at eye level. So, I will share all the techniques that I use to capture successful eye level shots.
1. The Crawling Technique 😎
When you are photographing birds, you may have to employ the crawling technique. It is mainly applicable to desert birds. In the desert, the birds will be sitting mostly on the ground since there are no trees nearby. The desert will be a perfectly leveled barren land, and you will be searching for birds in a vehicle.
When you spot any bird, you can try to come out of the vehicle without disturbing the bird. You can crouch and start crawling towards the bird from a distance. This crawling will help you point the camera at the bird. Thus, you will get a nice eye level image. This shot is often referred to as ground level shot.
2. Positioning Camera and Lens set up on the Vehicle Window 🚙
When you do a wildlife safari, you will be inside a vehicle. You can place a bean bag on the window and place your camera and lens set up on it.
Here, the driving skill of the safari vehicle driver comes into the picture. You can guide him to position yourself at eye level camera angle with your wildlife subject.
3. Birds Perched on a Tree 🦜🌳
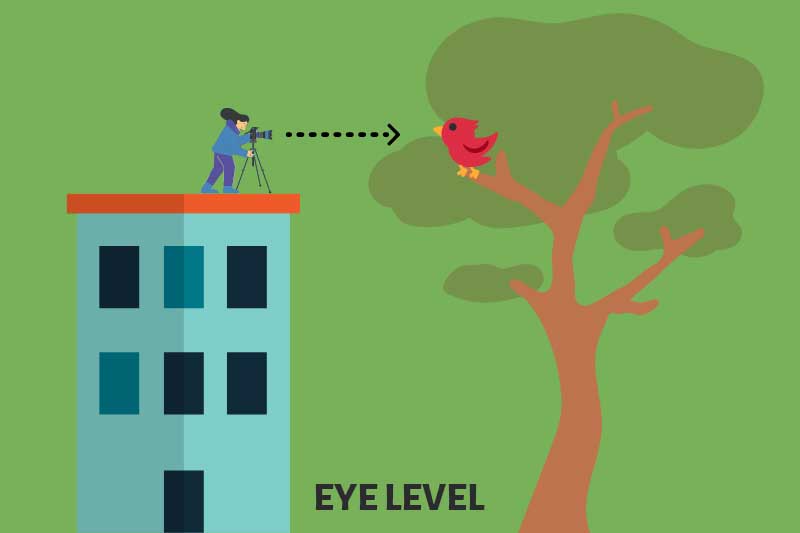
When the birds are perched on the branches of the tree, never go and stand at the bottom of the tree to take the shot. You will not get an eye level view here. You will only get a worms eye view, which will not work for capturing beautiful bird portraits.
Here, you need to look for trees or buildings nearby where you can climb and get to the level of the bird for an eye level shot.
4. Use a Tripod/Monopod
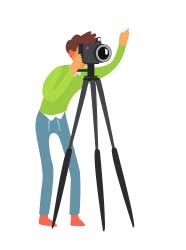
When you photograph birds, you can also use a tripod/monopod.
If you are doing bird photography at a hide, it will be tough to hold the big lens and camera set up in hand for a long time. You can use a tripod here. You will know the exact place where the bird will come and perch. So, position your tripod accordingly.
Sometimes, you will have to trek inside forests to photograph birds. So, you may not be able to take your tripod with you since it is bulky. A monopod is the best choice here. A monopod will help you capture photos at eye level. You will have to make the necessary height adjustment on the monopod to get to do eye level photography.
For Macro Photography 🐝
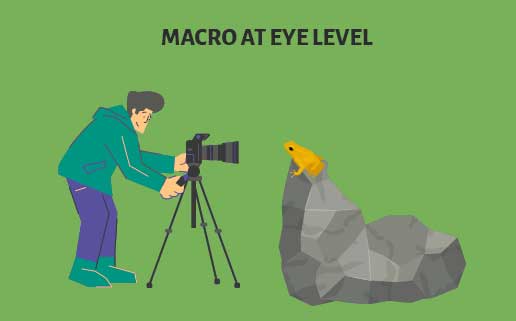
If you are going to capture macro images of insects, frogs, snakes, etc., the eye level photography angle works best for such photos.
In the case of macro photography, you will be getting very close to the subject to capture more details. You want all the parts of the macro subject to be in focus. The focus plane will be very narrow since the camera is close to the subject. So, if you try to shoot from other angles, there is a chance that some part of the subject may not be in focus. It is essential to go for an eye level shot here.
Eye Level Vs Eye Contact in Photography 😃
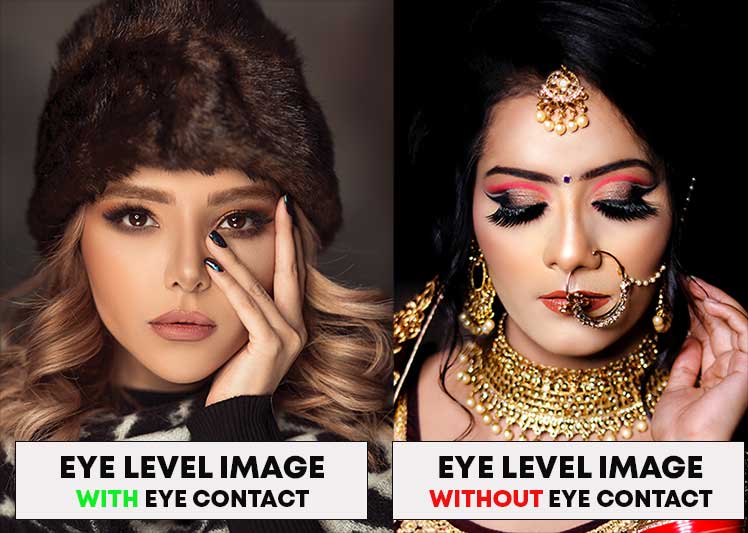
Eye level and Eye contact are two different things in photography. A picture photographed at eye level may not have the subject’s eye contact. You can capture the picture of the subject with good eye contact when the subject looks into your camera lens. If the subject looks somewhere else, you will not get eye contact.
The picture will look more interesting when you capture the subject at eye level with eye contact. In addition, it will convey lots of emotions. So, try to get eye contact with your subject to make the image more powerful.
When to Avoid Shooting from Eye Level? 🤫
All scenes won’t look good at eye level view. Only certain scenes will look good when you capture them from this point of view. So, you cannot use this vantage point for all your pictures. We will see some situations where the eye level perspective does not work.
Consider the case of wildlife photography when the predator (leopard) is watching the prey (deer)from a treetop. If you try to go for the eye level for the leopard, you will end up in an image with the leopard looking down. Here, you need to capture both the leopard and the deer in the same frame to make the picture more interesting. So, eye level images do not work here.
To tell the truth, I am so glad that I came across your article because recently I have started to master photography and it is really important for me to delve into such effective techniques to make professional high-quality photos. I fell in love with eye level photography because I think that this method has an absolutely unique and original concept, opening a lot of opportunities for the photographer. I think that conveying emotions in the photo is one of the most important tasks for the photographer because it gives a photo a special charm and individuality. It is wonderful to make eye level photography because this method is absolutely universal and multi-faced. It has a great deal of advantages and helps you capture the details, which I really like. I think that eye contact has a paramount importance for making a perfect photo because it is impossible to capture emotions without this thing and do it successfully.