Low Key Photography with Natural Light – Complete Guide
In this article, we will go through the techniques used to capture a low key photograph in natural light. Before starting with the technique, let us see what Low key photography is all about.
What is Low Key Photography?
It is a style in which the majority of the image is occupied by Dark tones and Shadows. Only the subject or the point of interest is captured in the correct exposure.
You would have come across the portrait mode in high-end smartphones like iPhone. In this mode, they have enabled the low key option where the background goes completely black. This is the Low key portrait photography option on an iPhone. Here, internal camera software does the job.
We will see how to create such photographs using our digital cameras with natural light. I am a big fan of low key photographs. I never miss a low key photography opportunity in favorable lighting conditions.
Lighting Condition for a Low Key Photograph
When you use natural light for low key photography, you cannot capture a low key photograph in all lighting conditions.
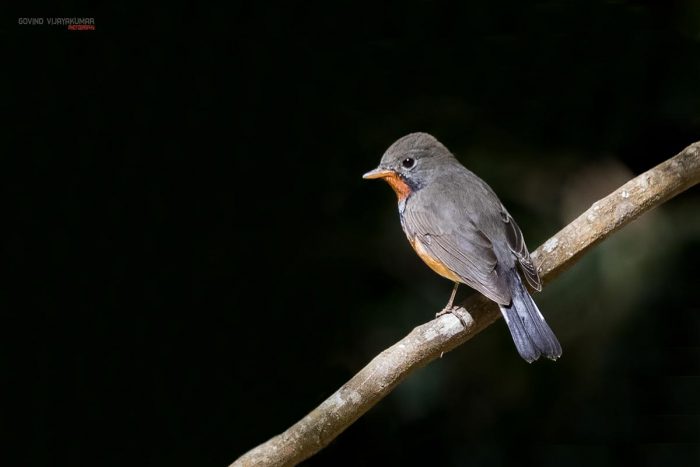
In order to capture a low key image, you need to have some shade behind the subject. A bright subject in a shade or in a dark background is a good candidate for a low key photo.
Camera Settings for Low Key Photography
You can either use the aperture priority mode or the manual mode in camera for Low key images.
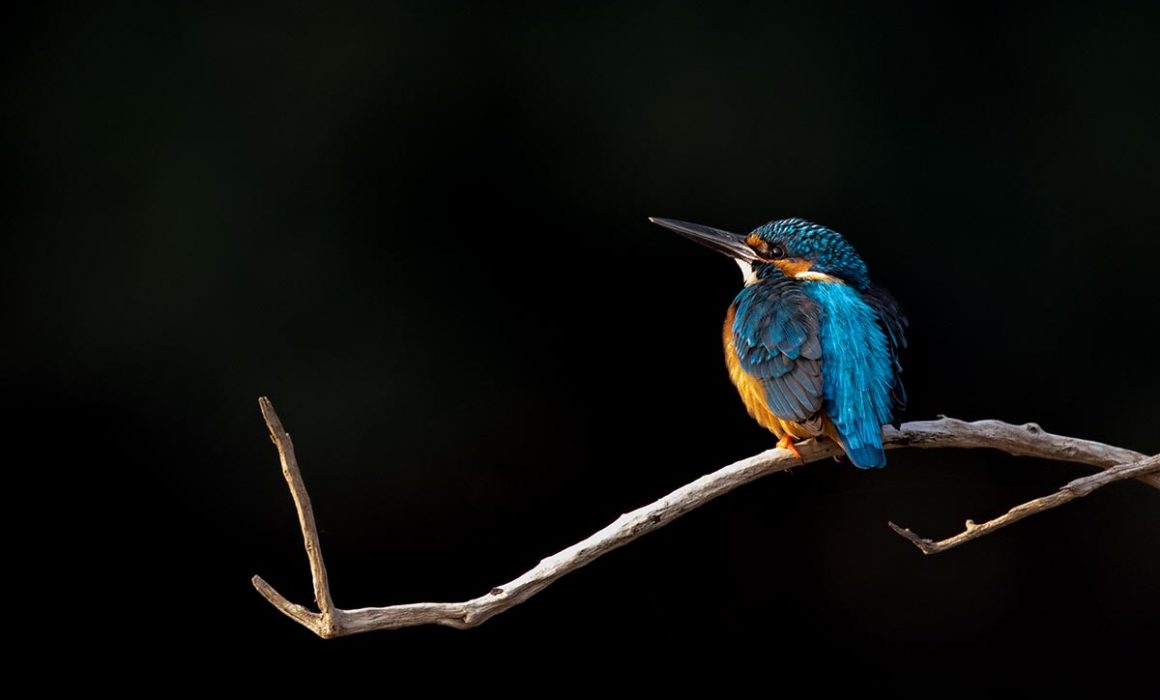
I prefer manual mode. I will explain it better with an example. The picture of the Kashmir Flycatcher bird is a good example of a low key image.
Manual mode with spot metering used for this shot. I realized that it was a good low key candidate since the background portion of the bird was in shade.
I had set the lowest possible aperture value of f5.6 and an ISO value of 400. Canon 1DX Mark ii with Canon 500mm f4 L IS II lens with a Canon 1.4x converter III was used for this shot. So, I had an effective focal length of 700mm.
The shutter speed was chosen in such a way that the image is underexposed by two stops. This underexposure by 2 stops was sufficient to get the black or dark background for the image with the bird and branch incorrect exposure.
I had captured this image in RAW format. Shooting in RAW format allowed me to play with a few camera settings during editing. I have further underexposed the image by 2/3rd stops. So, the image that you see is actually underexposed by 2 2/3 stops.
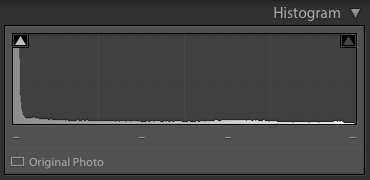
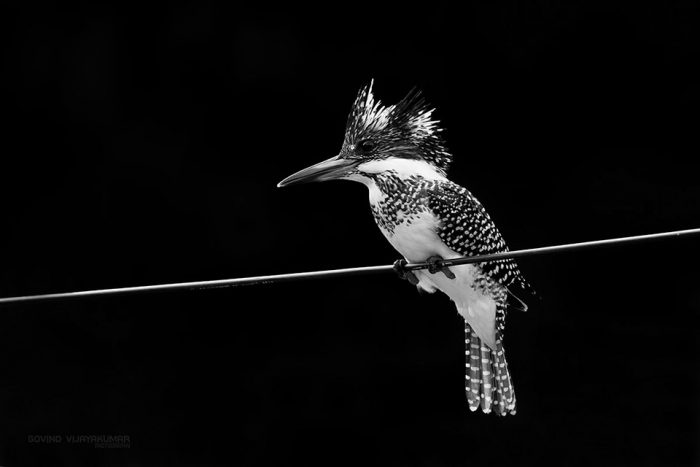
Please have a look at the Low Key Black and White photo of the Crested Kingfisher bird (given below). See how a Histogram will look for a low key photograph. Majority of the area is occupied by Dark tones. So, Histogram shifts to the left side for a low key image.
Infographic : Low Key Photography Technique

You can see that the picture has become more dramatic by using the low key technique. Otherwise, it would look like just a normal photo. So, don’t wait, Start shooting low key images with natural light.