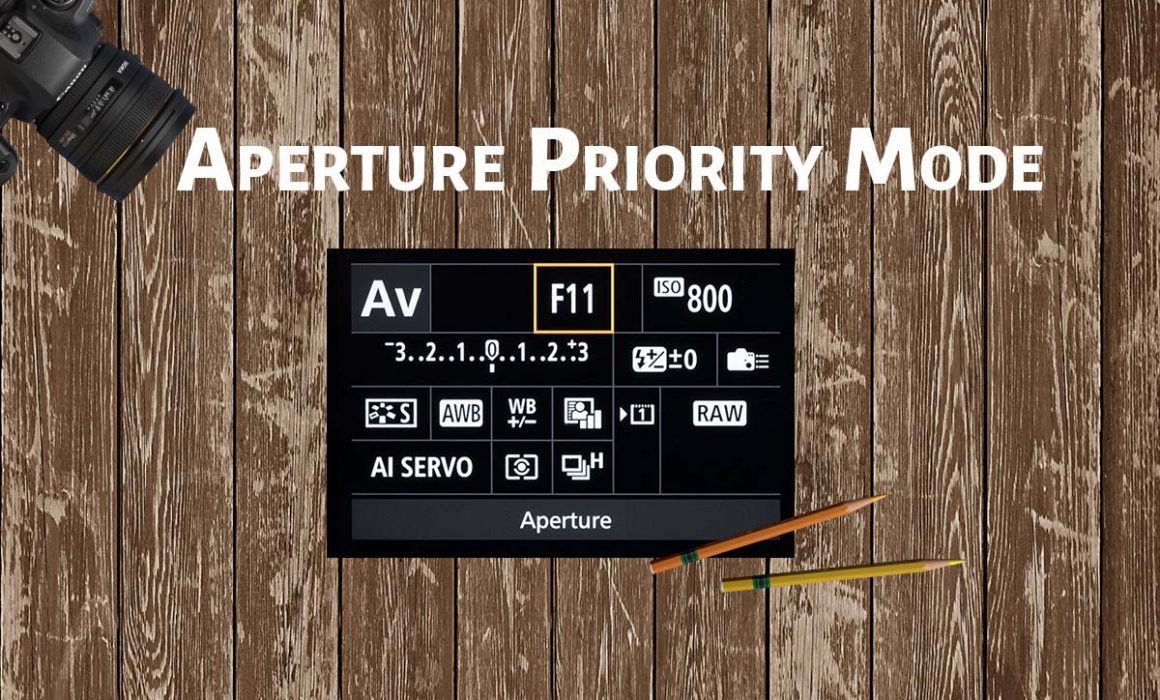
Aperture Priority Mode- The Favourite Mode for All Photographers
In this article, we will be going through the infamous Aperture mode in a DSLR camera or a mirrorless camera. Let us see why Aperture priority mode is so popular amongst photographers. We will also go through this mode in details. It will help you to master this semi-automatic mode in your camera if you are a beginner in photography.
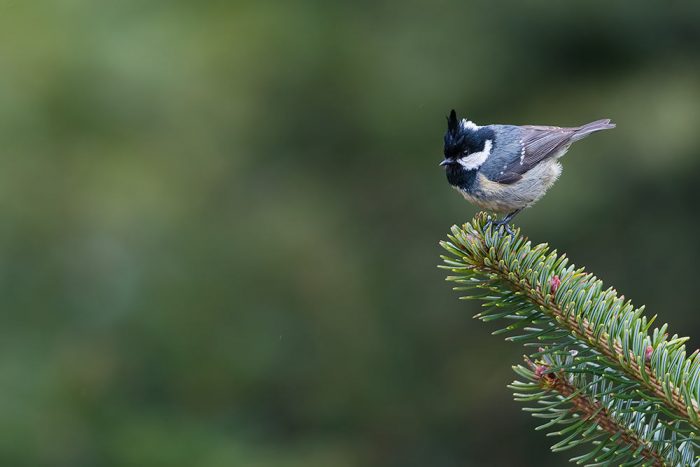
The above image is shot in Aperture Priority Mode.
If you are using a Nikon camera, then you can see the letter “A” in the mode dial of your camera, this denotes the Aperture priority mode in a Nikon. For a Canon user, it is denoted as “Av”.
Camera Settings in Aperture Priority Mode
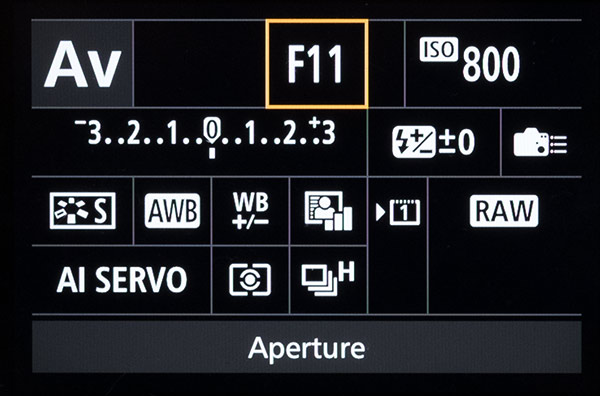
I would be explaining the different settings to be used in Aperture Priority mode using Canon 7D Mark II camera. Turn the dial to Av to choose the Aperture priority mode in your camera.
1. Aperture Setting

Here you can set the Aperture value (f-number), and the camera will give you the shutter speed based on the metering.
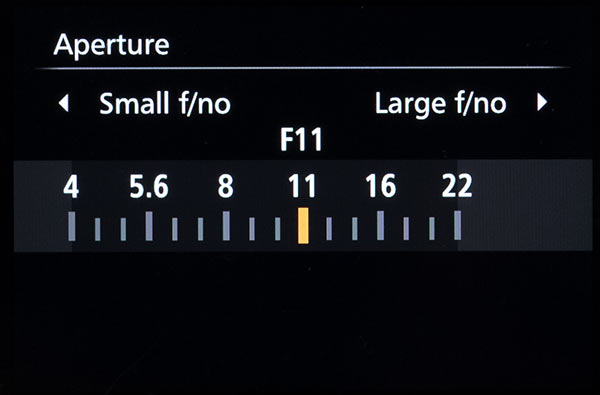
The minimum Aperture value which corresponds to the maximum opening is entirely dependent on the camera lens. You can set maximum values up to f/32 in most of the DSLRs.
Read Understanding Aperture, to know more.
2. ISO settings
Next comes the ISO. You can either set the ISO value to a specific value or put in Auto ISO mode, where the camera will assign the ISO value automatically.
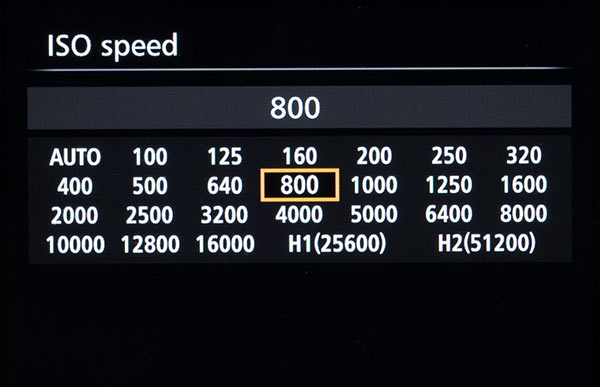
I recommend you to set the ISO value by yourself so that you don’t end up in a grainy picture.
Consider Reading this, Understanding ISO sensitivity, if you want to know more about camera ISO.
3. Exposure Compensation

Next, we have the exposure compensation. In standard cases, you can set the exposure to 0. You can go to the negative side of the slider if you want to underexpose the scene. Go towards the positive side for overexposing the scene.
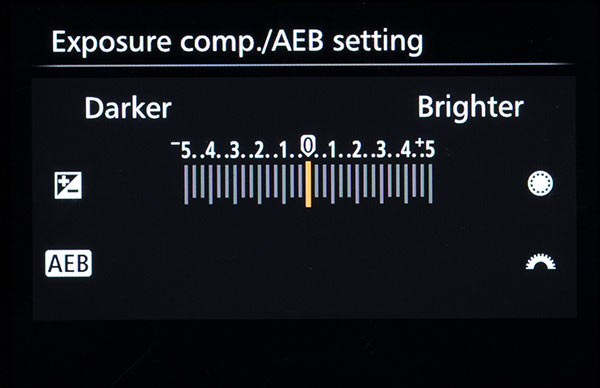
It is the exposure compensation value that decides the shutter speed in Aperture priority mode based on the f-number and ISO.
4. Flash Exposure Compensation

Now, the Flash exposure compensation. If you are planning to use flash, then you can set the flash exposure compensation accordingly.
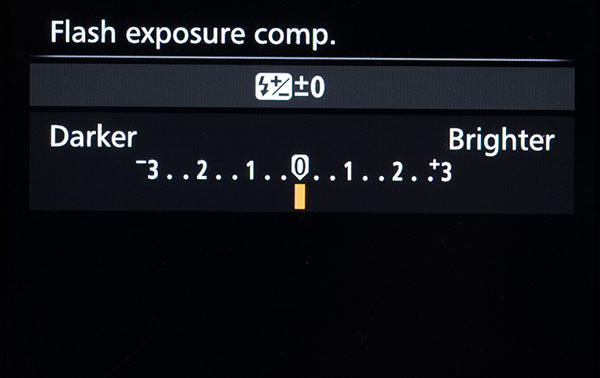
It applies to both internal flash as well as external flash. Here also, you can set it in the slider similar to the exposure compensation slider.
5. Custom Controls

You can make use of “Custom Controls” option if you want to assign a different button for different settings like exposure, metering, focusing e.t.c.
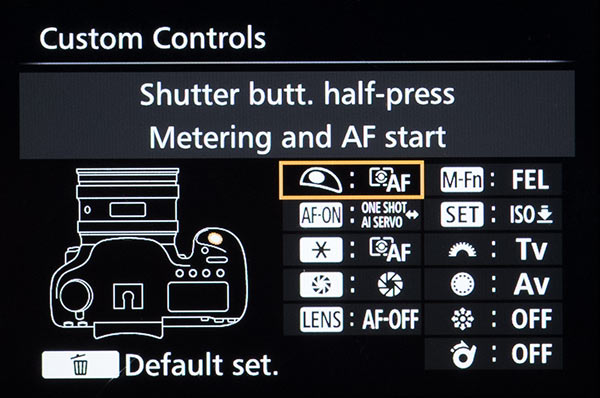
The number of options available depends on the camera model. Higher end cameras will come with more options.
6. Picture Style settings
![]()
Now, comes the Picture Style. Here, you can set the picture style of your choice. You can even set it to Auto so that the camera will automatically assign a Picture style based on the scene.
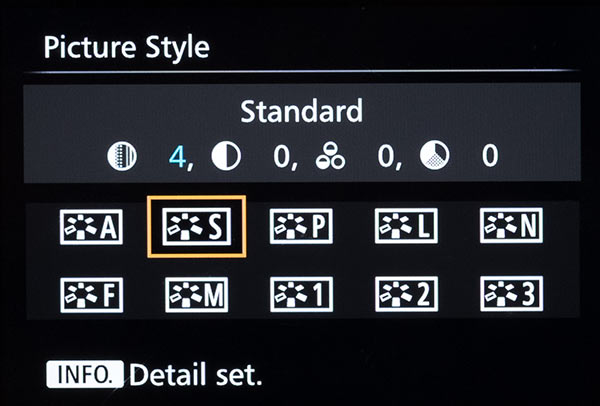
Other style options include Standard, Portrait, Landscape, Neutral, Faithful and Monochrome. If you are doing Black and White photography, then you need to select “Monochrome” as your picture style.
Most of the cameras also allow you to set your picture style. You can set up to three custom styles.
7. White Balance Settings

This setting set the mood and feel of a picture. It should match with lighting. If you are shooting in Daylight, you can set it to “Daylight (5200K)”.
The other options are Cloudy (7000K), Shade (6000K), Tungsten (3200K), White Fluorescent light (4000K), Flash, Custom and a defined value option.
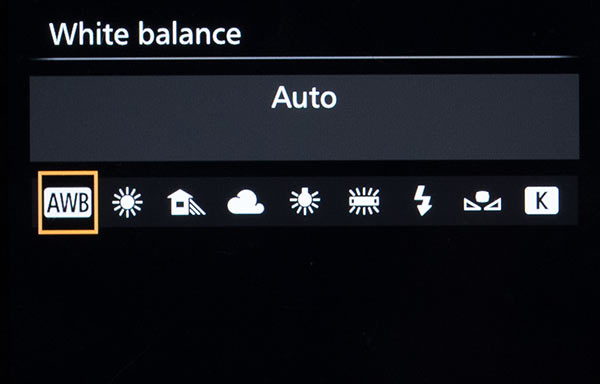
You can even put it to Auto if you want the camera to set the value based on the scene. The Auto mode does a decent job in my opinion. It fails only in tricky lighting conditions.
Consider reading, Understanding Camera White Balance, to know more about white balance settings.
8. White Balance Shift and Bracketing Settings

Any photographer rarely use this setting. You can use it if you want to do a white balance bracket shots, similar to exposure bracketed shots.
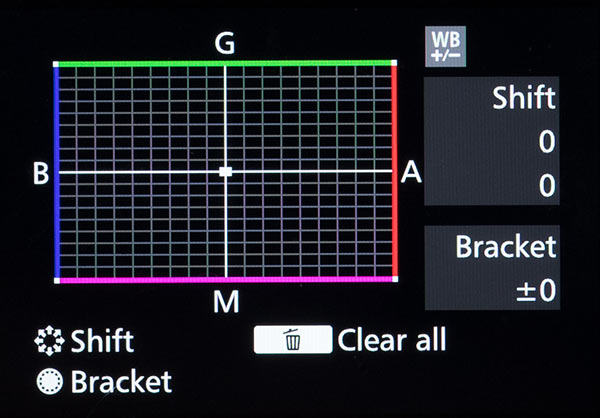
You can also do white balance shifts, where you can make any color look more predominant in the scene.
9. Auto Lighting Optimizer

If you want to enhance the amount of light in the image then you can make use of these settings. It has nothing to do with Image exposure.
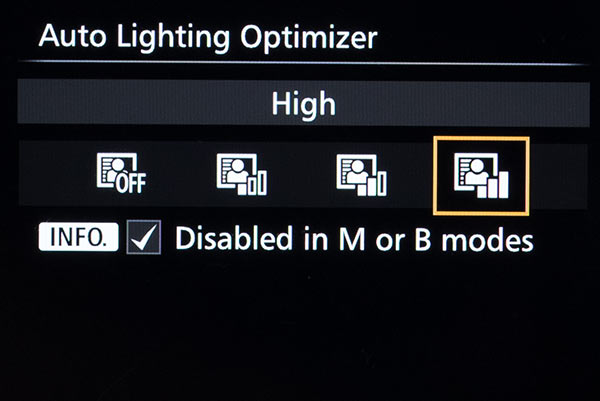
It adjusts the overall brightness of the image. You will have four options here. Low, Standard and High options to use this feature or “Disable” option to deactivate this feature. I recommend using the Standard option.
10. Focusing
![]()
If no lens is attached to the camera, then “MF” will be displayed in this menu, meaning Manual Focus. Otherwise, it will be showing the different focusing options. There is one more case when it will show as “MF”, when you have set the focus to “MF” in the camera lens.
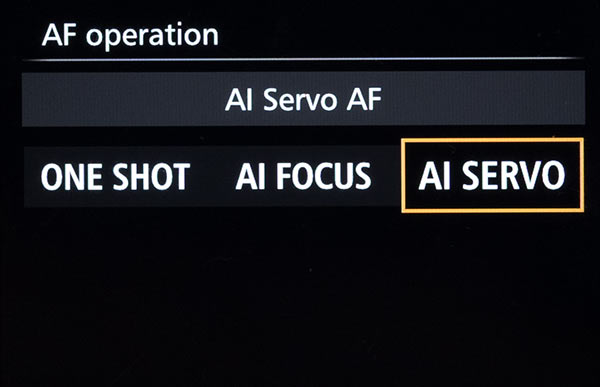
You will have three options once you attach the lens, One Shot, AI Focus, and AI Servo. You can set any of these focusing modes according to the situation.
Consider reading, Understanding Camera Focusing Modes, if you want to know more about it.
11. Camera Metering

Camera metering is an important parameter, which most of the photographer tends to forget. A wrong metering setting can ruin your image completely. So, make sure that you have set it right.
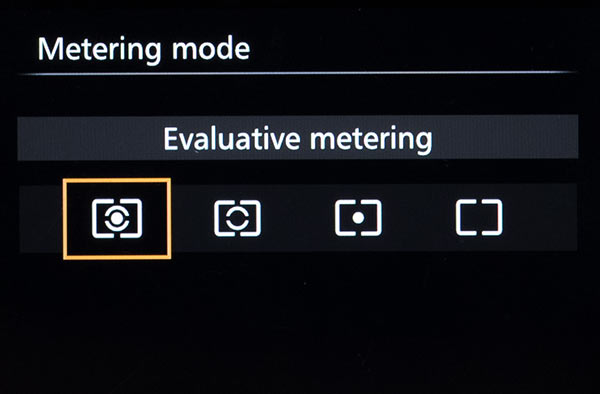
You will have four metering options; Evaluative metering, Spot metering, Partial metering, and Centre-weighted average metering. Evaluative metering is good on most of the occasions.
Consider reading, Camera metering modes to know more about the different metering options.
12. Camera Drive Mode

It is the camera drive mode that decides at what speed you want to shoot. You will have different options like single shooting mode, continuous shooting mode, and timer mode. In the continuous mode, certain cameras will have a high-speed continuous mode, low-speed continuous mode and silent continuous mode.
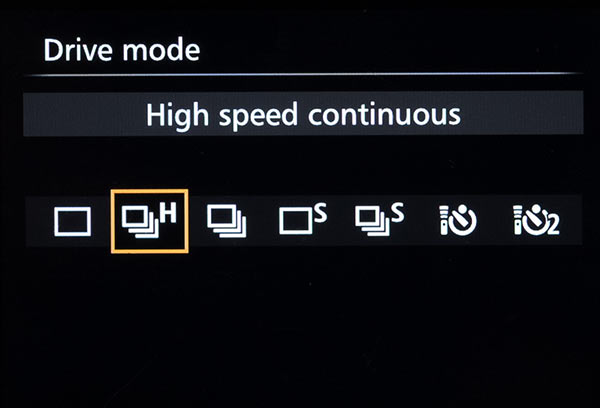
The silent mode will not be completely silent. The shutter noise will be less when compared to the normal mode. You can make use of continuous mode to operate the camera on burst mode.
Timer mode allows you to shoot the camera in predefined time sets like after 10 seconds or 2 seconds. You can make use of this to capture landscape shots when you are using a tripod, or a group photo where you want to include yourself in the frame.
Auto Switch Card
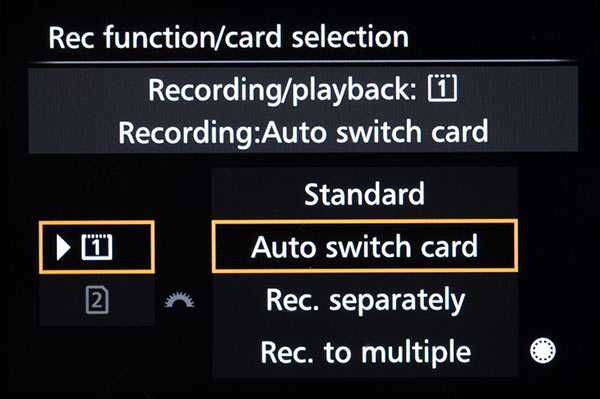
This option is only available in cameras which comes with multiple memory card slots. It allows you to choose the target memory card for recording.
File Format Settings

You can set the image file format over here. You can set it to RAW or JPEG or RAW+JPEG. There is also option to choose a full-size RAW file or a medium one or a small size one. Similar options are also available for JPEG images.
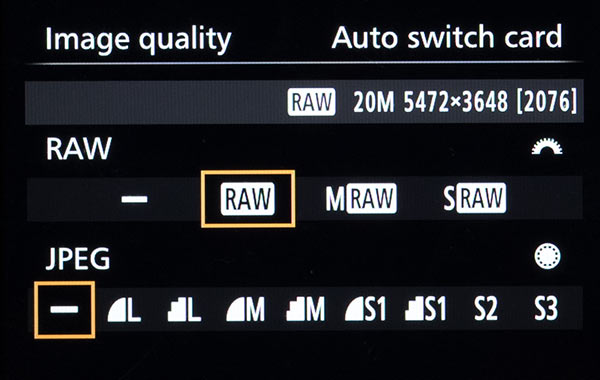
I recommend you to capture your images in RAW format.
You can read this to know, Why capture images in RAW format?
Conclusion
Now, the question is, why is Aperture Priority mode so popular?
The answer is quite simple. It is the easiest way to operate semi-automatic mode in a DSLR camera. You need to set the Aperture value according to the scene and the camera will do the rest.
So, now you are clear with all the camera settings in the Aperture mode of a DSLR camera. Play with these settings to see what they are capable of doing and enjoy shooting photos.