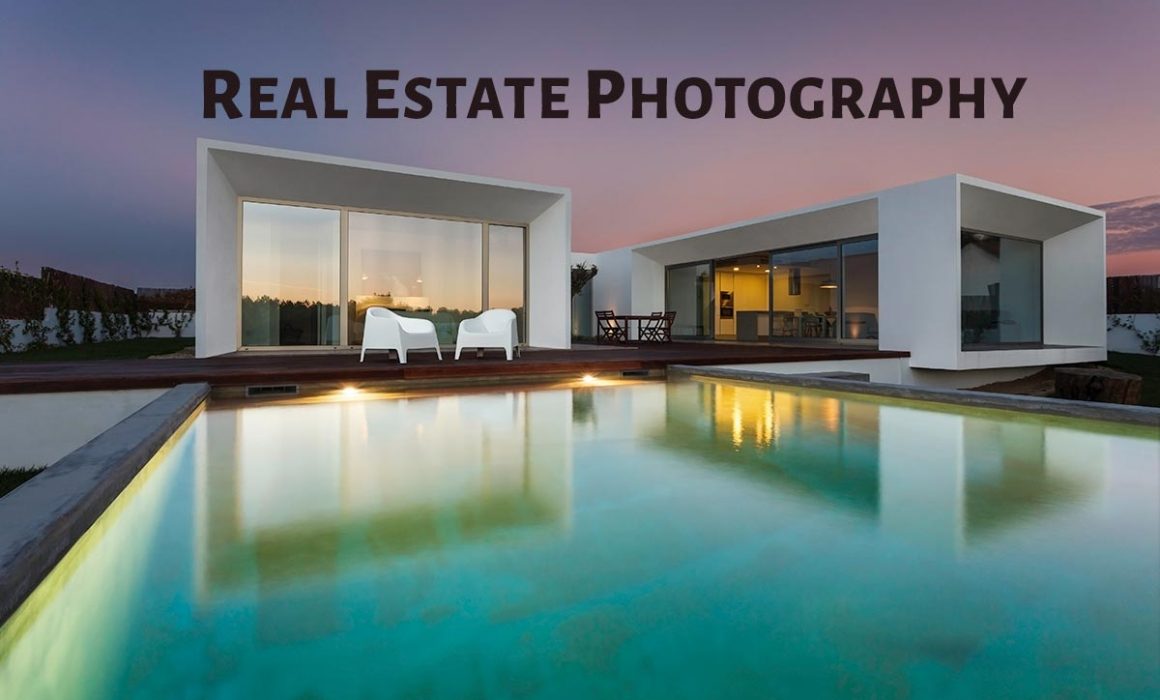
Real Estate Photography Guide
Nowadays, there is a great demand for photographers in the real estate photography field. So, real estate photography jobs are on a rise. This is a good news for a photographer who is dealing with Architecture photography to generate some good amount of income.
Camera Equipment for Real Estate Photography
# Camera
A good full-frame DSLR camera would be the required. Customers would enquire about the camera gear which you are going to use. So, you should ensure that you have a good camera gear with you. A full frame mirrorless camera or a Medium format camera can also be used for real estate photography. Don’t take all your camera gears to the shooting location. Only take the necessary ones.
# Camera Lenses
A good wide angle lens is the right choice for real estate photography. If you are into Architecture photography or Landscape photography then definitely you would be having one. Otherwise, consider investing in one wide angle lens. Don’t use the basic 18-55mm kit lens for the shoot since your customer would be expecting more. Consider camera lenses in the focal length range of 18 to 70mm if you are using a full frame camera. You can even consider using a tilt-shift camera lens. But, I don’t recommend it.
# A Good Tripod
A good tripod is a must. When you are shooting interiors, a tripod will help you to get photos at low ISO values. You can even make use of a remote trigger to trigger your shots. Now, the question would be, Which Tripod head to use? Pan and Tilt head would be an ideal choice. You can use it for shooting videos also.
# Camera Filters
You would need camera filters when you do exterior photography of the real estate property. Graduated ND filters can be useful in this situation. You can even make great shots with the help of ND filters in long exposure mode.
# Drone
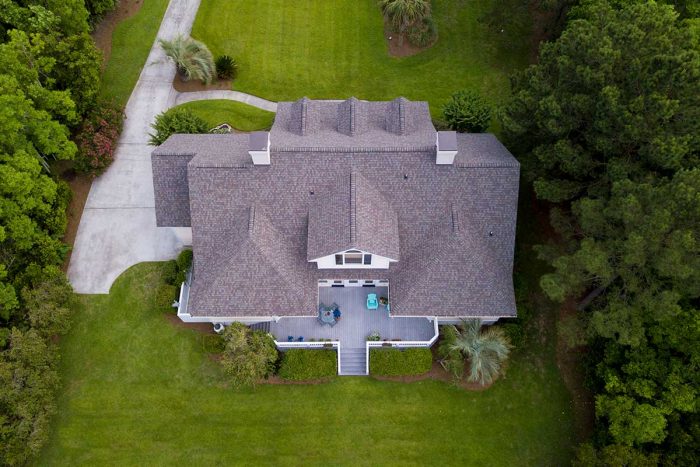
People are not only interested in normal perspectives. They are also looking for elevated perspectives. So, real estate drone photography is becoming popular nowadays. You can even make a nice aerial video of the property using the drone. Consider investing in some good filters for your drone.
# 360 Degree Camera
You can consider investing in a 360 degree camera. This can help you to get the full view of the rooms. As the demand for real estate photographers is increasing so are the photographers. So, you need to give some additional benefits to your customers, to attract them. This is an optional one.
Real Estate Photography Portfolio
Before approaching any clients, make sure that you have a good portfolio of your real estate photography works. If you are new to the field then I recommend making a portfolio online. You can do some free service initially to get photos for your portfolio. Make sure you have a good website to showcase your photos. Carry a Laptop or a tablet to show your works to customers.
Exterior Photography
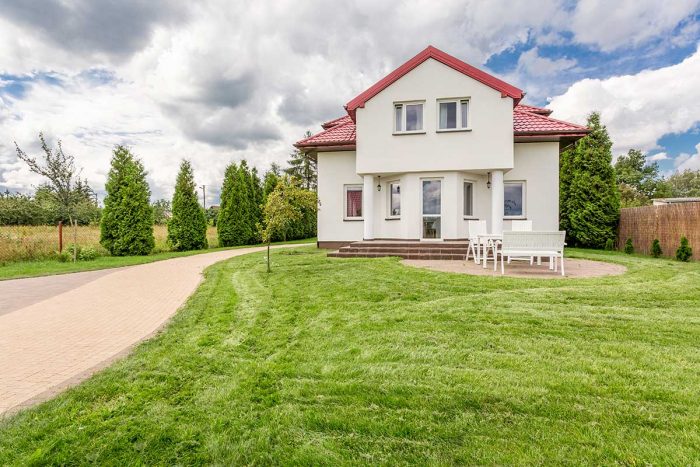
This is the most important part of real estate photography. So, it is worth putting some extra effort in capturing the outside view of the property. This photograph would be the primary source of attraction for a potential buyer. So, it would be good if you do a basic research of the weather in that area. This will help you to know what time is best for photography.
Before starting the shoot, have a good discussion with the property owner. Check with him if he wants to highlight any particular part of the property like gardens or any buildings. You should always keep one thing in mind, “Customer is the King”. So, you should ensure that you photograph the scene accordingly. Make sure that you cover all the exterior areas like gardens, pools, gyms, buildings, parks. Don’t miss anything. Even if you find something not interesting, capture it.
The best time to shoot would be during early daytime or late. You can get good lighting during this time. It would be good if you know on which sides the sunrise and sunset happen. Then you will come to know where the light would be falling at different times. This will help you to plan your shots.
Sometimes you may have to photograph the property at night if the client demands. In this situation, make sure that you have all the lights turned on, both in the interior as well as in the exterior, before photographing. You can even switch off some lights if they cause any distraction. You will have to makes use of long exposure technique to capture this scene. Use external flashlights if you want more light on the property.
Interior Photography
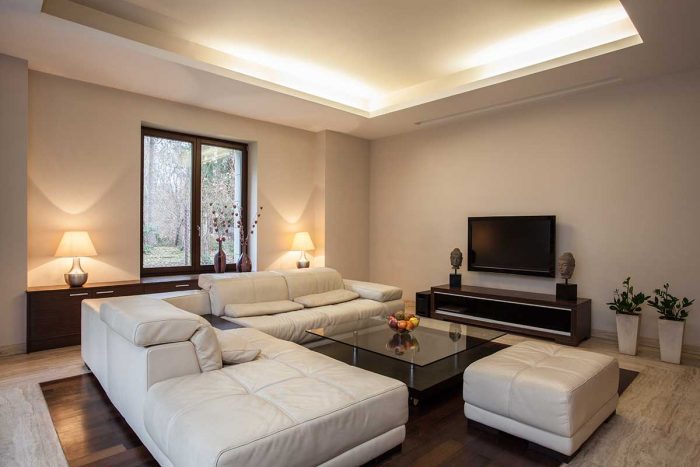
Once the exterior photography is done, the next thing of interest in real estate photography is interior photography. You should cover all the rooms within the property.
It would be a good idea if you can make 360 degree photos of each room. This will look more like a property walkthrough for a potential buyer. It would definitely help to make the sale faster. Make sure that all the things are in place before photographing. If there are any misplaced items, keep it in the right place.
When you are composing for the rooms, make sure that you don’t have any big objects in the foreground. Give some breathing space in the foreground. So, choose your photo angle accordingly.
Sometimes, rooms may be small and you won’t be able to cover it fully in a single photo. So, consider taking a couple of photos in 2 different positions.
Interior Lighting
Like the exterior photography, you will not get the luxury of light for the interiors. So, you need to be creative with the lights. You will have to use a mixture of both natural light as well as artificial lights.
If the rooms are having windows with curtains then you can open up the curtains so that the sunlight comes into the room. This may not be sufficient to lighten the scene properly. You can make use of the lights in the room to add to the natural light. If you find that the light is not sufficient, make use of external flashlights with a diffuser. The diffusers will ensure that you get a soft light in the scene.
Angle and Perspective
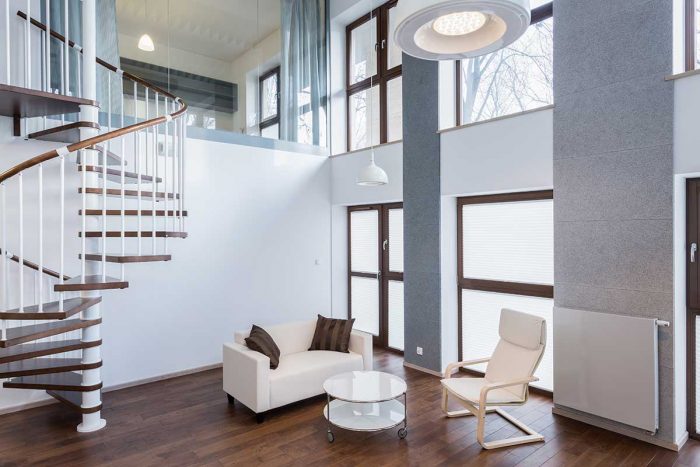
For interior photography, the best position to photograph would be from the corner of the room. This would be true for the 80 percent of the cases.
Now, the question would be, At what height should I position my camera? It is ideal to keep the camera at your chest level. This will ensure that the frame covers the scene in a proper way.
After photographing each room, zoom in the picture to 100 percent in your camera and ensure that you have captured it correctly in the camera.
Post Processing
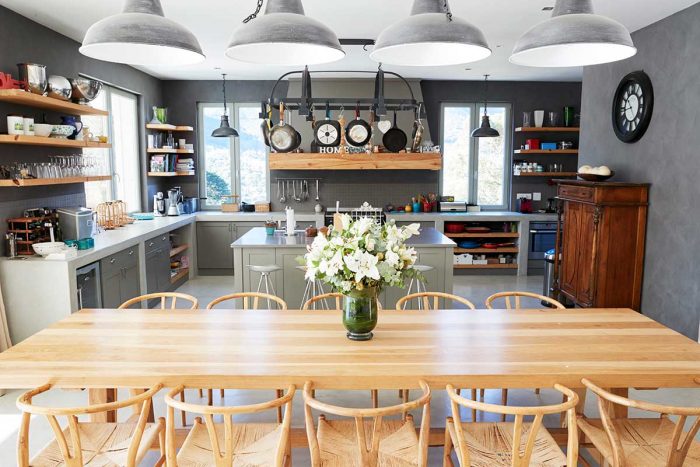
There can be distortions at corners in the rooms and at the edges in the photograph. I recommend correcting these perspective distortions during post processing. If you are into Architecture photography then you would definitely know how to correct it.
Always shoot in RAW. Don’t share the files directly after shooting. Do basic photo editing using your post-processing tools like Photoshop. Fix the camera lens distortions like Pincushion distortion, which is common in wide angle lenses. Set the correct white balance setting, correct the exposure. Whatever edits you do, Do it professionally.
Once you are done with all the photo edits, share the final high-resolution images to the customer. You can also share a low-resolution copy for the web. This would be useful for the client to upload images in online property wesbites.
While photographing, you can even do an HDR photography, if you find any interesting subjects or for the exterior photography. If your camera doesn’t support HDR mode then use Auto Exposure bracketing and take a set of 3 or 5 pictures in different pictures and merge it to HDR in Photoshop or any other HDR tool.
So, Don’t wait, Learn these tips and get into real estate photography.

