10 Tips for Photographing Diamond Paintings
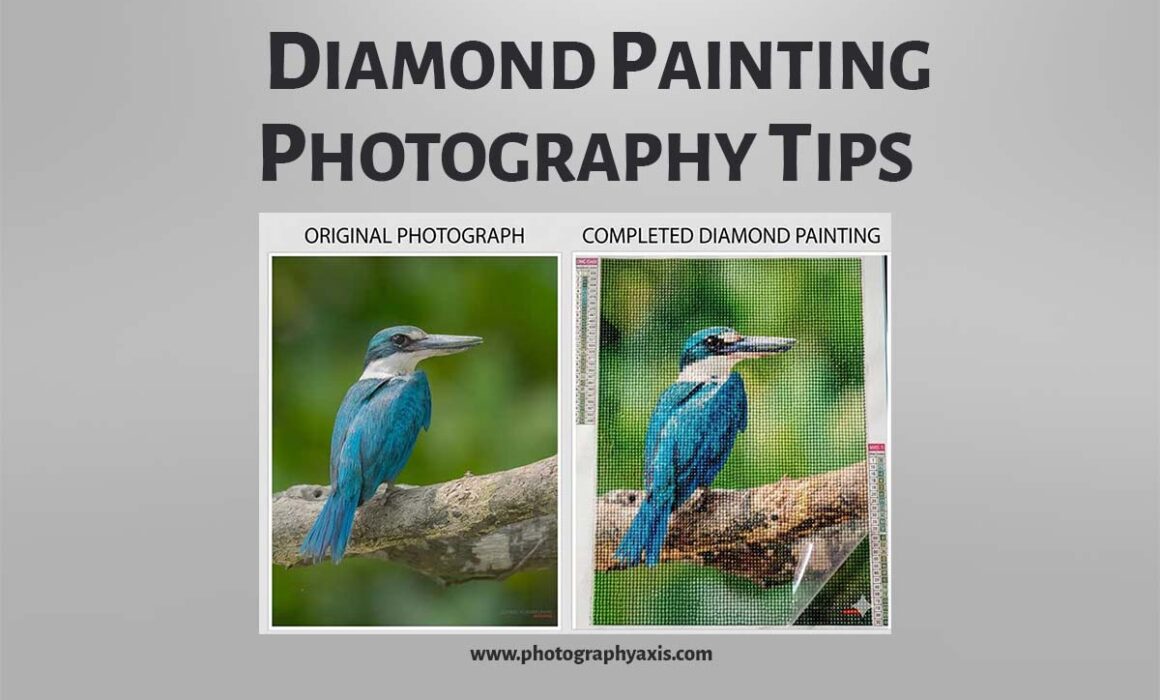
Diamond painting is more than just a relaxing hobby—it’s a creative masterpiece filled with vibrant colors. After investing hours or even weeks into completing a project, you’ll want photographs that showcase every detail and shimmering highlight. However, reflective surfaces make diamond painting photography challenging, often resulting in glare, inaccurate colors, or blurry images.
Whether you are photographing a finished masterpiece or showcasing custom diamond painting kits you’ve designed for customers, high-quality images help highlight the vibrant colors, intricate details, and brilliant sparkle that make each piece unique.
1. Take Advantage of Natural Light
Use natural light for photographing diamond paintings.
Place your artwork near a large window where it receives bright, indirect sunlight. This creates even illumination while preserving the painting’s true colors.
Avoid direct sunlight, as it produces harsh reflections and strong shadows that can hide the intricate details of the drills. Cloudy days or the soft light of early morning and late afternoon are ideal for photography.
2. Go For Eye-level Shot
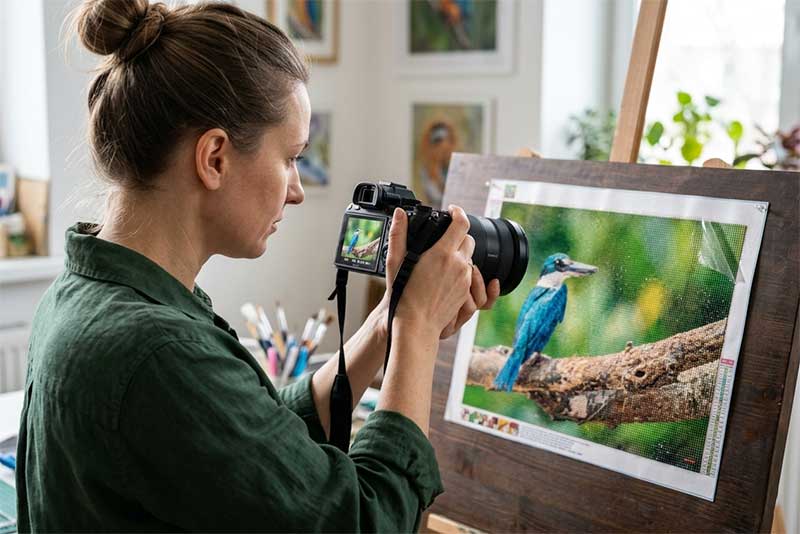
For a clean and professional appearance, keep your camera parallel to the artwork (eye-level photography). Shooting from an angle can distort the image and make straight edges appear uneven.
Most smartphones include a grid feature that helps you align the canvas perfectly.
If you photograph artwork regularly, consider using a tripod for consistent and symmetrical compositions.
3. Reduce Glare with Proper Lighting
The reflective nature of diamond drills is what makes the artwork beautiful, but it can also create unwanted glare.
Instead of placing the light directly in front of the painting, position it at approximately a 45-degree angle.
If you are using artificial lighting, soften it with a diffuser, white fabric, or a softbox. This creates a balanced image while preserving the natural sparkle.
The size of the diamond painting vary, so you must take that into account while setting up the lighting.
4. Use a Simple & Clean Background
A clutter-free background ensures that the focus remains on the artwork.
Some excellent background choices include:
- White foam board
- Neutral-colored fabric
- Light wooden surfaces
- Black poster board for dramatic contrast
Simple backgrounds create a polished, professional look and improve the overall visual appeal of your photographs.
5. Capture Multiple Perspectives
Don’t limit yourself to a single image.
Take a variety of photographs, including:
- A full view of the completed painting
- Close-ups of intricate sections
- Macro shots highlighting individual drills
- Detail images showing texture and sparkle
These different perspectives work well for blogs, social media posts, online marketplaces, and portfolios.
6. Keep Your Camera Stable
Sharp images require a steady camera. Even slight movement can reduce image quality, especially in lower lighting conditions.
Use a tripod to maintain perfect alignment while keeping every detail crisp and clear.
Smartphone tripods are affordable and often include remote shutters for hands-free photography.
7. Skip the Flash
Built-in camera flash usually creates bright reflections that overpower the sparkle of the resin drills.
Instead, increase your exposure slightly or add continuous lighting from the side.
Most smartphone cameras allow you to adjust brightness manually. It helps you achieve a balanced image with accurate colors and excellent detail.
8. Experiment with Angles to Showcase Sparkle
While eye-level photographs provide accurate documentation, slight changes in camera position can dramatically enhance the shimmering effect.
Move your camera or light source a few degrees at a time until the drills catch the light naturally. This technique creates eye-catching images that highlight the three-dimensional beauty of diamond paintings without excessive glare.
9. Edit Photos for a Natural Finish
Basic editing can elevate your images without making them look artificial.
Adjust:
- Brightness
- Contrast
- White balance
- Sharpness
- Cropping
Avoid heavy filters or excessive color saturation. The goal is to represent the artwork as accurately as possible while enhancing its visual appeal.
10. Prepare the Artwork Before Photographing
Before taking any photos, inspect your diamond painting carefully.
Remove dust, fingerprints, and pet hair using a microfiber cloth or lint roller.
Check that all drills are securely attached and lying flat. If the canvas has curled edges, flatten it under heavy books or tape it gently to a flat surface.
These small preparations can make a significant difference in the final image quality.
Final Thoughts
Great photography allows your diamond painting to shine just as beautifully on screen as it does in person. By using soft lighting, minimizing glare, choosing simple backgrounds, and capturing multiple perspectives, you can create professional-looking images that highlight every sparkling detail.
Whether you’re documenting your latest project, growing a social media following, or selling finished artwork, mastering diamond painting photography helps your creations stand out. Practice these techniques, experiment with different lighting setups, and you’ll soon produce images that truly