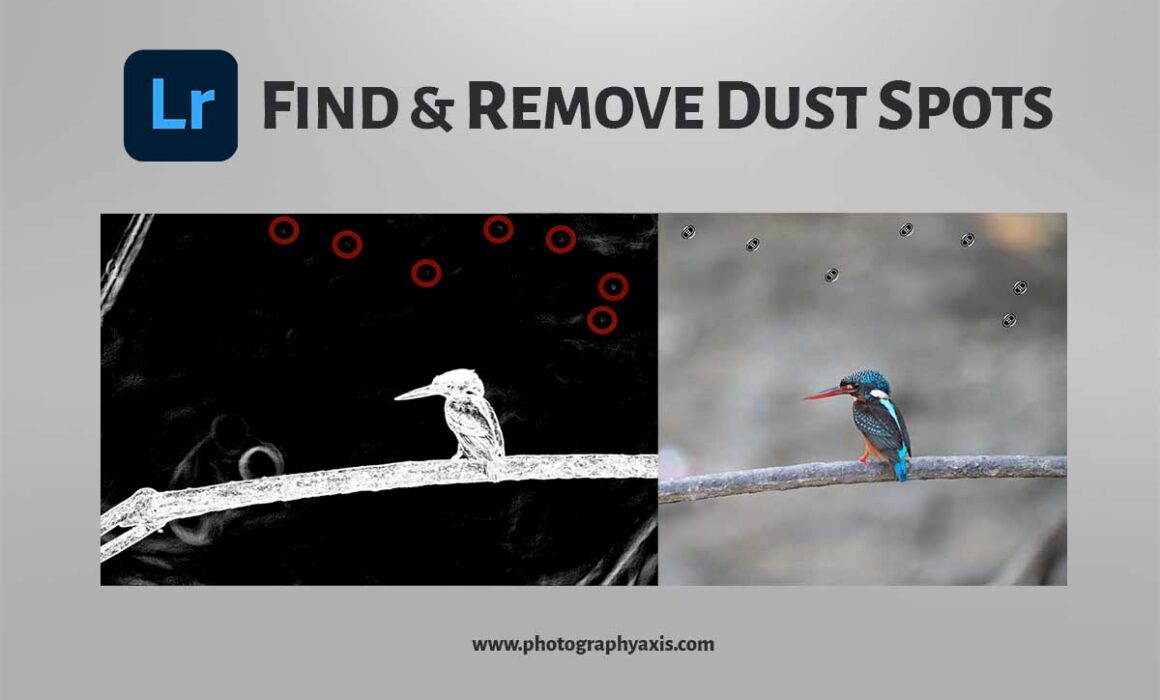
Easy Way to Find & Remove Dust Spots in Lightroom
Dust spots can be a common issue in an image. It mostly happens when you do an outdoor photoshoot. It happens to me most of the time when I do wildlife and bird photography.
These dust spots can spoil the beauty of the picture. So, it is a good idea to eliminate such spots completely. In this guide, I will share the easy way to find and remove dust spots in Lightroom.
What are Dust Spots in an Image?
Dust spots occur in an image due to the presence of specks of dust in the camera sensor.
These dust particles get deposited on the camera sensor when you interchange the lens outdoors or in an environment filled with dust.
How to Find & Remove Dust Spots in an Image Using Lightroom?
Now, I will show you the exact method that I use to remove the dust spots and specks from the picture in Lightroom.
1. Import Image
First, you need to import the image into Lightroom. Make sure to import an unedited image.
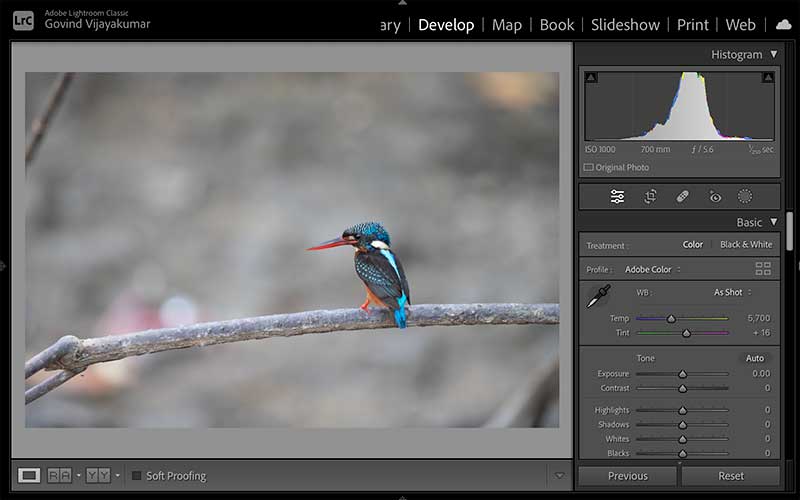
I will import a RAW image of one of my Kingfisher images for the dust spot removal.
Now, I will take the image into the Develop module. Hit the “D” shortcut or click on the Develop section.
2. Find Dust Spots using Visualize Spots
It will be tough to see all the dust spots in this color image. We need to use the “Spot healing tool” in Lightroom for visualizing the dust spots.
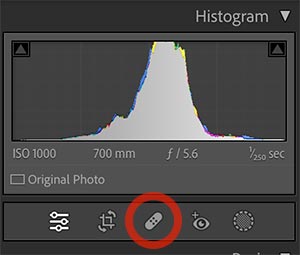
You can either hit the shortcut “Q” or click on the Band-aid icon on the left-side menu to enable the Spot healing tool. You can find it under the image histogram.
If you have an older version of Lightroom, the icon will be different, It will be in the shape of a circle with a pointer pointing to the right.
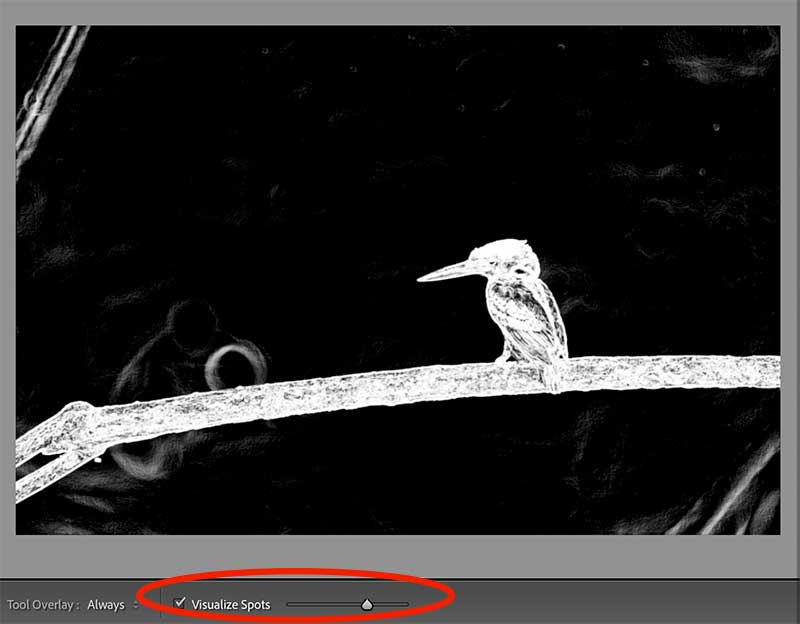
Now, you can see the “Visualize Spots” option in the bottom toolbar. Select this option.
The image will go into an inverted black and white mode. You will have to increase or decrease the visualize spots slider to find the dust spots in the image.
The dust spots will be visible in the form of little white rings.
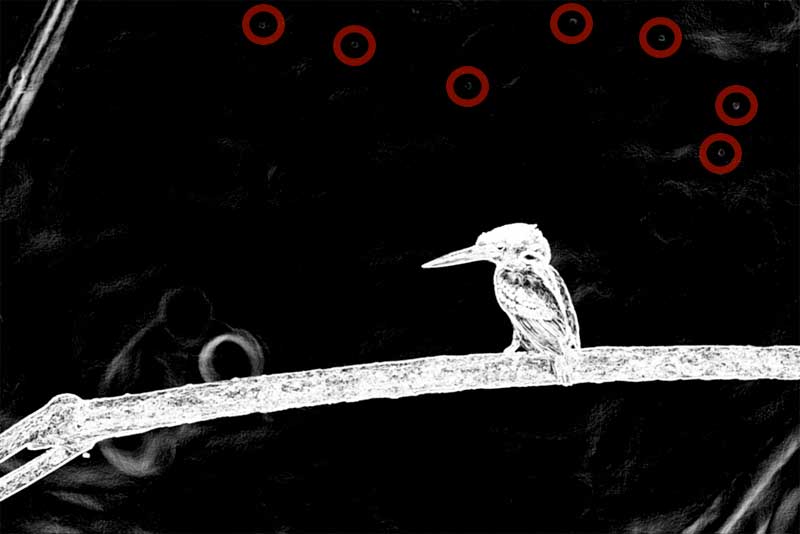
In the above image, I can see around 7 dust spots. I need to remove all these spots.
3. Remove Dust Spots using the Spot Healing Tool
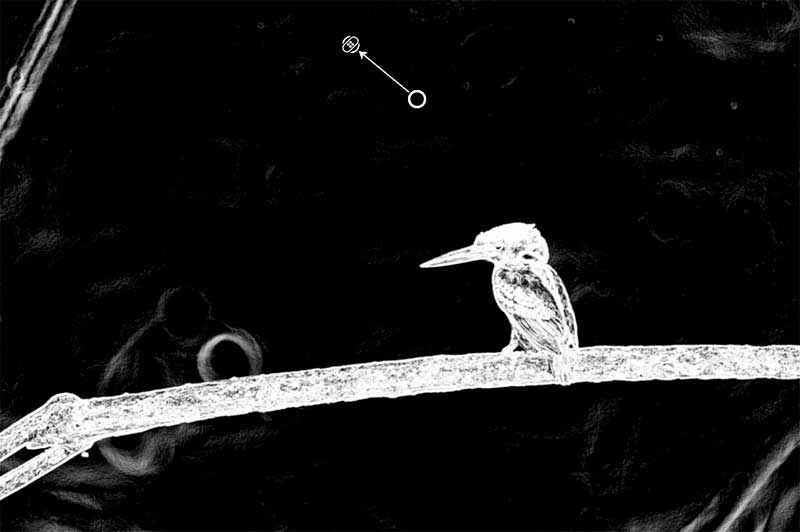
You have already selected the spot healing brush tool. So, you just need to select each of these dust spots for removal.
Once you select the dust spot, the tool will automatically select a similar area for removing this dust spot.
If you are not satisfied with the selection, you can drag it and move it to a desired area. For this image, the tool does a pretty good job. So, I did not have to do any manual selection.
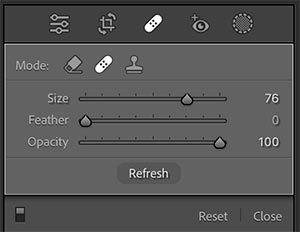
Sometimes, the spot healing brush size might be large or small. In such cases, you can adjust it using the options in the spot healing tool window.
Here, you will have 3 slider options- Size, Feather, and Opacity. Make sure that the Opacity is always set to 100 for dust spot removal.
Hit A to toggle between the inverted and the normal mode.
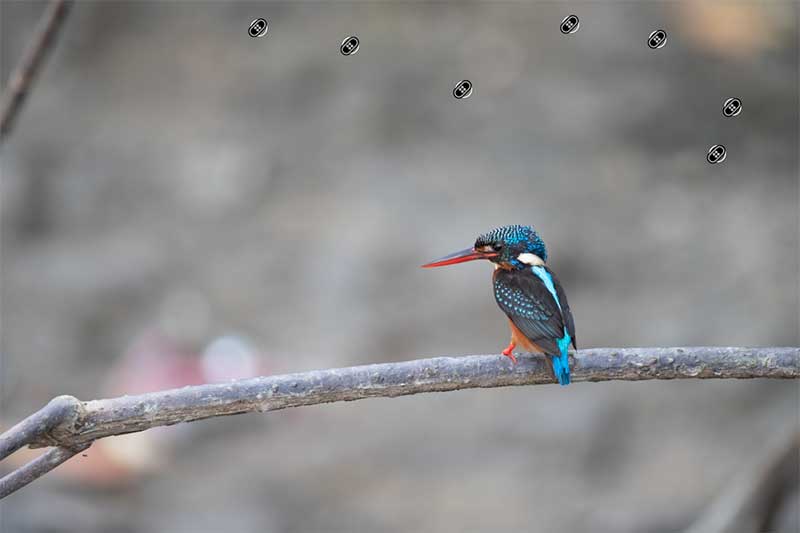
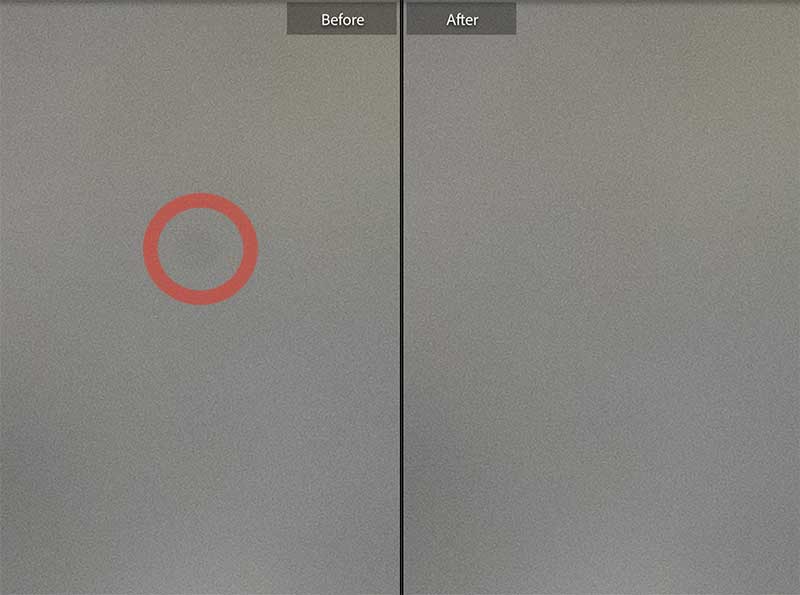
I will select all 7 dust spots in the image and the spot healing tool does a good job of removing all the dust spots and specks.
How to Eliminate Dust Spots in Future Images?
If you want to eliminate the pain of removing dust spots from each of your images, you must consider cleaning your camera sensor. Only then the dust spots will disappear completely from all your images.
Most DSLR and Mirrorless cameras come with an option to clean the camera sensor through the camera settings.
This process is capable of removing some of the dust particles from the sensor. But may not be effective when there are many such particles. In such cases, you need to give the camera to an authorized service center for cleaning.
If you are confident enough to clean the camera sensor by yourself without damaging it, you can do it.
Do You Really Need to Remove the Dust Spots from an Image?
It is always good to remove the dust spots from the image, especially if you plan to print the image in large sizes.
The dust spots will become more prominent in large-size photo prints. Thus, it will spoil the beauty of the picture.

