How to Turn Photos into Comic Book Art Using Photoshop
Are you looking to convert your photos into comic book art? If yes, then I will show you how to convert pictures to comic arts using Photoshop. There are many ways of doing it in Adobe Photoshop. I will show you the easy way of doing it. This will help you save a good amount of your editing time.
Turn Photos to Comic Book Art in Photoshop (Step by Step Guide) 🚀
#1. Import Image & Convert to Smart Object
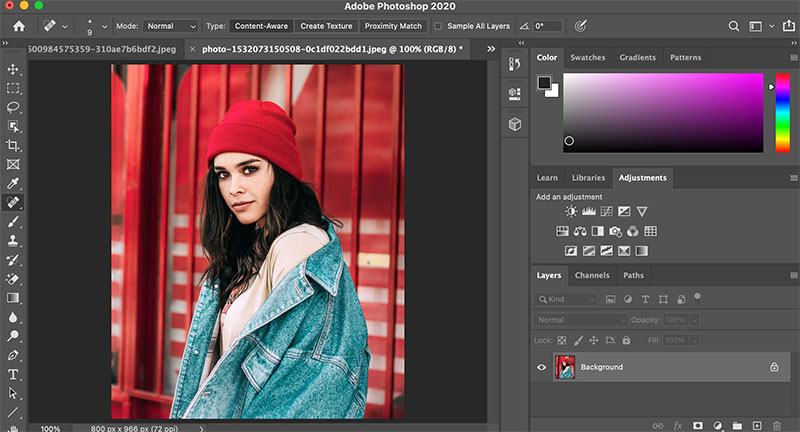
Let us open the image which we want to convert in Adobe Photoshop. Right-click on the image thumbnail in the Layers section and select, “Convert to Smart Object” option.

Create a duplicate layer. I will name it as “Outline.”
#2. Apply Poster Edges Filter
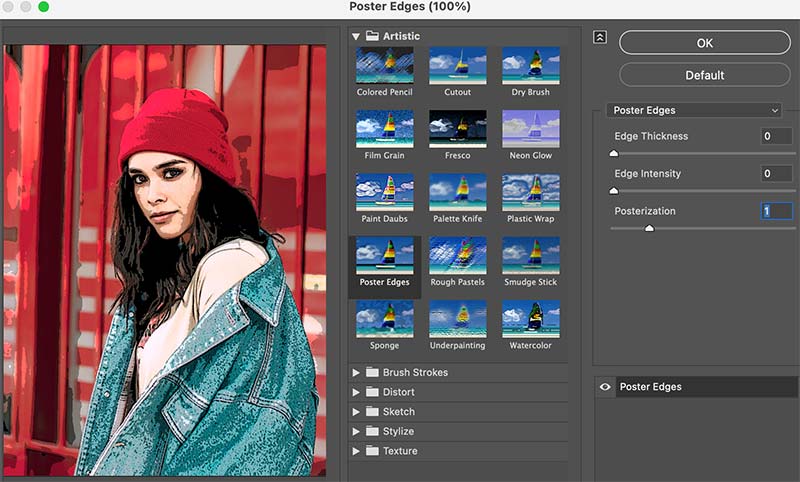
Now, we will go to Filter> Filter Gallery and select Poster Edges filter under the “Artistic section.” It comes with three sliders.
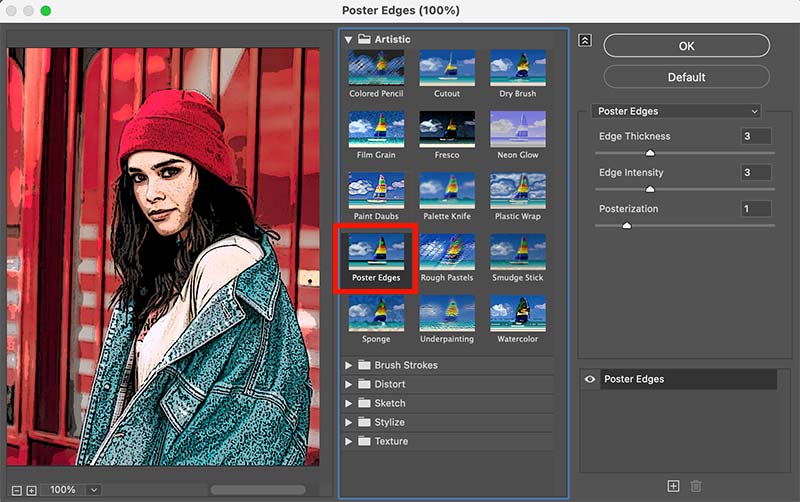
The first two sliders are the “Edge Thickness” and the “Edge Intensity.” We will vary these sliders to get a good outline of the subject and the environment in the picture.
The third slider, “Posterization,” is useful to remove or add colors to the image. We will not use this slider in this layer.
We will click the “OK” button once we are done with the edits.
#3. Threshold Adjustment
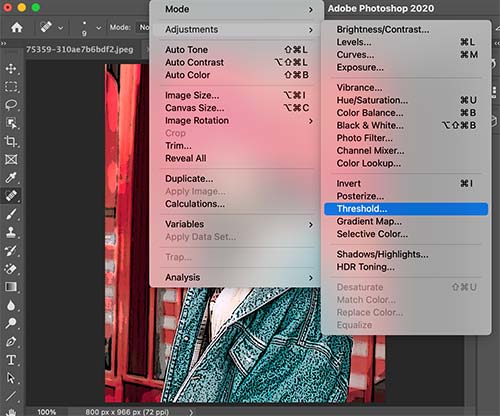
Now, we will remove all the colors of the image in the Outline layer. So, only the black and white sections will be present in this layer.
Go to Image>Adjustment>Threshold.
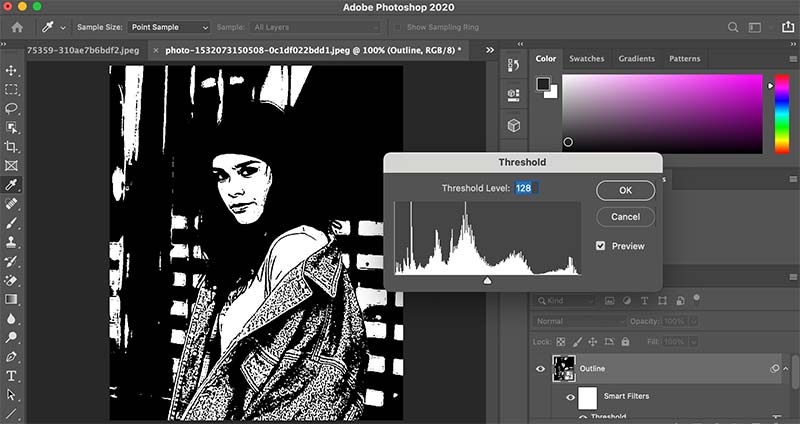
By default, the Threshold value will be 128. You can see the image in Black and White now.
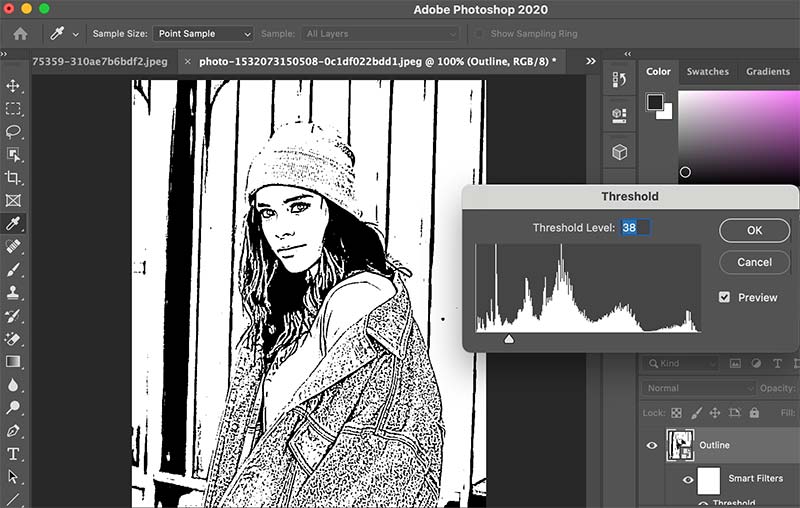
We will decrease the threshold level so that only the outline lines are visible for the image. I will keep it at 38. The value will vary for different images.
#4. Fine-tune the Outline
Now, you can see that we have created an outline. But it is still not perfect.
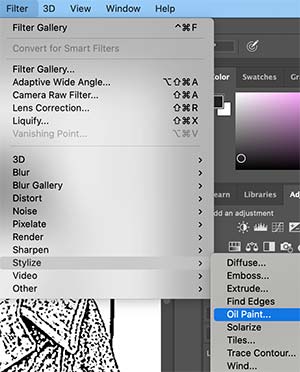
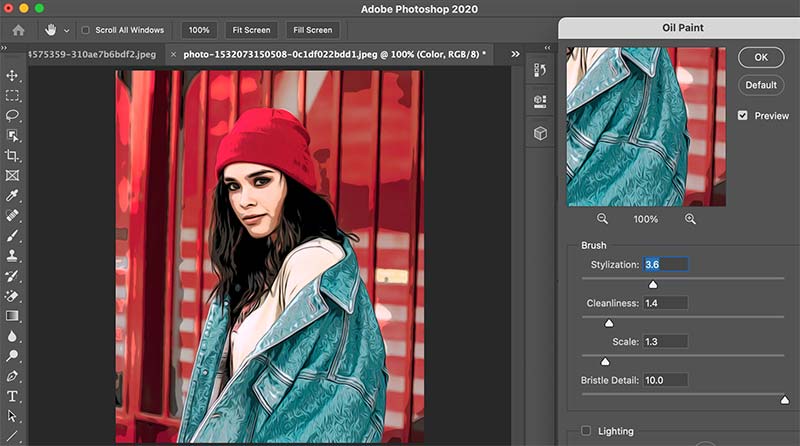
So, we will apply the Oil paint filter. Go to Filter>Stylize>Oil Paint.
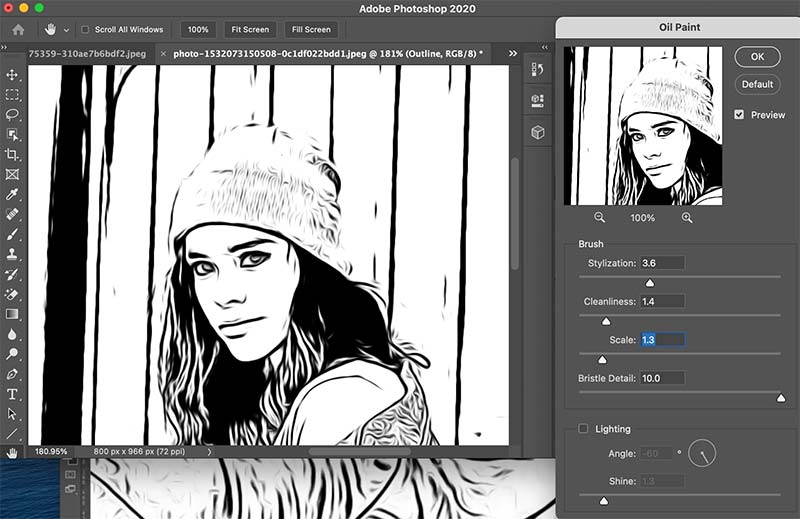
Untick, the “Lighting” box to remove the unnecessary oil patterns in the image.
Here, we are interested only in the outline part. We can vary the different parameters of the Brush to get a better outline of the image.
 READ MORE
  : How to Crop a Layer in Photoshop
#5. Color Addition
Now, we are done with the outline generation. Next, we need to add the color. So, we will duplicate “Layer 0” to create another layer and will call it as “Color.”
We will disable the other two layers now (Layer 0 and Outline).
Now, will apply the Poster Edge filter to the Color layer. Here, we are only interested to bring comic colors to the image. So, we will only play with the “Posterization” slider.
The other two sliders will be set to zero. Click Ok after setting.
Still, the color and the texture look like a computer generated one 🧐 . So, we will apply the “Oil paint” effect to this layer also. You can fine tune the brush sliders for a perfect comic style look. Ensure that the “Lighting” box is unticked.
#6. Combine the Layers 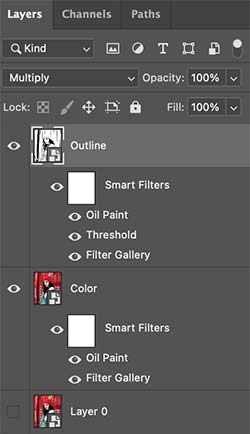
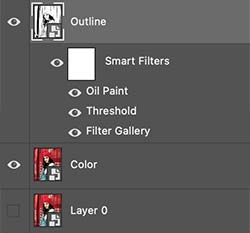
Now, we need to combine the Outline layer and the Color layer to get the final image. So, enable and select the Outline layer.
Go to the Blending modes and select the “Multiply” blending mode. So, now, the white part of the outline will get replaced by the color sections of the Color layer. We have successfully created a comic book art from an image in Photoshop.
READ MORE : How to Add Watermark in Photoshop?
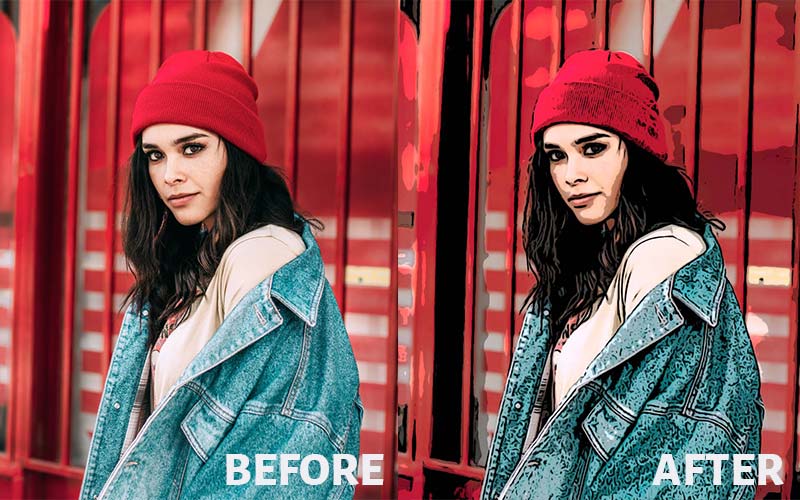
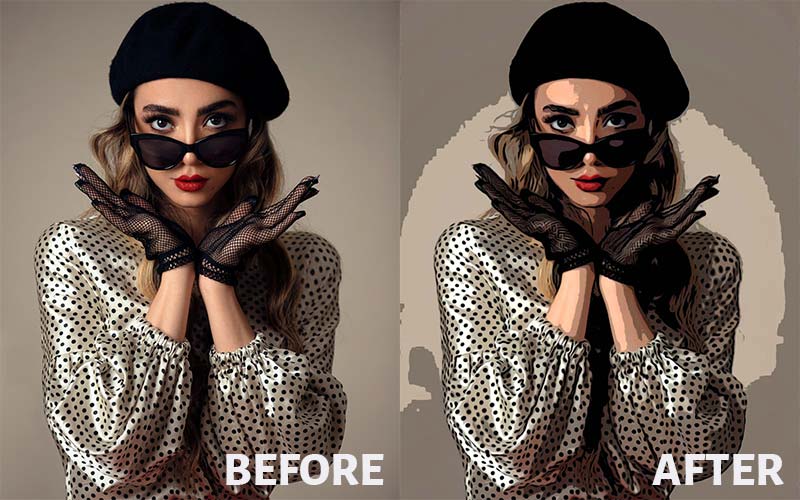
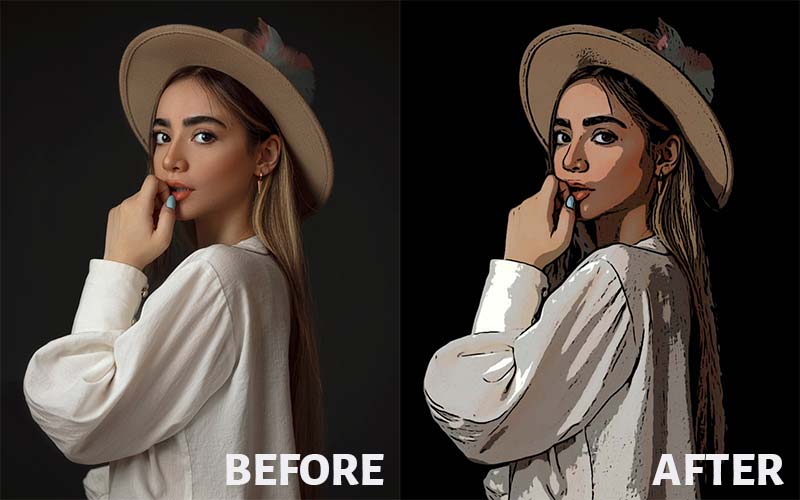
Before/ After Images 😎
I have tried converting multiple images to comic book arts.
You can see the before after images below.
Conclusion 😇
Now, you know the easy way of converting your photos to comic book arts in Adobe Photoshop. If you are planning to make a comic book, then you can capture a series of storytelling images and then turn them into comic arts using this method. You can even take comic prints and sell them.