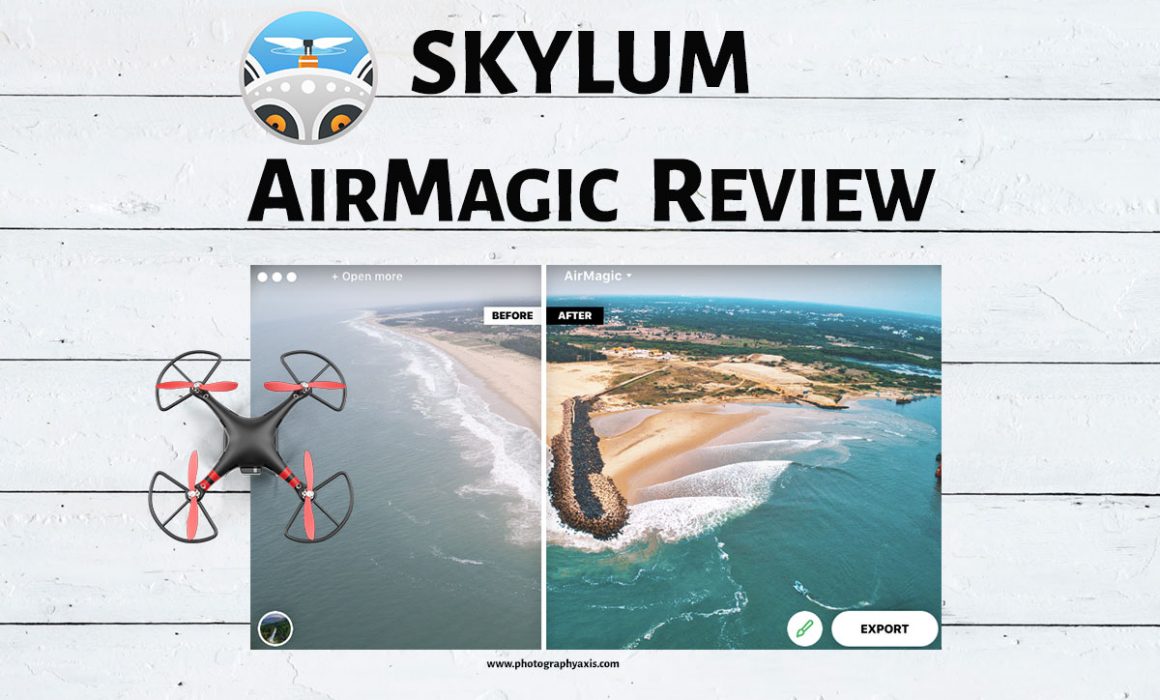
Skylum AirMagic Review- Does the Magic Work?
Skylum has come up with yet another post-processing tool, the AirMagic. This time they have targeted the Drone photographers.
So, if you are into Drone photography, then this is an exciting software worth checking out. Today we will be reviewing the Skylum AirMagic and see whether their magic works or not.
This software works as a standalone application as well as a plugin for photo editing software like Photoshop, Lightroom and Apple Photos. We will be using the standalone version in our review.
It is available for both Windows as well as Mac and it supports RAW format.
I am running AirMagic on Apple’s 13” MacBook Air with the following specifications:
1.3 GHz Intel Core i5 Processor
4GB 1600 MHz DDR3 Memory
Intel HD Graphics 5000 1536 MB Graphics
I want to thank my friend Ragupati Vasanth for sharing the photos which he has taken using his drone, DJI Phantom 4 Pro.
How to use Skylum AirMagic
Let us start by processing a picture taken using Drone in AirMagic.

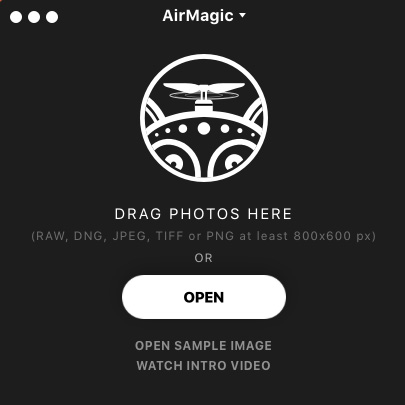
1.Double click on the AirMagic icon to open the application. This application is capable of doing batch processing as well as single image processing.
2. Let us try with one image for the time being. Once the export is done the system takes some time to process the image (which is shown in the GUI) and the final image with the Before/After image window is displayed.
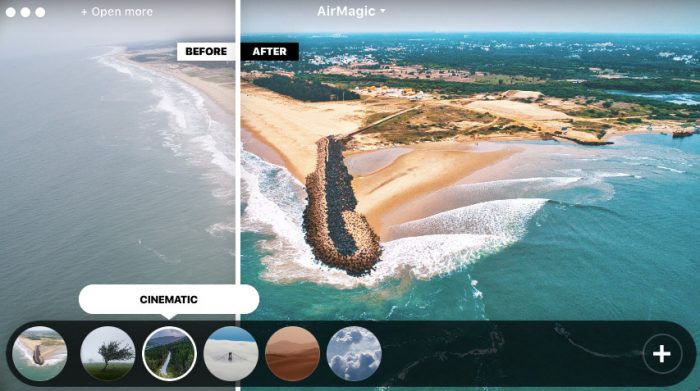
3. The bottom panel has got the style menu for the user in the bottom left corner. The user can select any of these styles to their photo. Skylum has also provided the option to add additional Styles. It comes with five basic styles: Chinook, Cinematic, Emotional, Sandstorm, and Zephyr. If you are interested in more styles then you can download the paid styles from their website. I have applied Cinematic style to the above image.
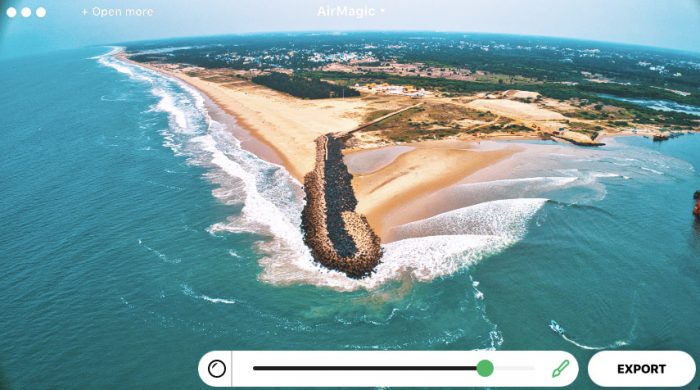
4. There is a brush icon next to the Export button. Once you click the brush, then you will get the option to Enable/Disable the Lens corrections, and you can vary the amount of processing by pushing the slider. If you push the slide to right then, you will get more saturated colors.
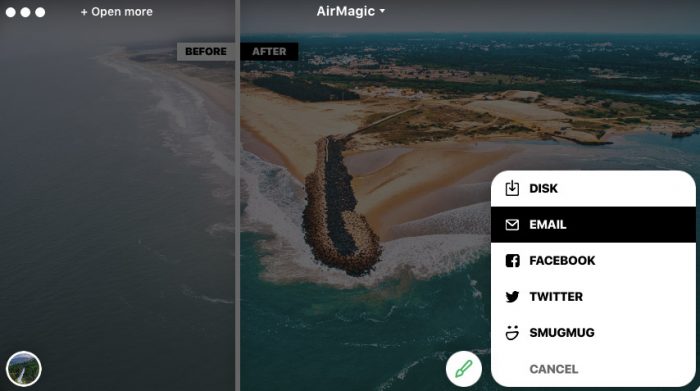
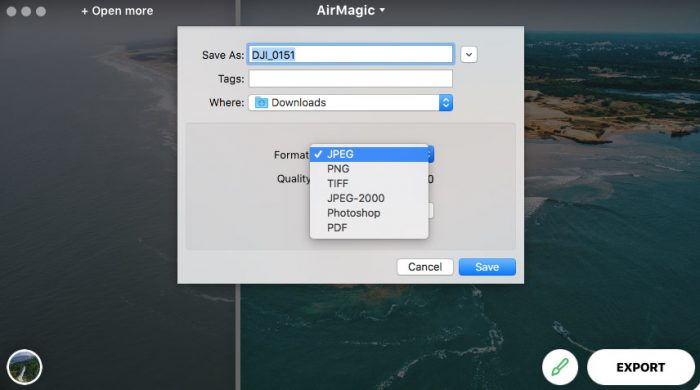
5. Click the Export button to save your final image after setting your desired Style. You have the option to export the final image to your computer hard disk or mail, or you can upload it directly to social media sites like Facebook, Twitter, and Smugmug. You can save it in JPEG, PNG, TIFF, JPEG-2000, Photoshop, and pdf format. The user can adjust the quality of the final image.
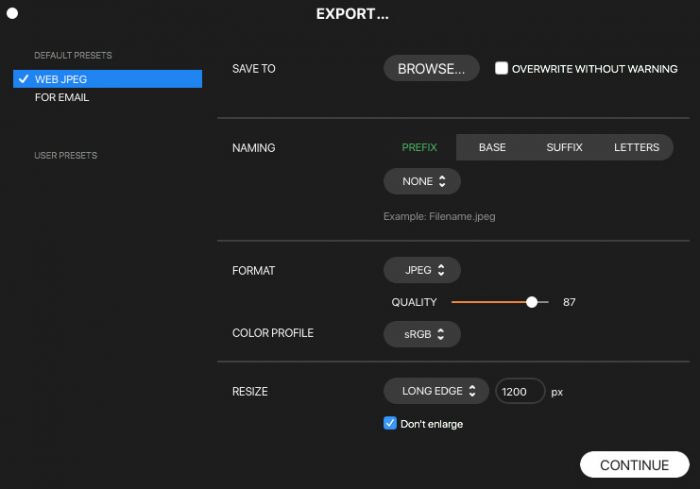 6. If you are looking to change the color profile or naming conventions or image resizing then click on the Advance settings options.
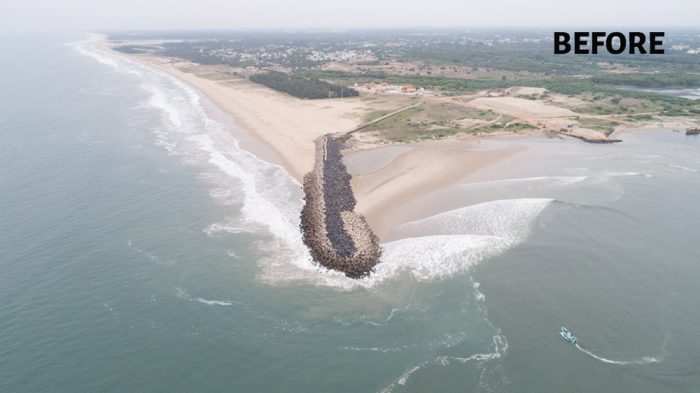
7. Let us have a Before/After look of this image.
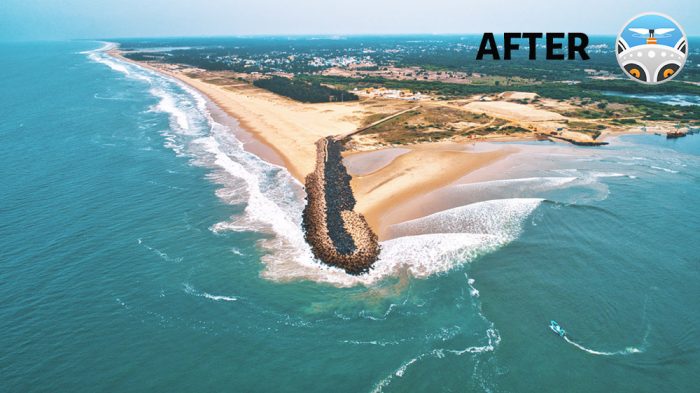
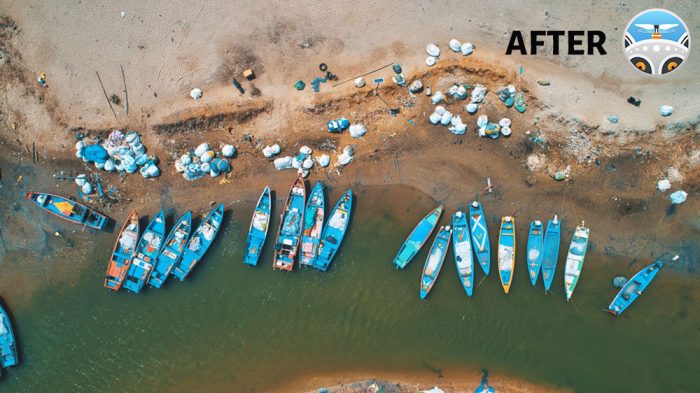
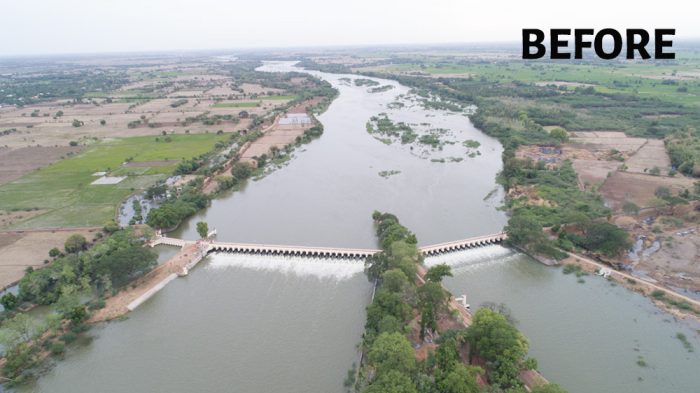
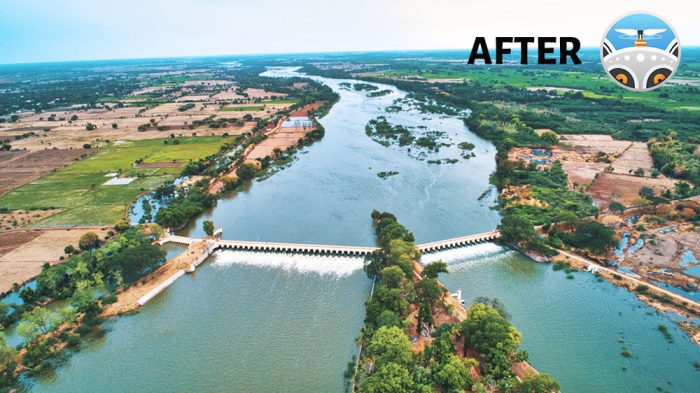
AirMagic Before/After Images
So, let us have a look at some Before/After images to see the Skylum AirMagic effect.

Conclusion
So, if you are looking for a fully automated software, where you open your drone shots and apply the style you want and export the final image, then Skylum’s AirMagic is a good option.
If you are lazy to spend your time on photo edits, then AirMagic can do the job for you in just three steps: Open, Apply Style, and Export. It comes at a price of $39 and can be used in two systems. If you are planning to buy this software, don’t forget to use my code “PHOTOGRAPHYAXIS10” to get a 20% discount.
Consider reading Drone Photography Guide to learn more about drone photography.