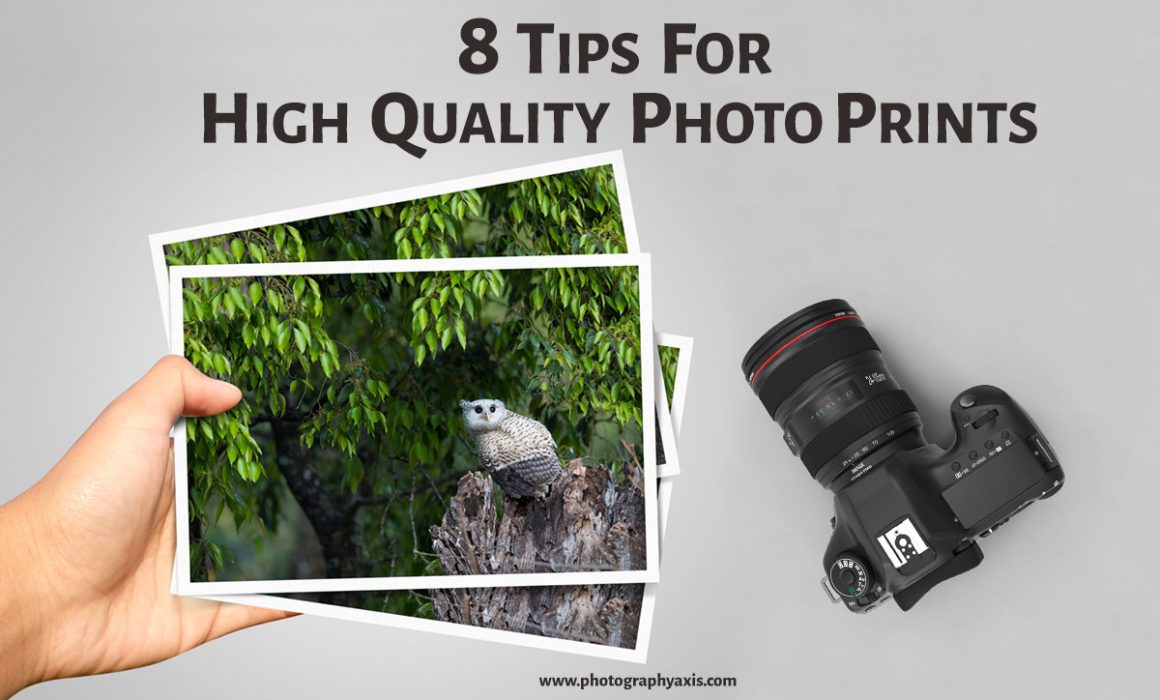
8 Tips for High Quality Photo Prints
Are you facing the issue of poor-quality photo prints? It can be due to many reasons. Your post-processing monitor may not be color calibrated. You will have the wrong photo export settings. Your photography technique is not correct.
There are three areas that a photo has to go through before getting the final photo print. So, the issue can be in any of these three stages.
1. Image Capture
2. Image Processing
3. Photo Printing
I will list out all the useful tips which can help you to get High-quality photo prints.
8 Tips for High-Quality Photo Prints
1. Get Properly Exposed Image
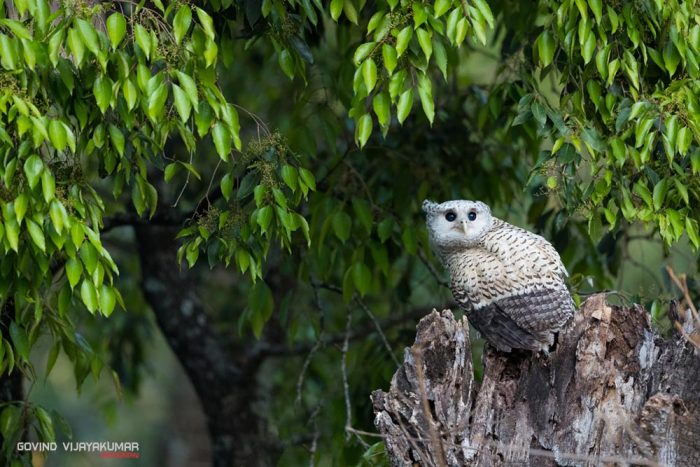
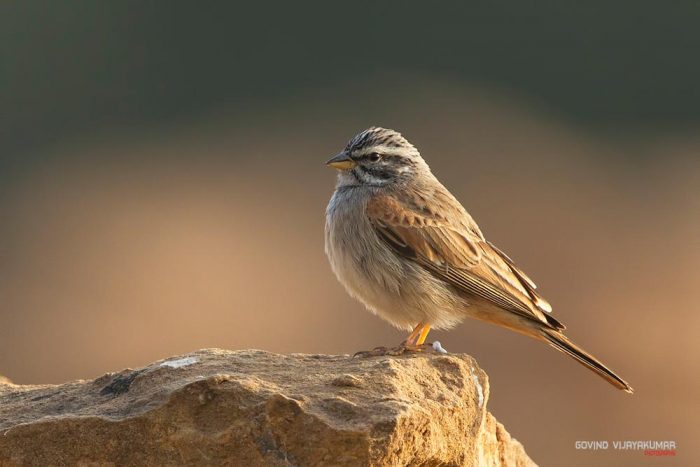
The first thing to check is the Image Exposure. If you have blown out highlights or whites in the image or shadows and darks which are fully blackened, then it will affect your photo prints. If it is an intended Overexposure or Underexposure, then it is fine.
So, after capturing each image, ensure that you have correctly exposed it. You can do it in two ways.
You can enable the Highlight alert option in your camera, which is supported in most of the cameras. It will show the blown-out parts of the image by blinking that portion.
The other option is to check the Image Histogram. It is the most popular option and used by all photographers.
Consider reading, How to read an Image Histogram?, to know more about Histogram of an Image.
2. Correct White Balance Settings
Many of the issues of wrong color reproduction are due to the wrong white balance or color temperature settings on the print file.
So, always capture the image in RAW format and correct the white balance during post-processing.
3. Minimise Noise in Image
Noise is one crucial factor that affects picture quality. It will be visible in the form of grains. So, make sure that you capture the least amount of noise possible in the image.
Noise is directly related to the ISO settings. Higher the ISO more the noise. So, always try to capture the image in the lowest possible ISO. Thus, you can ensure that the amount of noise is less in your picture.
Noise is also dependent on camera sensor size. Bigger the sensor size, better will be the noise performance. So, a full-frame DSLR camera will give a better image quality when compared to an APS-C camera for the same ISO settings.
4. Capture Blur Free Image
It is essential to ensure that your image is not a shaky one unless the blur is an intended one. So, make sure that you use a shutter speed enough to get a shake-free image.
So, after taking a snap, zoom in the picture to 100 percent and scan through the entire image to ensure that there are no blurry sections.
If you are unable to increase the shutter speed, then look for other options like increasing ISO, increasing aperture opening, using a tripod and remote cable release options.
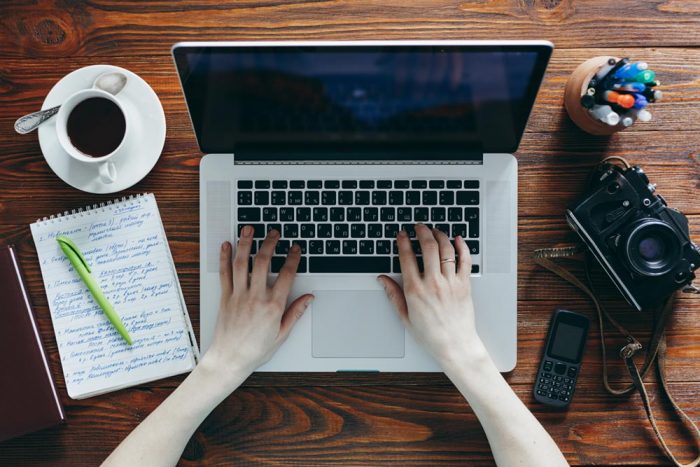
5. The Right Photo Export Settings
When you are sharing the final photo for printing with the print house, then you should ensure that you send the best quality image. The color profile of your picture should match with that of the printer.
So, double check with your printing house to know all these details.
Most of the photographers would be using Adobe Lightroom for post-processing. Before exporting your final image after processing, ensure that you have the correct Lightroom export settings for print.
Otherwise, you will end up in a bad quality image, even though you have processed it correctly with perfect exposure, color balance, and contrast.
Consider reading, Lightroom Export Settings for Print Guide, to know the right print settings.
6. Calibrate your Post Processing Monitor
Don’t assume that you will get the same colors on the print that you see in your post-processing monitor. It will happen only if the color profile of your monitor matches with that of the printer in the printing house.
So, your monitor needs to be color calibrated. There are many monitor calibration software and hardware out there. You can make use of any of these for calibration.
If you are planning to take photo prints regularly, then it will be a good idea to calibrate your monitor once in two weeks.
When you are doing monitor calibration, make sure that no direct lights are falling on your monitor.
7. Take Test Prints
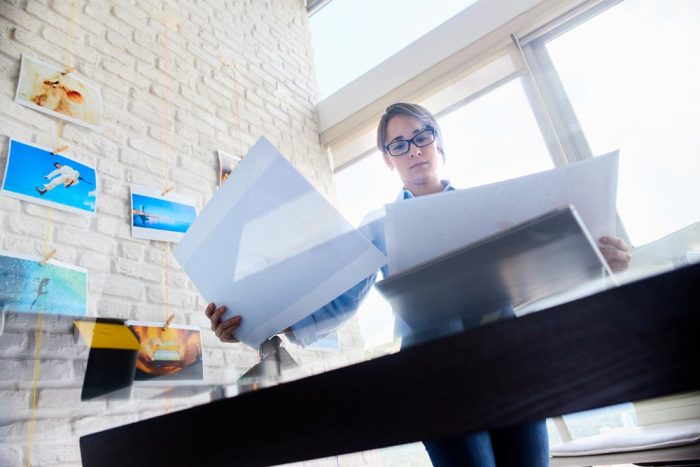
If you are planning to do large size prints then it is better to start with test prints. Now, you would be thinking about what are Test prints and how it can help you. Test prints are small size prints of your actual photo taken in the same printer.
It will help you to ensure that you are getting the right colors in the final photo. If you are not happy with the colors in the test print, then it is time to recalibrate your monitor.
It will help you to save some cost.
 READ MORE
  : 4×6 Vs 5×7 – Which Print Size is Best?
8. Selecting the Right Print Medium
Finally, the print medium; Nowadays, you have different types of photo printing paper options to choose from. Glossy and Matte finish papers are the most commonly used printing papers. Canvas prints are another popular printing option.
Whenever you are going for large prints that are to be hanged or framed, then I recommend going for Archival type paper, so that your photo lasts for 60 to 100 years without any damage, unless the ink fades out (if the ink quality is not good).
👉🏻 📖 READ MORE: Canvas Vs Paper Prints
9. Scan and Retouch for Vintage Pictures
If you are looking to reprint your vintage photos captured using a film camera, then you need to scan the vintage image first. Scanning helps you to get a digitized version of old print.
You need to do retouching on this picture using any photo editing software like Lightroom or Photoshop to correct the imperfections and fix the color and quality issues. After completing the editing process, you can save the image and give it for prints.
📖 READ MORE 👉🏻 : Tips for High Quality Prints at Home
Conclusion
So, make use of these useful tips for High-Quality photo prints.