
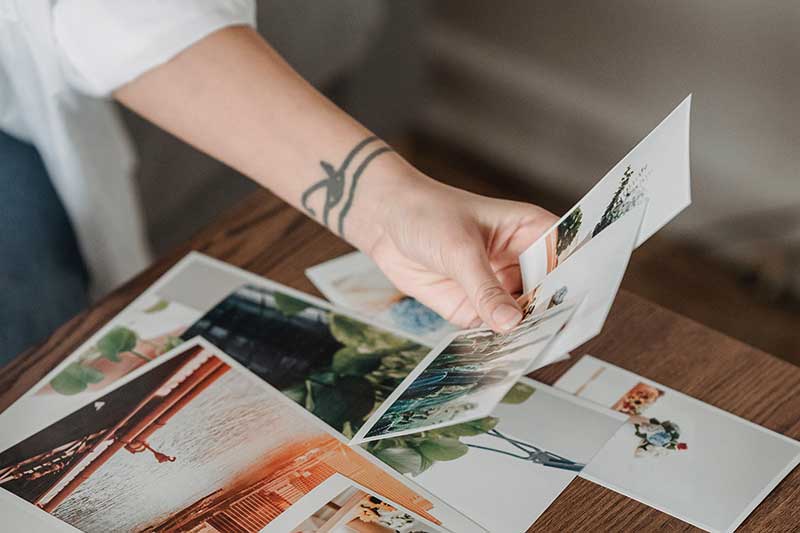
10 Best Tips for Beautiful Prints at Home
You might be capturing lots of images. How many of these captured images end up as prints? The answer can be none for many photographers out there. Most people capture pictures these days mainly to share on social media sites like Facebook and Instagram. One of the main reasons is the higher cost of prints. But what if you can print your images at home for a lower price. In this guide, I will share 10 tips to help you take beautiful photo prints at home.
1. Image Resolution Matters 😎
The resolution of your image does affect the print. The resolution of an image is its size in pixels. Nowadays, you are getting cameras and smartphones with higher megapixels. The photo print quality will be really good when you use a high-resolution image. But when you crop the image, the resolution also decreases. So, when you give a cropped image for printing, you can face quality issues if the print size is large.
2. Image Size Vs Photo Print Size 🌉
There is a direct relation between photo print size and the image size in pixels. You will be printing the image in a particular size. Some standard photo print sizes include 4×6, 5×7, 8×10, etc.
If your print size is 4×6, then the image must at least have a size of 1200 x 1800 pixels. If the print size is 8×10, the image must be at least 2400x 3000 pixels. So, you use the 300-pixel thumb rule here. Whatever the size of the image, you need to multiply the length and breadth by 300 pixels to get the minimum pixel size of the picture. Follow this rule to ensure high-quality photo prints at home. If the pixel size of the image is bigger, you can get better prints.
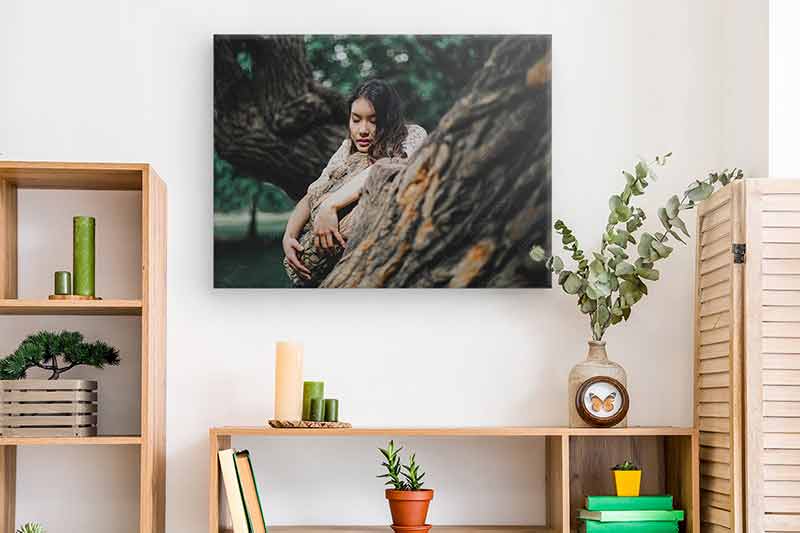
👉🏻 📖 READ MORE: Canvas Vs Paper Prints
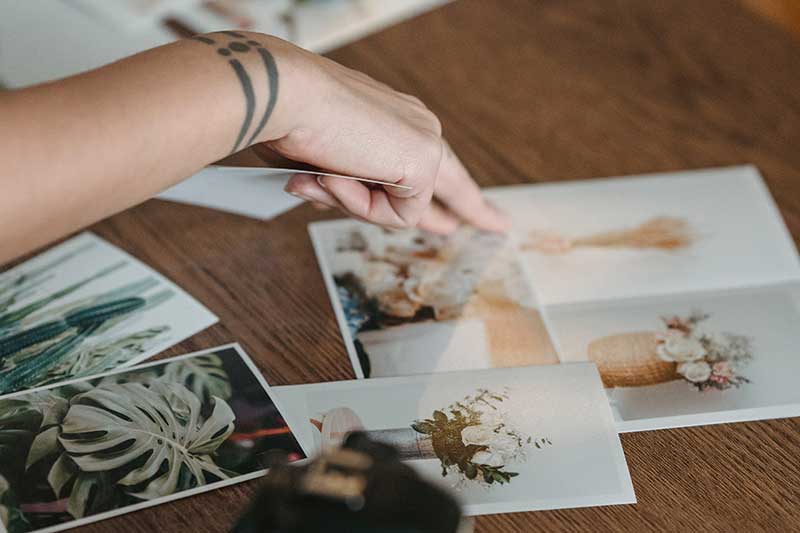
3. Select the Right Type of Photo Paper 🔖
There are different types of photo paper options for printing your photos at home. I will list out all the possible photo paper options for prints.
3.1 Matte photo paper
You can go for the Matte paper to achieve a matte finish for the final image.
3.2 Glossy photo paper
If you want a highly shiny print, you need to go for glossy paper. Matte and glossy photo papers are the most used in the photo printing industry.
Consider reading this article on Matte Vs Glossy photo paper to know the differences between these two photo papers.
3.3 Metallic photo paper
Metallic photo paper helps to give an extra shine to the image.
3.4 Luster photo paper
Luster paper is a good option if you want something between the matte and gloss.
You can use any of these photo papers for printing. The selection needs to be made in such a way that it justifies the final print.
4. Use High-Quality Photo Paper
Once you have decided on the type of paper, you need to use a high-quality one. Don’t go for cheap ones. They don’t last long. It will also affect the quality of your photo prints, even if you have an excellent printer at home.
Go for the best quality photo paper. It will help you get high-quality photo prints.
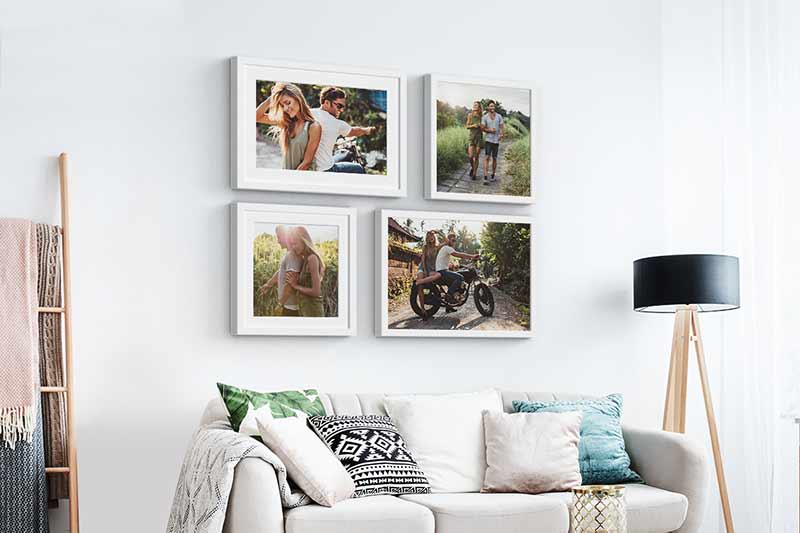
5. Frame Your Prints 🖼
Sometimes, you will take photo prints at home and frame them for hanging on the wall. In such cases, you might be interested in adding a white border around the print. Some prefer borderless print for framing.
If you want to insert the photo print into an existing photo frame, you need to consider the size of the photo print that the frame can accommodate. Your photo paper may be slightly larger. So, you must do the necessary cropping of the photo in your photo editing software before printing. You can also use the framed photo with a cardboard mat – also known as Passepartout – to add an elegant touch to your walls.
6. Soft proofing Prints 👩💻
It is an excellent idea to soft proof your image before printing it. Soft proofing allows you to see a near-accurate representation of your digital image file on your computer before you give it for print. It will help you make the necessary exposure, white balance, and sharpness correction on the image.
There are many soft proofing tools available in the market. If you are using Adobe Lightroom for editing your images, you can use the soft proofing feature in Lightroom.
7. Take Test Photo Prints 🖨
When planning to take big photo prints at home, it is always a good idea to take some test photo prints. These test prints can be in very small sizes. After taking the test print, you can run a thorough check on the test print to ensure that the color and exposure of the image are coming properly. It will help you make the necessary changes to the picture before giving the actual print.
8. Monitor Calibration 🖥
There is a famous phrase, “What You See Is What You Get” (WYSIWYG). You will be doing all color corrections and exposure adjustments on the image by looking into your computer monitor. But when you send the final image for print, you might be surprised to see the difference in colors and exposures of the final printed image. So, the WYSIWYG does not hold true in this scenario. So, you need to calibrate your monitor to ensure more accurate color reproduction in your photo prints.
One of the best ways to calibrate your monitor is to use devices like Datacolor SpyderX Pro, Calibrate ColorChecker Studio, Calibrate ColorChecker Display Plus, etc. You can invest in any of these devices if you are really serious about your prints.
The other option is to use the service of online sites like Photofriday, Lagom, TFT Vanity, etc., for calibration.
9. Printing Low-resolution Images
What if you want to print a low-resolution image at home? When you have a highly cropped image or a picture captured using a low-resolution camera, it will be tough to print photos in A4, A3, and larger sizes. If you try to print it big, you may get a pixelated image.
So, the trick here is to use image enlargement software to increase the resolution of the image digitally. Some photo enlargement programs you can try include the Topaz Gigapixel AI, Adobe Photoshop, AI Image Enhancer, etc. Once you resize the low-resolution picture to a reasonable resolution one, you can give it for printing.
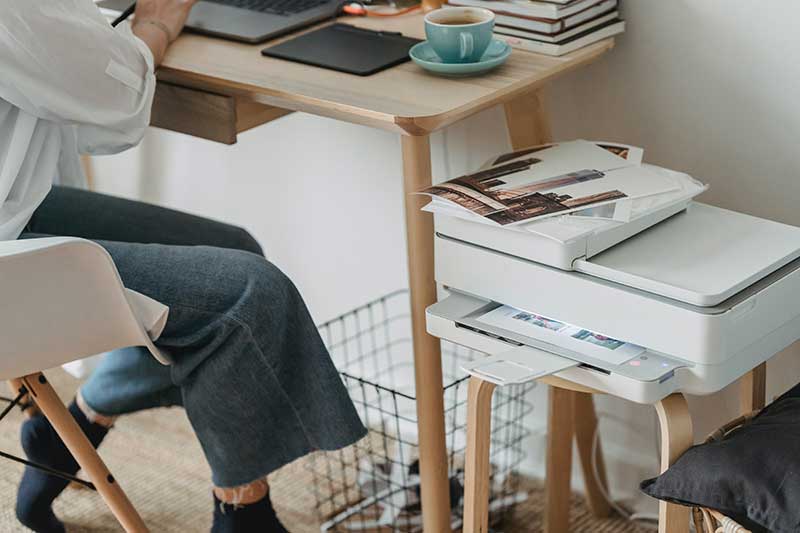
10. Use Best Printer Settings
Your photo printer will be coming with lots of settings. It is necessary to know all the settings of your printer. You can refer to the user manual of the printer first to get an idea of all the printer settings.
There will be settings that allow you to take the best quality photo prints. Some settings will help you to take more prints with lesser quality. It will help you to save your print cost. This setting will not be suitable for you if you are looking for top-quality prints. So, choose the best printer settings.