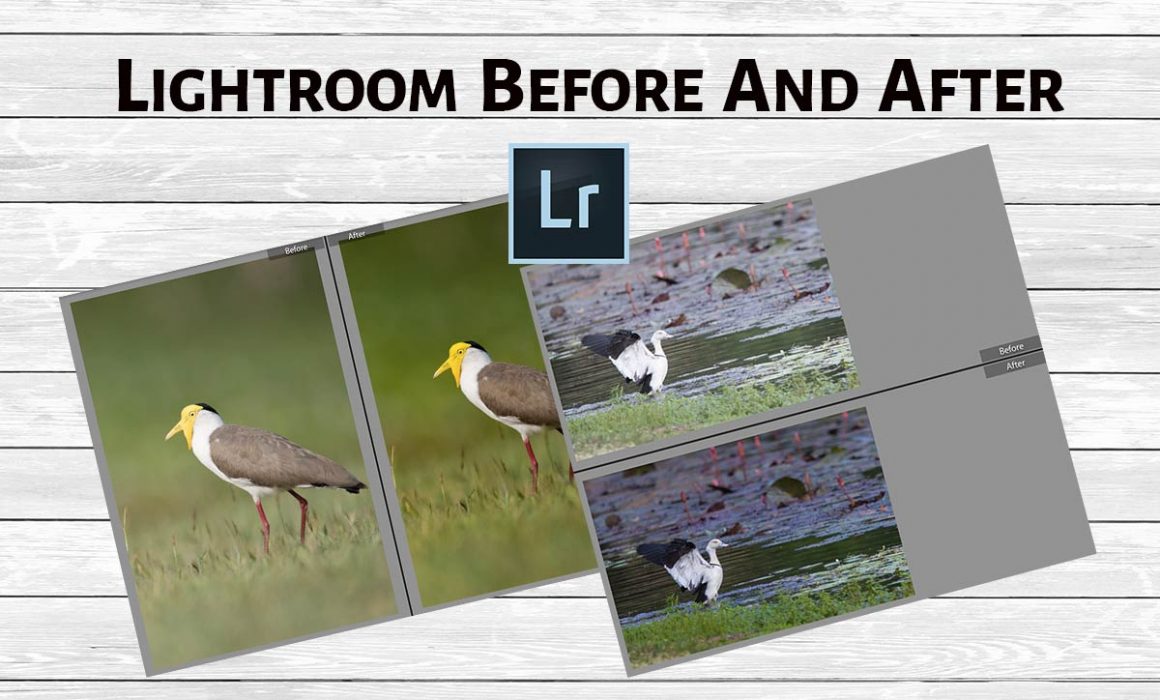
Lightroom Before and After- Best Way to Use It
Without any doubt, Adobe Lightroom is one of the best post-processing software out there, especially for photographers. In this guide, I will show you how to use the Lightroom Before and After tool.
When we edit a photo in Develop module in Lightroom, we can always view the picture before and after edit in multiple ways.
It is possible with the help of the Before/After option. It is only available in Develop module and not present in the Library section. So, let us see go through it in detail.
How to Use Before and After in Lightroom ?
There are three ways to view the Before and After photo simultaneously in Lightroom. I will show you these options in Adobe Lightroom CC.
1. From Main Lightroom Toolbar
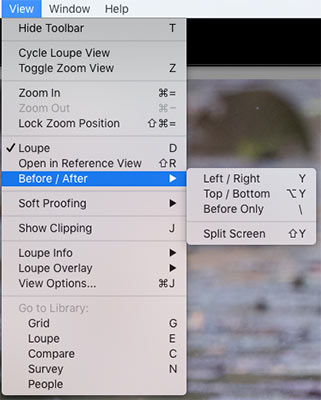
You can go to the “View” option in the main toolbar and select the “Before/After.”
Here, you will have four options to select: Left/Right; Top/Bottom; Before Only and Split Screen.
2. From Bottom Toolbar
Most photographers use the Bottom toolbar to access the “Before/After” image in Lightroom.
👉🏻 In case, it is not visible; you need to go the “View” option in the main toolbar and click on the “Show Toolbar” option to activate it.
You can also hit the shortcut key “T” on the keyboard to enable it.
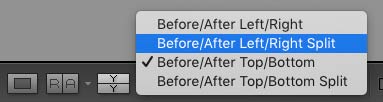
The twin “YY” box represents the Before and After option. You can view it in four different ways.
To do this, you can either click on the twin “YY” to change to any one of the four views.
The other way is to select the desired view option from the dropdown menu, which can be found adjacent to the twin “YY” box.
3. Lightroom Before and After Keyboard Shortcuts
If you are a fan of keyboard shortcuts while editing in Lightroom, you can use the following shortcuts to activate the Before and After images.
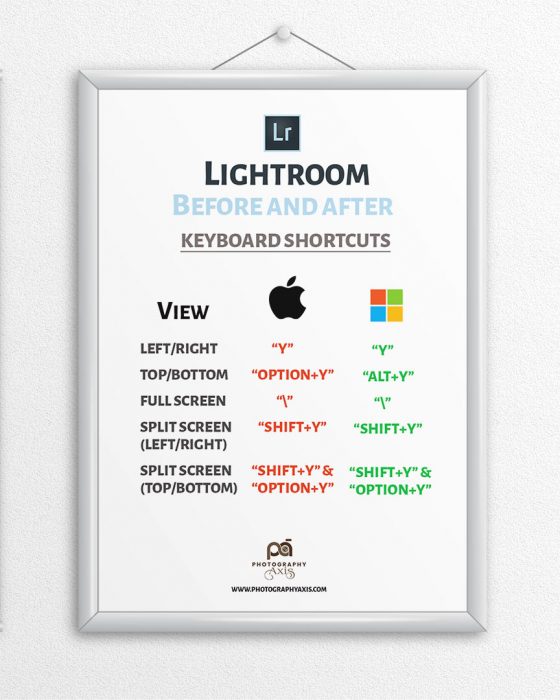
👉🏻 Hit “Y” to enable the Left/Right view (both Mac and Windows OS).
👉🏻 “Alt+Y” to enable the Top/Bottom View in Windows. “Option+Y” in Mac will do the same job.
👉🏻 Use “Shift+Y” to activate the Split Screen view (Left/Right) (both Mac and Windows OS).
👉🏻 Use “Shift+Y” followed by “Option+Y” to activate the Split Screen view (Top/Bottom). For Windows users, use “Alt” key instead of “Option.”
👉🏻 Hit “/” (Backslash) to toggle between before and after edits in Full-screen mode.
👉🏻 If you tap “Y” at any time during the before and after view, you will return to the edited picture.
So, use these Lightroom keyboard shortcuts to improve your editing speeds.
Different Lightroom Before and After View options
Now, let us see the different methods to view the Before and After in Lightroom.
1. Left/Right View
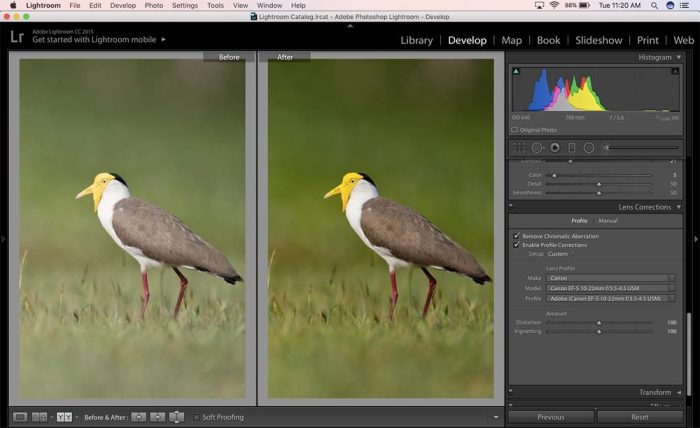
Left/Right view is the most common view used by most of the editors. When you click on either of the pictures, you can get a zoom in perspective also.
The zooming will help to see the amount of sharpening and noise in the image before and after processing.
You can even move around the image by using the mouse.
Whatever movement you do to the either of the pictures, same will be reflected on the other. Thus, you can see a good comparison between the two images.
I recommend using this when you have a vertically framed image.
2. Split Screen View
2.1 Left/Right Split Screen View
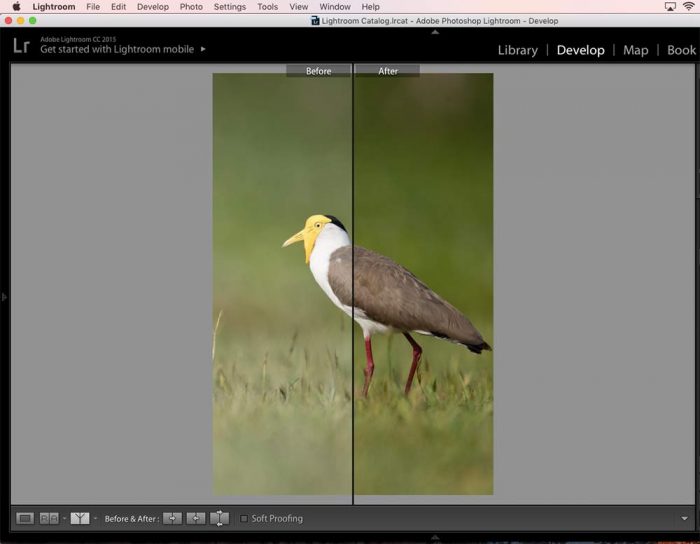
The Split screen view divides a single image in the Develop module to two equal sections. In the vertical view mode, you can see two vertical parts.
The left section corresponds to 50 percent of the image before the edit, and the right part makes the remaining 50 percent, which is the edited image. You can zoom in the image and move it if you want to see more details.
2.2 Top/Bottom Split Screen View
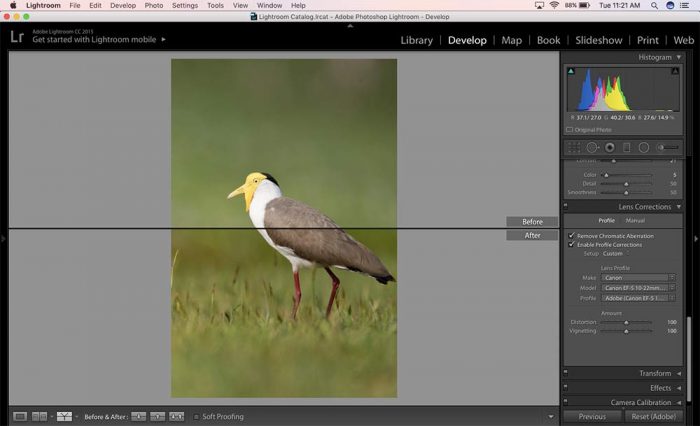
In the Horizontal View mode, you will get the same image divided equally in a horizontal manner.
The top section will have the 50 percent of the top part of the image, and the bottom section shows the 50 percent of the edited image. There will be a black line separating the two.
3. Top/Bottom View
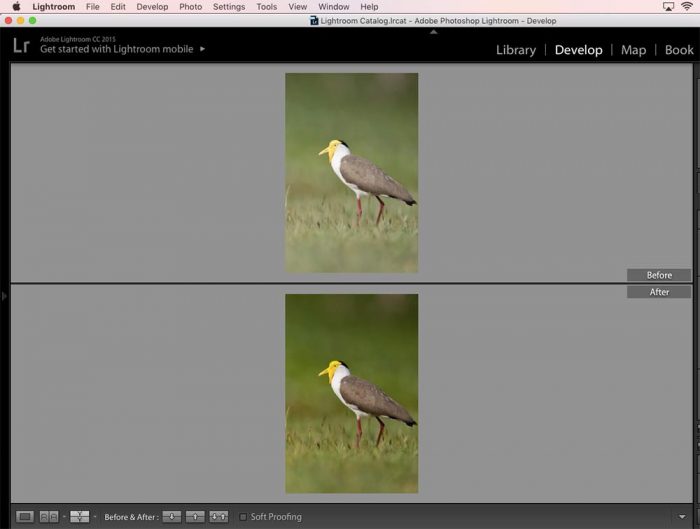
This option allows you to view the Before After image in a Top/bottom fashion. The unedited image will be on the top section, and the picture with the edits will be on the bottom part.
Here, the picture window is divided into two equal horizontal parts and the display the images in these two sections.
I recommend using this view if your image in landscape orientation. In most cases, your image will be in landscape orientation since it is the default orientation in the camera.
Consider reading, Portrait Vs Landscape Orientation modes to know more about framing in Verticals Vs Horizontals.
4. Full-Screen View
In the full screen view, you cannot see both the images simultaneously. You can see one after the another. Hit the “\” Backslash button in your keyboard to toggle between the two images.
This Before After view is useful if you want to fully utilize your screen size.
NOTE: If you crop your image and try to do the before and after comparison, then Lightroom will apply the same crop on the Before image also. It is done to make the comparison easy for other parameters like exposure, color, noise, and sharpening.
Conclusion
Now you know how to see the Before and After in Lightroom and the different ways to view it. So, use it to compare your edited photo with the original.