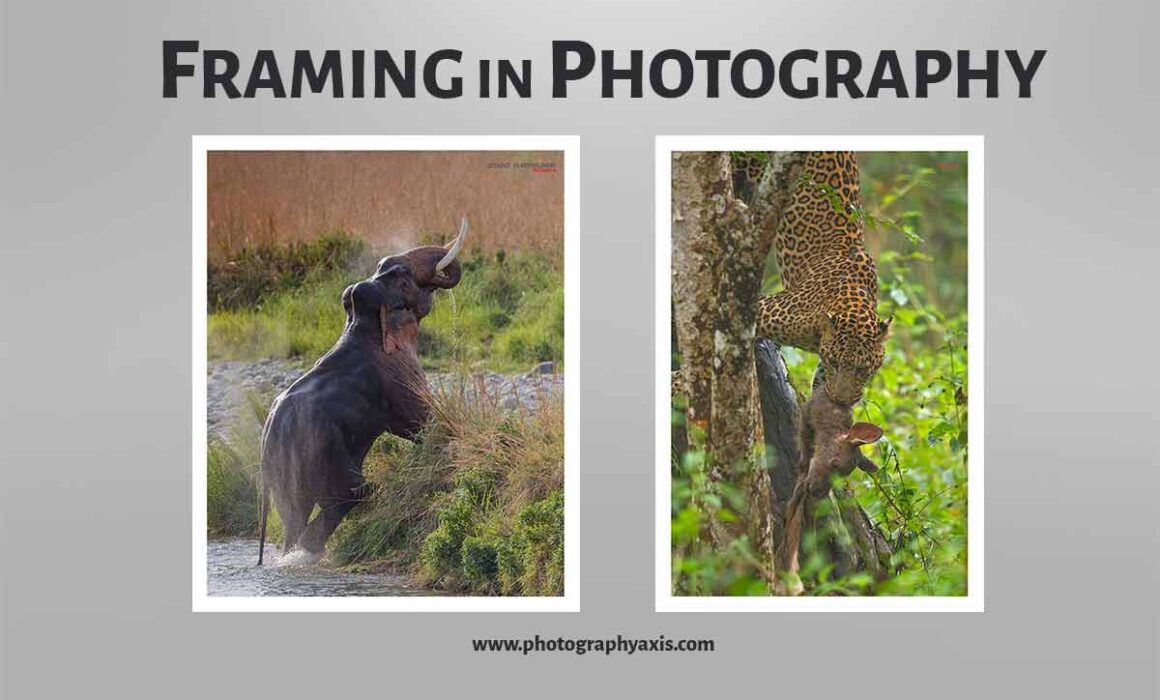
Framing in Photography- What, How & Why + TIPS
Are you looking to learn about framing in photography? If yes, you have come to the right place. In this guide, I will share everything about framing in photography. You can use this as a beginner’s guide.
Let us get started.
What is Framing in Photography?
Framing in photography is the technique of composing an image. Proper framing helps to draw the attention of the viewer to the subject in the frame.
Framing decides what needs to be included in the picture and what needs to be avoided. Thus, it is the photographer who is fully responsible for framing the scene and capturing it on camera.
Why is Framing Important in Photography?
Framing is essential for an image. There are lots of advantages in framing pictures properly in photography. These benefits are listed below.
1. Shows the Environment

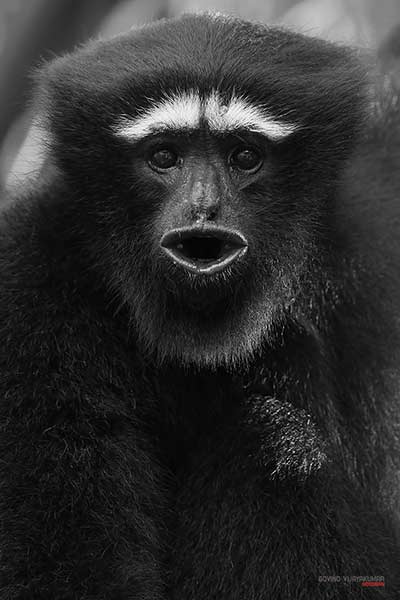
Proper framing of the scene will help to show some of the actual environment of the subject.
Thus, it will give a better feel to the image. The above image of Hoollock Gibbon is one of the best examples of framing in photography along with its actual environment.
2. Helps to Draw the Viewer’s Eye to the Subject
When you capture any image, your intention will be to show a particular subject to the viewer.
When the viewer looks at the picture, his eyes must not wander in the image. Proper framing of the scene will help to draw the viewer’s eyes to the subject.
3. Gives Depth to the Image
If you can bring depth to an image, it will take the image to the next level. The depth factor will help the viewer to engage with the image.
It helps to bring the picture to life. Thus, the viewer will get a feeling of being in the scene.
How to Use Framing in Photography?
If you are a beginner, you will be really interested to know how to use framing in photography to your advantage.
To frame a scene properly, you must follow a sequence of steps. These are the steps that I follow when I do photography. You can also use the same.
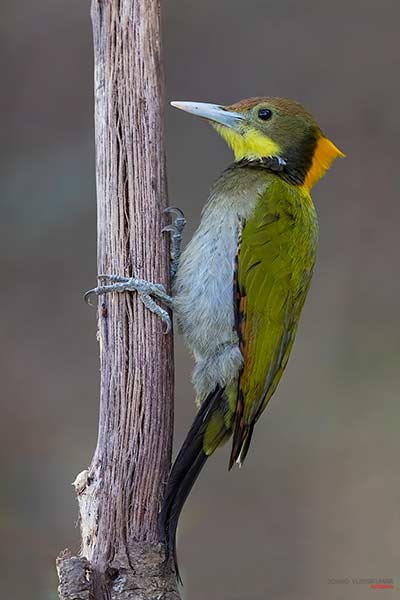
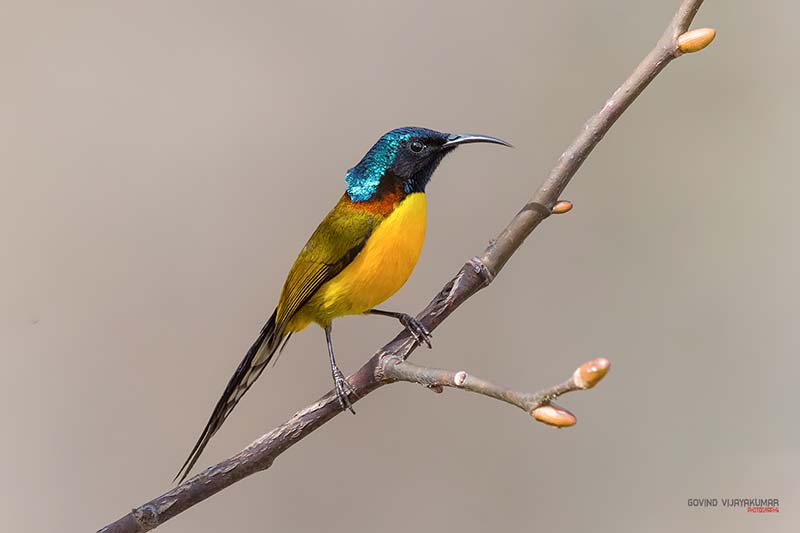
1. Select Your Subject
You need to choose your subject first. If you are going to shoot portraits, a model/ person will be your subject. For wildlife, animals will be your subject.
Like that, depending on the photography type, the subject will vary.
2. Focus on the Subject
Now, you need to focus on your main subject using your camera. Make sure to use the right exposure settings. It is essential to capture all the necessary details in the scene.
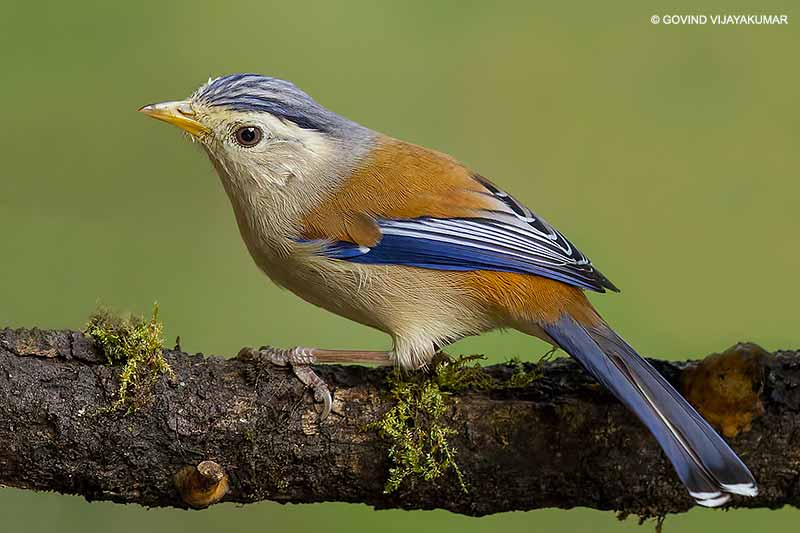
3. Include Habitat
It is a good idea to include some habitat in the frame. Otherwise, the viewer will not get a sense of the location or the environment of the subject.
You can capture the habitat in focus in the frame or in a blurred look. It is all up to the photographer.
4. Choose the Right Depth of Field
You need to choose the correct depth of field next. You can go for a wide or shallow depth of field.
5. Pick Between Portrait Vs Landscape Orientation
You can either capture the image in portrait or landscape orientation.
The orientation type is mainly decided by the end use of the image. If you are going to use it for publishing on social media platforms, portrait orientation will be a better choice. If you are going to print it, you can go with any orientation.
It also depends on the type of photography. For example, landscape photographers prefer to capture the picture in landscape orientation. Portrait photographers mostly capture images in portrait orientation.
6. Compose & Capture the Image
Next, you need to pick a composition technique for your frame. There are many image composition methods. Each of these methods goes well with certain types of frames.
You can read my guide on different photo composition techniques to get a better idea.
Select any of these composition methods and capture the image. You must also ensure to capture the image with a perfectly level horizon.
Natural Vs Artificial Frame in Photography
There can be two types of framing in photography. They are natural and artificial frames.
Natural Frames

When you use natural elements in the scene to frame and capture the image, it is called natural framing in photography.
Landscape and Wildlife photography are the two best example of natural frames. Here, you will be capturing the aesthetic beauty of a place with the help of natural light in most cases. There will be natural elements in the frame. It includes elements like trees, mountains, sky, sun, etc.
Artificial Frames
When you use artificial elements to frame and capture the image, it is called an artificial frame in photography.
Capturing portrait shots in a studio is an excellent example of an artificial frame. Here, you will photograph the person with an artificial backdrop, props, and lighting.
How to Improve your Framing? [TIPS] 😎
If you are a beginner in photography, you will be interested in improving your framing skills. I will share some best tips you can use to take your framing skills to the next level.
1. Light & Shadow Technique
One of the best ways beginners can try framing in photography is to use the light and shadow technique.
When you use this technique, you can try to place your main subject in light and the rest of the things in shadow. Thus, the viewer’s attention will easily fall on the main subject, which is in the light.
It will be tough to try this technique with natural light. But you can easily do it using artificial lights where the lighting is under your control.
2. Framing through Cropping
When photographing wild animals and birds, it is tough to frame them correctly on camera. The birds and animals will not pose for you. So, you need to act quickly.
Here, the trick is to capture the animal with some of the desired elements from the habitat in the frame. Later, you can crop the image using any post-processing tools.
While cropping, you can use any of the available compositional grids in your photo editing software to align the different elements of the frame.
If you are a newbie, I recommend trying these grids on the picture to see the effect. It will help you to get a better idea about the composition next time when you do photography.
3. Use Colors for Framing in Photography
You can use the colors in the scene for framing. But you need to be very careful while using colors. Always ensure that the colors go well with each other.
One way to do this is to use the colors from the color wheel. Complementary and triadic colors can work well for your scenes. When you have the luxury of selecting the color of the attire and props, you can use these colors.
You can check the Adobe Color Wheel to know the color combinations that work well for your frame.
4. Try Different Vantage Points
It is also a good idea to try different vantage points while framing. Next time when you do photography, give it a try. You can really see the difference.
A birds eye perspective of the scene will be completely different from the eye level or the worms eye viewpoint.
If you are a beginner who is finding it difficult to previsualize these angles for your scene, try capturing images of your scene from all these vantage points.
5. Try to Bring a Sense of Depth to the Image
You can use the “Depth” in a frame in two ways.
One way is to bring everything in the scene into focus in the picture. It is what landscape photographers do. Shoot with higher f-numbers to get a wider depth of field.
The second way is to use a shallow depth of field. It helps to make the subject stand out in the frame, blurring the rest of the elements. You need to use a smaller f-number here.
6. Try the Frame within a Frame Technique
One way to frame an aesthetically pleasing image is to bring your frame inside another frame. It is referred to as the frame within a frame in photography. Here, the actual scene will be in the inside frame.
You need to have good observational skills to find the outer frame for your scene. It can be a door opening, tunnel, actual frame, or opening in a tree.
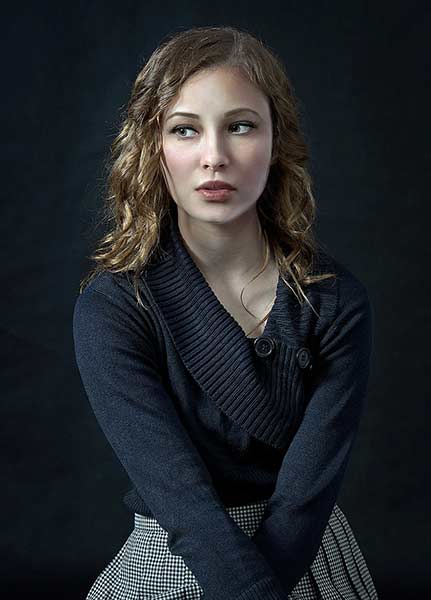
7. Fill the Frame May Work for Certain Scenes
The fill the frame technique may work for certain frames. Here, when you fill most of the frame with your subject, there will be no distraction for the viewer’s eyes.
There must be something interesting in the subject to use this technique. Otherwise, it will look like a suffocating frame. There must be some exciting expression on the person’s face or fascinating details for portrait shots.
8. Use Lines in the Scene
Another way to frame and capture a scene is to use lines in photography composition. You can find different types of lines in a scene.
But you need to have a good understanding of what types of lines you can use for your image. Lines can be vertical, horizontal, diagonal, or curve.
One of the best ways to use lines is to make them act as the leading lines toward the subject. Thus, you can make the viewer’s eye follow the line and see the subject.
9. Capture the Action
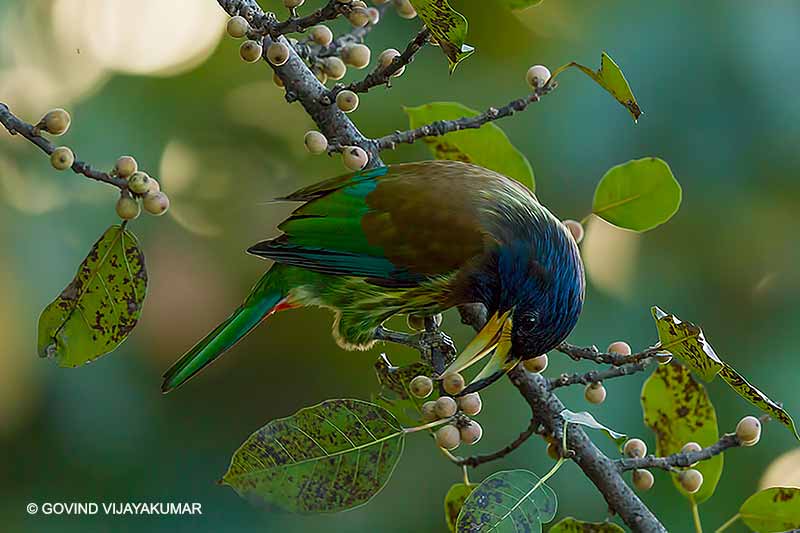
If you are photographing sports, wildlife, and birds, you can capture beautiful frames by photographing action shots.
In the case of wildlife, the action shot can be an animal fighting with another animal. Similarly, for birds, it can be the feeding shots.
Make use of fast shutter speed to freeze the action shots.
Final Thoughts
The main objective of framing in photography is to make the image pleasing to the viewer. Now you know the various techniques to make it happen. So, make use of these tips and start capturing beautiful frames.