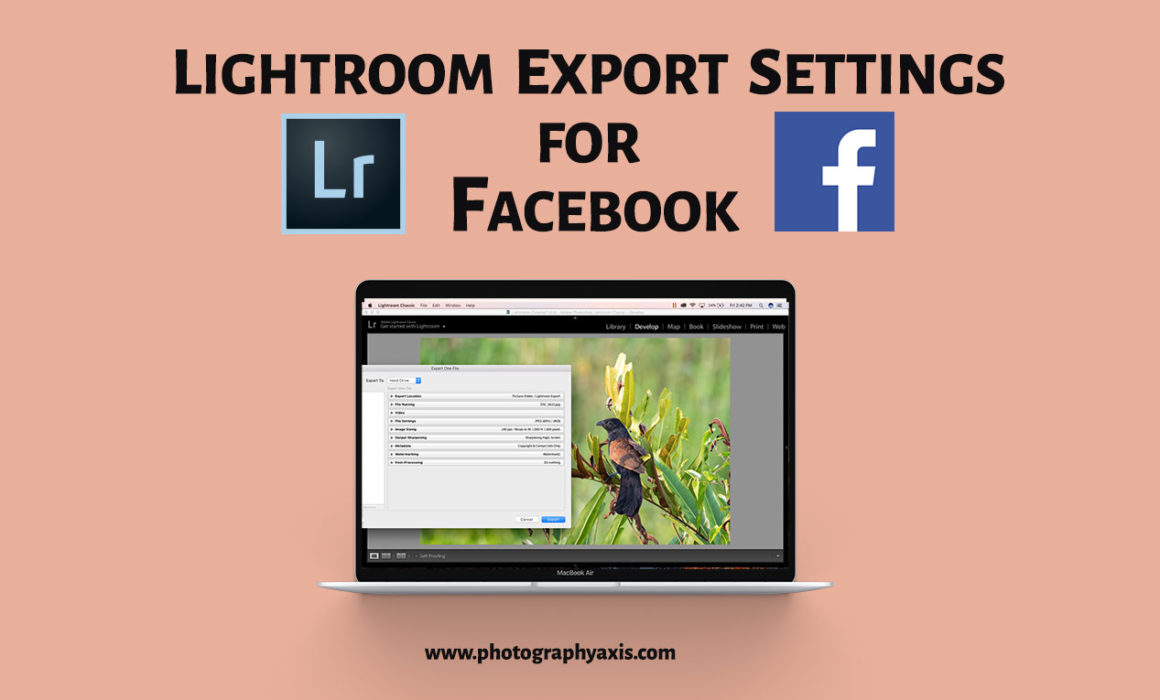
Best Lightroom Export Settings For Facebook 2024
Do you feel that your image lacks quality after uploading it to Facebook? If yes, then this article is for you. Most photographers use Lightroom for editing images. But, you may not be using the right export settings. In this tutorial, I will teach you, how to use the best Lightroom Export settings for Facebook. It will ensure that your pictures are displayed in the best quality.
There is no point in uploading a very high-resolution image in its full size to Facebook. The backend image uploading software of Facebook will compress this image to a smaller one to optimize for the web. Thus, you will end up losing image details. It is better to optimize the image in Lightroom while exporting it before uploading it to Facebook.
📖 READ 👉🏻: Best Lightroom Export Settings for Print
🖥 Lightroom Export Settings for Facebook
1. Image Import
Let us open the image to be uploaded into Facebook in Lightroom. If you are opening an un-edited image, then import the image into Lightroom and make the necessary edits. Make sure that you are in the Develop module.
2. Image Crop & Photo Resolution for Facebook
Now, we need to crop the Image for Facebook. You may be using the photo for profile picture, Facebook banner, or regular post. Thus, the photo aspect ratio varies for each type of Facebook post. So, let us see the Aspect ratios and image resolutions for each type of Facebook post.
📖 READ 👉🏻: How to Crop Image in Lightroom?
2.1. Facebook Profile Picture
For the Facebook Profile picture, you need to upload a square image with a 1:1 aspect ratio with at least 172 pixels side. For the best result, use 344×344 pixel size.
Don’t do a tight crop. Make sure to leave some breathing space on the edges. The profile photo will be displayed circularly. So, close cropping will result in the chopping of the sides. So, always do a profile image preview to confirm.
2.2. Facebook Cover Photo
You should crop the image in 1640×720 pixels for the best viewing experience. So, it corresponds to the 41:18 aspect ratio for cropping.
If your photo is a smaller one, then a resolution of 820×360 pixels will also look good.
2.3. Facebook Image Post
A regular Facebook image post can be in Portrait or Landscape orientation. A picture in portrait orientation will be more appealing to the eyes since more than 70 percent of users use Facebook in their smartphones.
You can use an image in a 2:3 aspect ratio in Landscape or Portrait. All DSLR, mirrorless camera, and smartphone cameras capture pictures in 2:3 aspect ratio.
2.4. Facebook Stories Image Size
Nowadays, most of people use Facebook stories feature to showcase their pictures. So, I recommend using a 1080×1920 pixel image for Facebook stories. It corresponds to the 9:16 aspect ratio.
2.5. Facebook Event Cover Photo Size
If you are creating any events on Facebook, then you will have to upload a header image. Use an image with 1920×1080 pixels resolution for this header. So, use a picture with a 16:9 Aspect Ratio.
3. Image Export
So, after cropping the photo in the desired aspect ratio, let us move to the Lightroom export settings for Facebook.
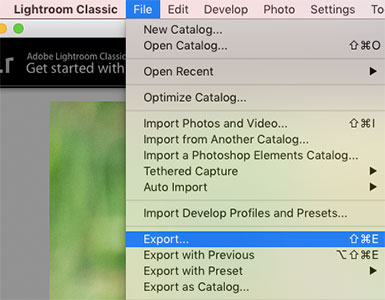
Select the “Export” option from the “File” dropdown menu. A new window will pop up, “Export One File”. You need to do all the export settings for Facebook and the web in this window.
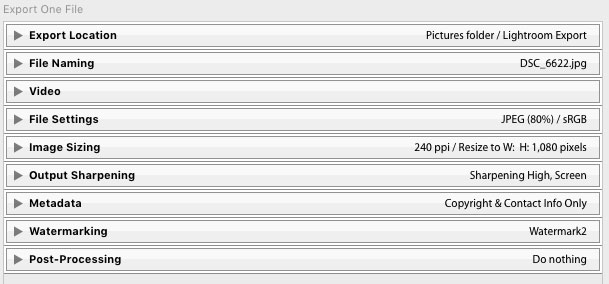
3.1. Export File Naming and Location
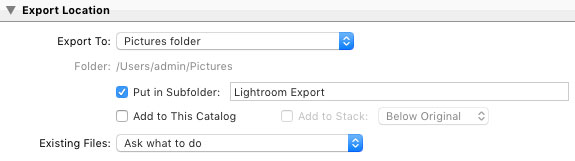
I recommend creating a custom folder to save all your images optimized for Facebook. It will make life easy for you. Set the desired location.

You can also create a custom file name in the File naming section if required.
3.2. File Settings

File settings are the most crucial part when it comes to Facebook. Image. Use JPEG as the Image Format.
Quality can be set to “80”. You can even keep it to “100”. But, don’t go below “80”.
Color space should be “sRGB.” Don’t limit the file size. So, leave the box unchecked.
3.3. Image Sizing

We need to enter the required image resolution in the Image sizing module.
Select the “Width and Height” option from the “Resize to Fit” dropdown menu. Enter the image resolution in W and H spaces and select pixels from the dropdown menu.
I have already explained the different image resolutions for different types of pictures on Facebook. You can use it to enter these details.
Leave the “Don’t Enlarge” option unticked. Set the resolution to be 240 pixels per inch for Facebook.
NOTE 👉🏻: Please make sure to crop the image in the correct aspect ratio. Image settings will not alter the aspect ratio. So, if the picture is not cropped, then the Lightroom will take the smallest edge as the reference and apply it to the image without altering the aspect ratio.
3.4. Output Sharpening

Select the “Sharpen For” checkbox. Select “Screen” from the dropdown menu. Set “Amount” to “High.”
3.5. Metadata
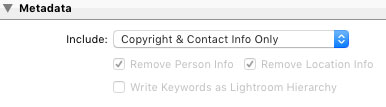
Metadata parameters are not a significant concern while uploading to Facebook.
They will anyway remove these details from the uploaded image to reduce the file size. So, you can select the “Copyright and Contact Info Only” option.
3.6. Watermarking

Watermarking helps to give a brand identity to the image. It is a way to safeguard your pictures online to an extent.
So, don’t forget to add your watermark to the final exported image for Facebook.
📖 READ 👉🏻: How to Add a Watermark in Lightroom?
3.7. Post Processing

You don’t have to do any more photo editing. So, select “Do Nothing” from the dropdown menu.
4. Export
Once you are ready with all the settings, click “Export” to apply these changes to your image. You can see the final image in your chosen folder.
📖 READ 👉🏻: Best Lightroom Export Settings For Instagram
Conclusion
Next time, when you upload images to Facebook, don’t upload it directly from your camera or computer. Use these Lightroom export settings for Facebook to view your pictures in the best possible quality on Facebook😎.