Best Lightroom Export Settings For Instagram 2024
Nowadays, most people are taking photos to upload to social media sites like Instagram and Facebook. Instagram is a dedicated platform for photographers when compared to Facebook. So, the image quality matters here. More than 80% of the people use Lightroom to edit and upload an image to Instagram. But, only the best Lightroom export settings for Instagram will give you the best image quality on this platform.
Photographing and uploading a beautiful picture is not enough to gain more followers or reach on social media sites like Instagram. You need to ensure that the image attracts your followers to interact with you.
There are millions of images getting uploaded to Instagram daily. People will be swiping their fingers on their smartphones to browse these images. So, there is a chance that they may miss your image even if it is beautiful and has the right Instagram hashtags.
You need to be the best in all aspects of the image. It is when the export settings come into the picture. So, I will share the best Lightroom export settings for Instagram.
📖 READ 👉🏻 : Best Lightroom Export Settings For Print- Guide
Aspect Ratio for Instagram
When it comes to Instagram, aspect ratio matters, you cannot upload the image in any aspect ratio to Instagram.
If you are using a DSLR camera or a mirrorless camera, then you will be capturing the images in a 2:3 aspect ratio by default because of the camera sensor size.
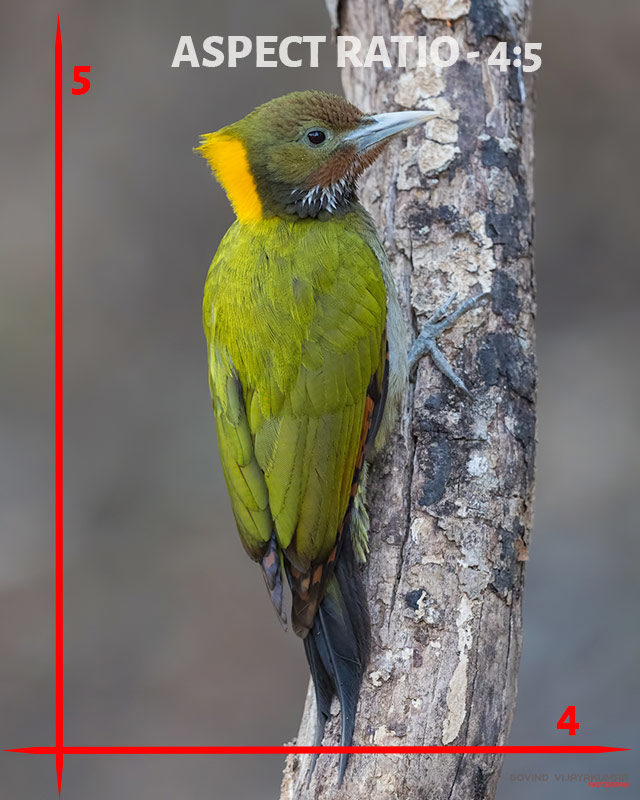
Instagram is designed with photographers in mind. So, they have considered the aspect ratio of medium format cameras into account. Thus, images with an aspect ratio of 4:5 work perfectly for Instagram.
They also support an aspect ratio of 1:1, the square format. But, I strongly recommend using an aspect ratio of 4:5 for your images on Instagram.
You can still upload your 2:3 images to Instagram by adding a white border. But, you will not be able to maximize the use of available screen size.
Portrait Vs Landscape Orientation
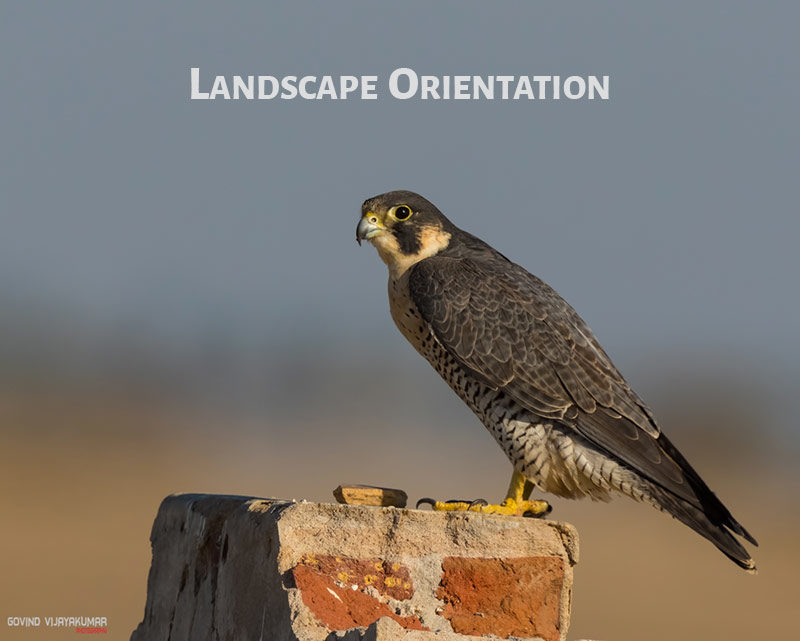
Next comes the orientation part, Portrait Vs Landscape.
If you check out the image orientation of popular Instagram images, you will find that more than 90 percent of the photos in portrait orientation are more popular than their counterparts.
I will tell you the reason for this popularity. Instagram users will be using their smartphones or tablets to browse Instagram images. Smartphones and tablets come in “Portrait orientation.”
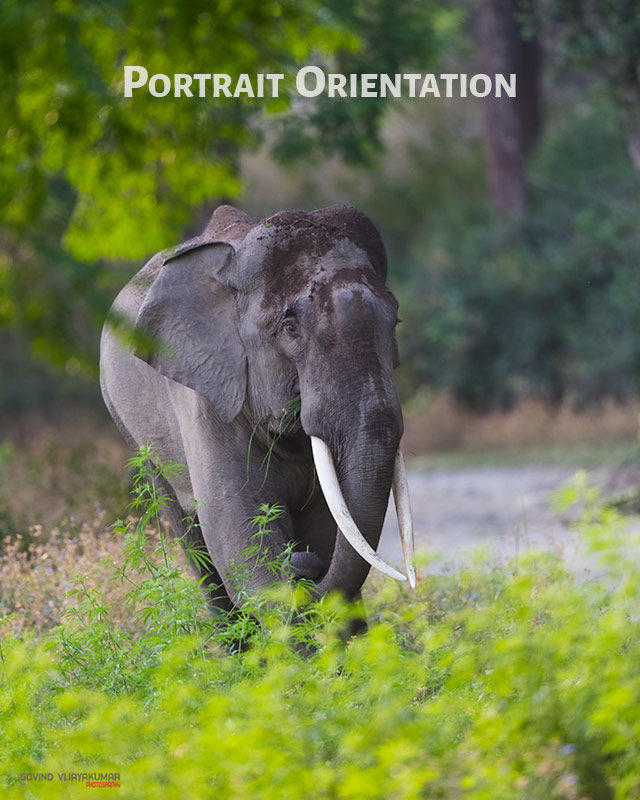
So, using an image with a 4:5 aspect ratio in portrait orientation ensures that your image occupies most of the screen space. Thus, your picture gets more attention from the people.
So, try to compose your images in Portrait orientation if you are planning to use them on Instagram.
Lightroom Export Settings for Instagram
Now, let us open the image in Lightroom and do the necessary retouch.
1. Image Cropping
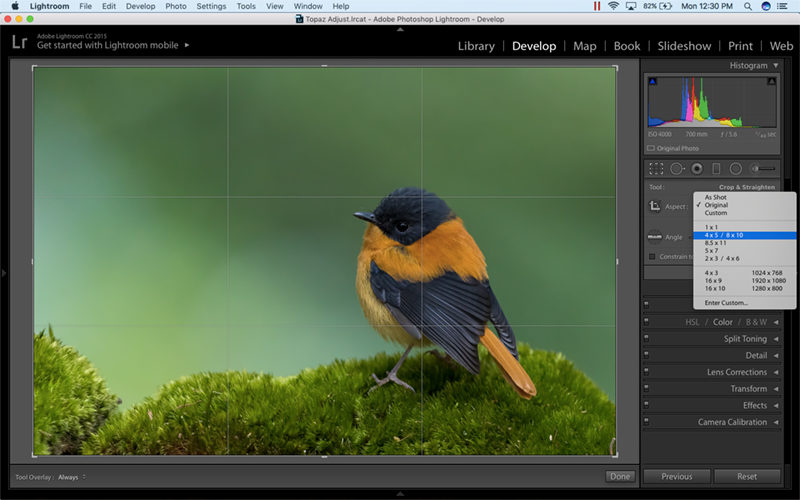
Before going into the Lightroom export settings for Instagram, let us crop the image to the best Instagram aspect ratio of 4:5 in portrait orientation.
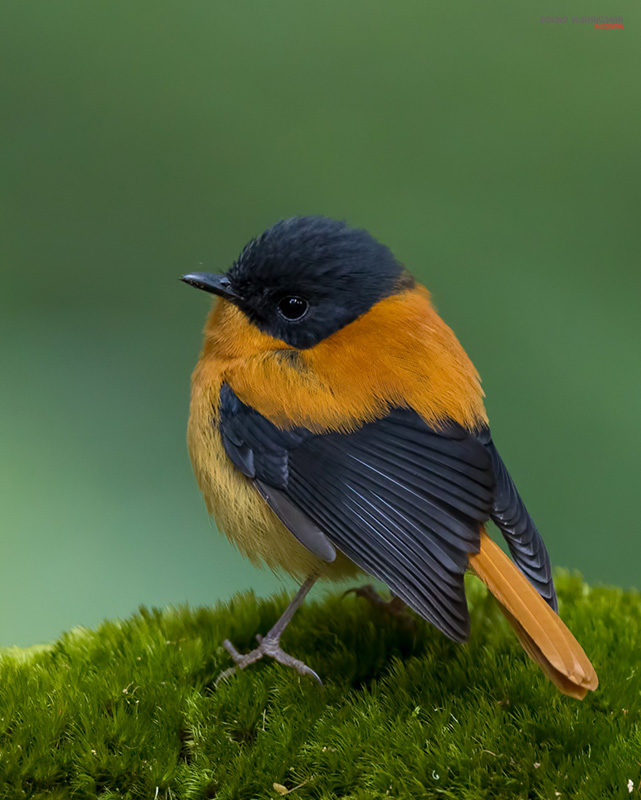
I have captured this image of Black and Orange Flycatcher in landscape orientation with an aspect ratio of 2:3. So, I will crop it into a 4:5 aspect ratio in portrait fashion and eliminate the negative space on the left side of the image.
You can also do a 4:5 crop in landscape orientation if you find it challenging to recompose the image vertically.

When you are capturing images, leave sufficient space on the sides. It is to ensure that cropping the image to a 4:5 ratio doesn’t affect the image composition.
Now, we are done with cropping.
2. Getting Started with Export settings
Once all the image retouching and cropping are completed, let us move to the export options.
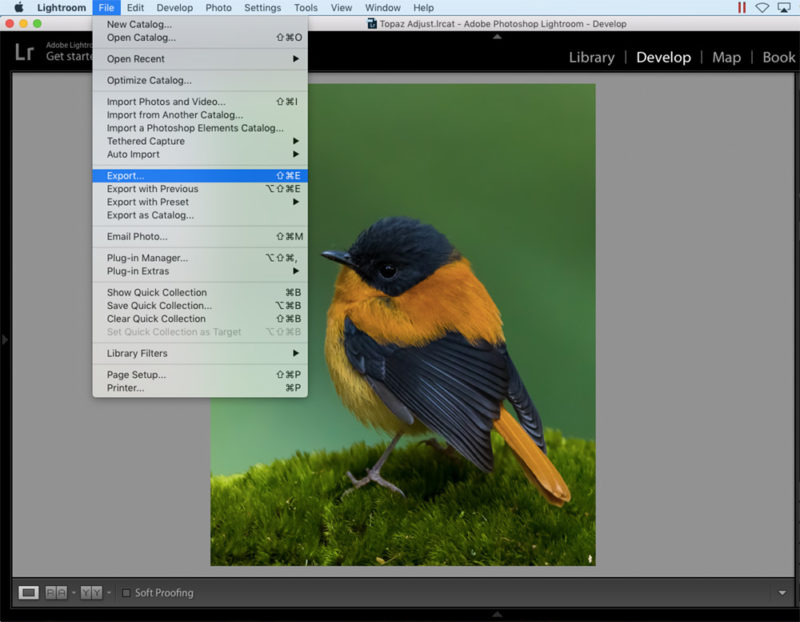
Click on the “File” option from the dropdown menu in Adobe Lightroom and select the “Export” option.

A new window “Export One File” will pop up. We need to do all the Lightroom Export settings for Instagram in this window. Ensure that the “Export To” option is set to Hard Drive.
3. Export Location & File Naming
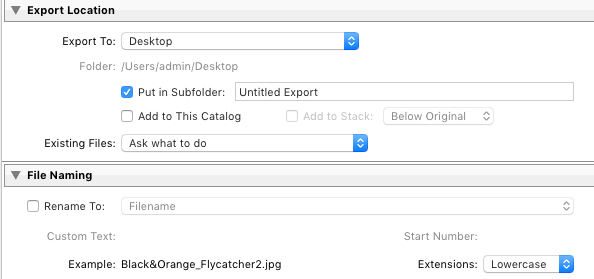
You can set the file location in the “Export Location” module. It helps to organize the final images in appropriate folders.
If you want to rename the file name with a custom name, use the “File Naming” module. It gives you the flexibility to rename the file according to your naming conventions.
4. File Settings
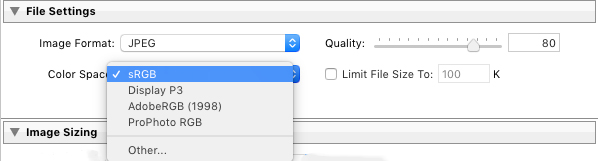
Next, we have the “File settings” module. You need to set “JPEG” as the Image Format. You will also find other image file formats like TIFF and DNG. But, we need JPEG for Instagram.
Color space should be set to “sRGB.” If you select other color profiles like Adobe RGB or ProPhoto RGB and upload the final image to Instagram, you can expect some change in colors in the photo as the Instagram software converts the color profile into sRGB internally. So, don’t select any other color space.
I have tried different values of Image Quality from 60 to 100. From my trial and error experiment, I found that the best-optimized image quality is at 80. So, go for this setting.
You don’t have to limit the final image file size. So, leave the “Limit File Size To” box unchecked.
5. Image Sizing

You need to set the final image resolution in the Image Sizing section. Select the “Width & Height” option. Don’t tick the “Don’t Enlarge” option.
For the best viewing experience on Instagram, you need to set 1080p for the longest edge of the image.
So, for photos in Portrait orientation, leave the width space blank and fill “1080” in the heights space in pixels. For Landscape orientation, do the exact opposite.
I will enter 1080 in the Height column since this image is in portrait orientation. You can set the resolution to 240 pixels per inch.
6. Output Sharpening

Whatever you are uploading into the web, you need to add an extra sharpening for better viewing experience; same is with Instagram too.
So, select the “Screen” option in the “Sharpen For” menu and set the Amount to be “High.” You have three options in Amount: Low, Standard, and High. High works best for Instagram images.
7. Metadata

Metadata is the EXIF data of the image along with other information like copyrights and contact details.
For Instagram, I recommend adding copyright information alone.
Adding all the metadata values will result in larger file size. It doesn’t bring any additional value to the image.
8. Watermarking

I highly recommend watermarking your image. It gives more credibility to your image. It also helps to safeguard your image from unauthorized use in the web to an extent.
But, don’t put ugly watermarks on top of the picture. Place it on one of the corners of the image.
You can either add a simple copyright watermark (© Name) from the dropdown menu or add a custom graphic watermark. I have added my watermark to the final image (Watermark6 template).
9. Export
Now, we have given the best Lightroom export settings for Instagram. So, we need to click on the “Export” button on the bottom of the window to save the final image in the destination folder.
You can view the final image in the respective export folder, once this export action gets completed.
Conclusion
Now you know the best Lightroom to Instagram export settings. So, don’t upload your pictures directly from your camera.
Use these Lightroom export settings for Instagram to optimize your images for the Instagram Platform.
📖 READ 👉🏻 : Best Lightroom Export Settings For Facebook