PhotoLemur 3- Are you looking for an Automated Photo Editor?
If you are looking for a fully automated software for processing your photos, then PhotoLemur3 from Skylum can be a good option.
So, let us review PhotoLemur 3 and see whether it does a good job or not.
This award-winning software makes use of Artificial Intelligence for post-processing the photos automatically. So, we have to Drag and Drop images into PhotoLemur to get the final processed pictures.
I will use my 13” MacBook Air to run PhotoLemur 3.
After installing the software, you will get a popup option to install it as a plugin for Photoshop and Lightroom.
How to use PhotoLemur 3?
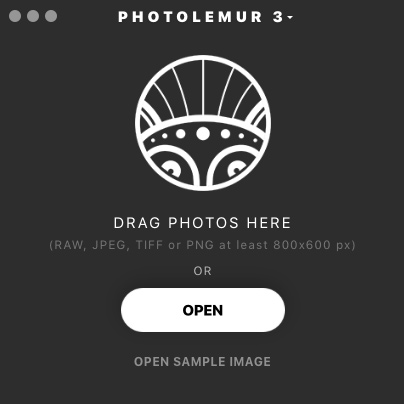
1.Open PhotoLemur 3.

2. You can either drag your photos or click on the “Open” button to import photos. You can also Drag and drop the folder containing the images. It supports RAW, JPEG, TIFF and PNG file formats.
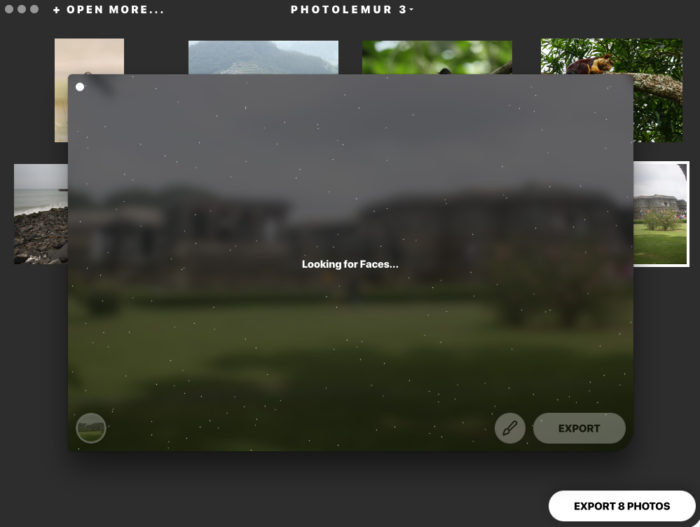
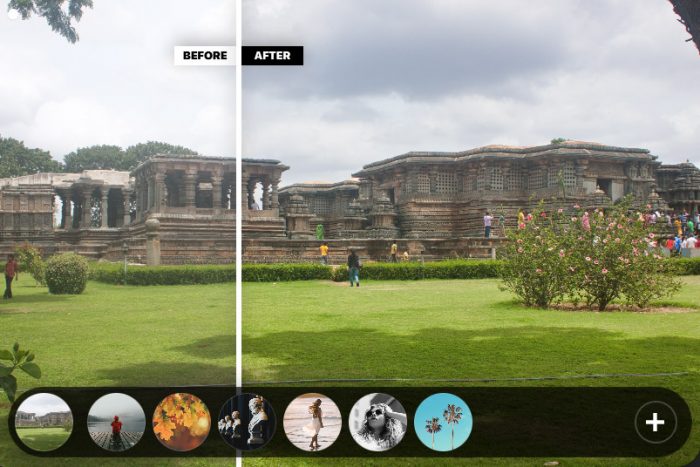
3.Once you click on one of the imported photos, then the automated AI processing will start. It took around 30 seconds to process the 20MB RAW image. You can see the Before/After slider, once the automated processing completes.
4.There is Brush Slider on the bottom of the window. You can use it to increase or decrease the amount of processing. By default, it would be in 100%. There are two more settings on the left corner of the brush panel. One is for Auto Lens correction and other for Face enhancement. You can enable the face enhancement if you wish to soften your skin.

5.Just like Skylum AirMagic and Aurora HDR 2019, PhotoLemur 3 also comes with Styles option for color grading. Apollo, Fall, Noble, Spirited, and Mono free Style options. You can also download paid styles from their website.
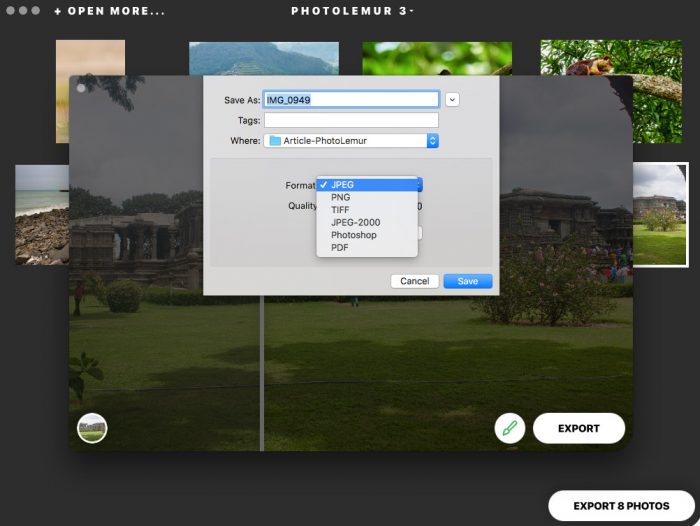
6.You can save the final image on to your hard disk or upload directly to email, Facebook, Smugmug, Flickr, and Twitter.

7. You can save the image in any of the popular file formats which include JPEG, TIFF, Photoshop, PNG, JPEG-2000, and PDF. You can also vary the quality of the image output.
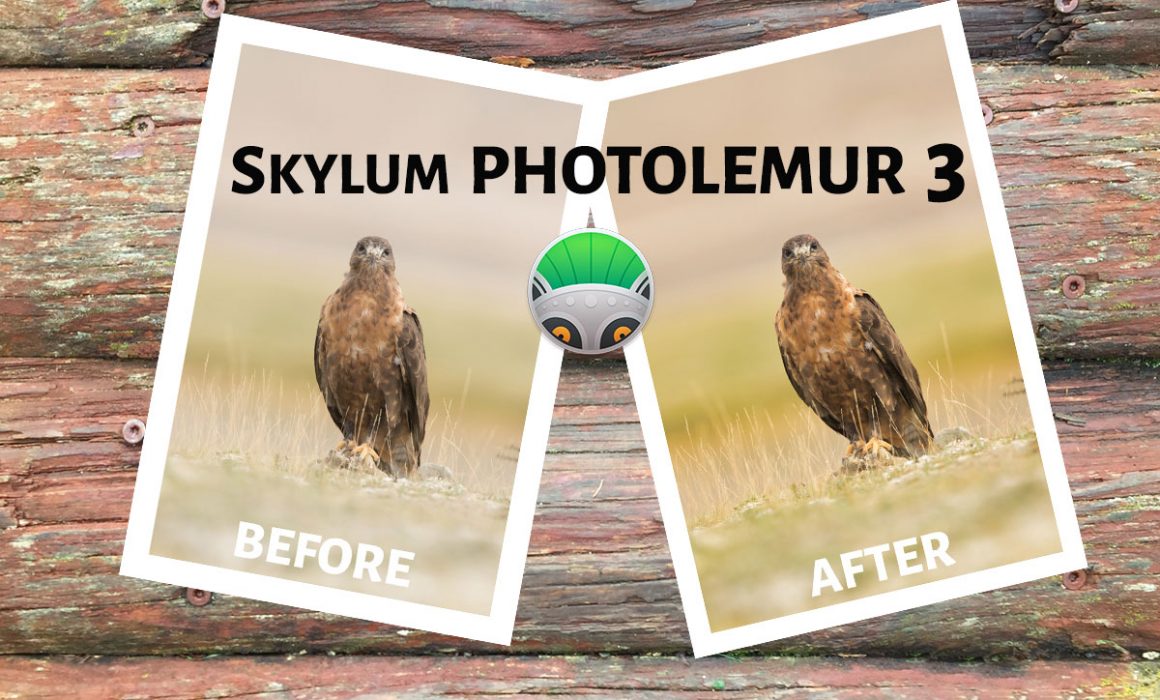
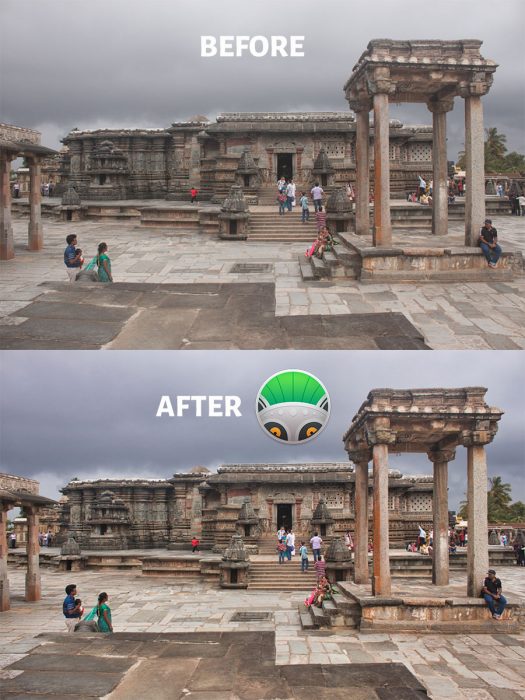
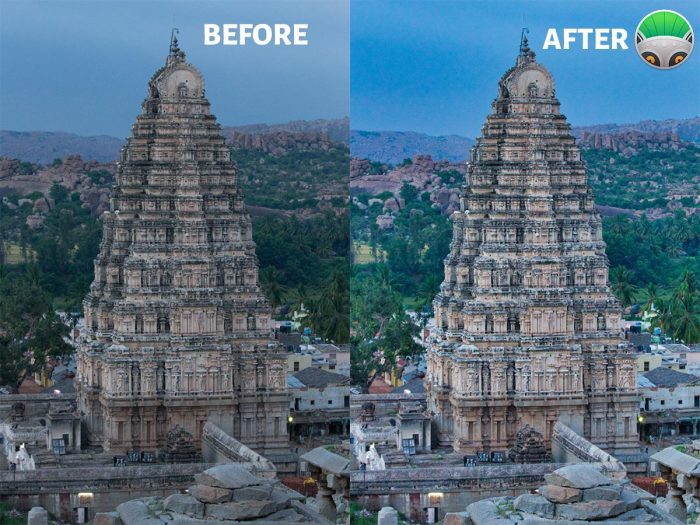
8.Now, let us see the Before and After effect on this picture.
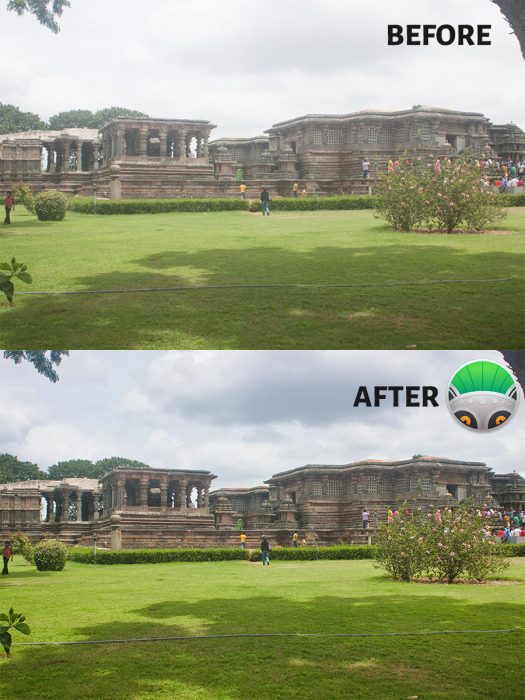
PhotoLemur 3 Before/After Images
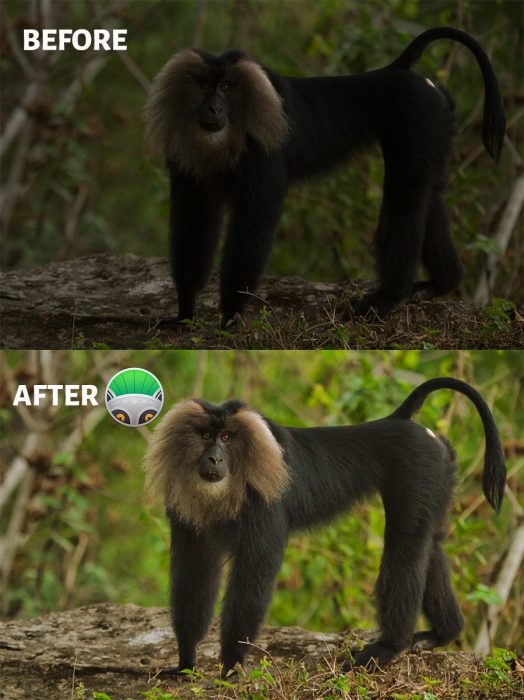
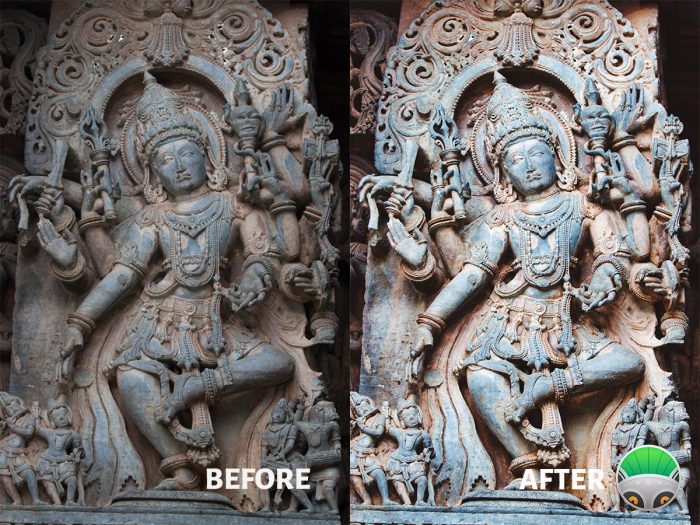
We will use PhotoLemur 3 on more images to see its effect.
Let us start with a noisy image. A RAW file of the noisy image is used. Even though “Reducing Noise” gets displayed while the image gets processed automatically, I don’t see any noise reduction happening to the actual image.
So, the performance is not so good for a grainy image. So, you need to remove the noise separately using some other software and then use PhotoLemur to enhance the image.
Conclusion
Now, the question is, who should go for Photolemur? If you are a person who is interested in clicking pictures, but not interested in post-processing, then PhotoLemur would be a good choice.
When you go for a vacation with your family, you would be capturing lots of images on your phone and DSLR or any other digital camera.
You can use PhotoLemur to turn your ordinary images to extraordinary. Don’t forget to use the Styles feature to color grade your photos if you are a fan of color grading.
Nowadays many of the photo editing software comes with a monthly subscription fee. PhotoLemur comes with a one-time fee of $35.
If you are a photographer who is serious about your photography, then PhotoLemur won’t be a good option for you. As a photographer, you should be post-processing your photos using any good editing tools like Lightroom or Luminar or Photoshop.
If you have already used PhotoLemur then feel free to share your experience or photos in the comments section below.