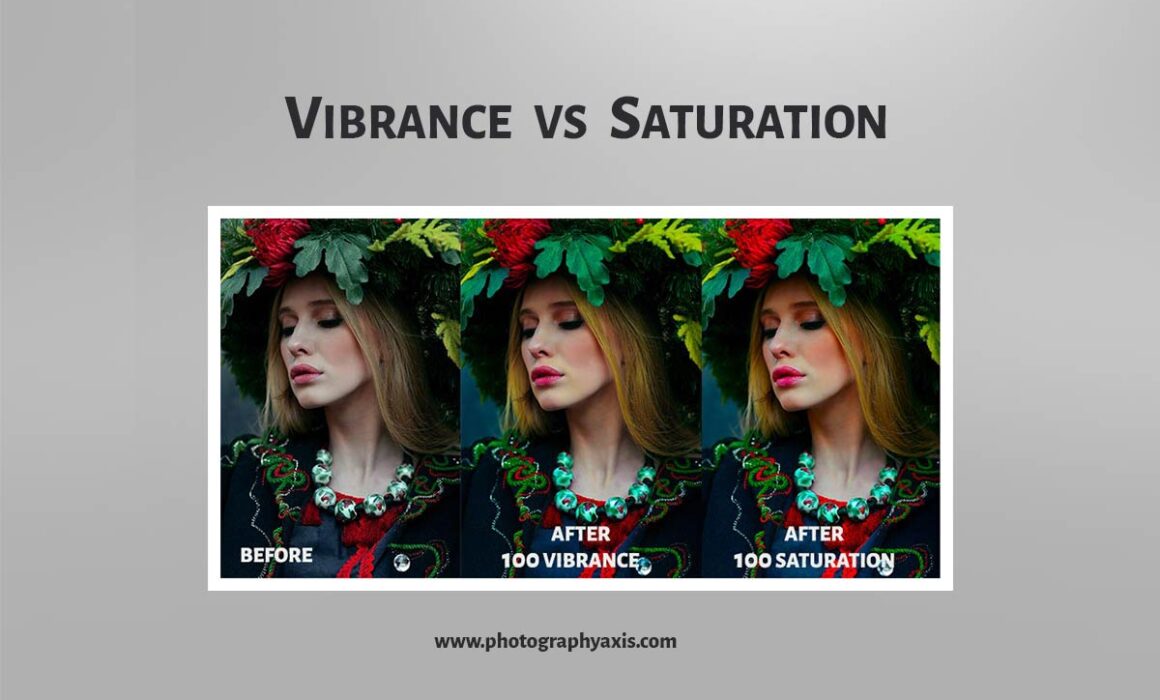
Vibrance vs Saturation in Photography – The Key Differences
Vibrance vs Saturation can be a confusing topic, especially if you are a newbie in photography. When you import images for editing in any photo editing software, you will have the option to tweak the picture’s vibrance and saturation.
You can get it totally wrong if you don’t understand what these two settings can do. In this guide, I will explain both vibrance and saturation in detail 😇.
Vibrance vs Saturation in Photography
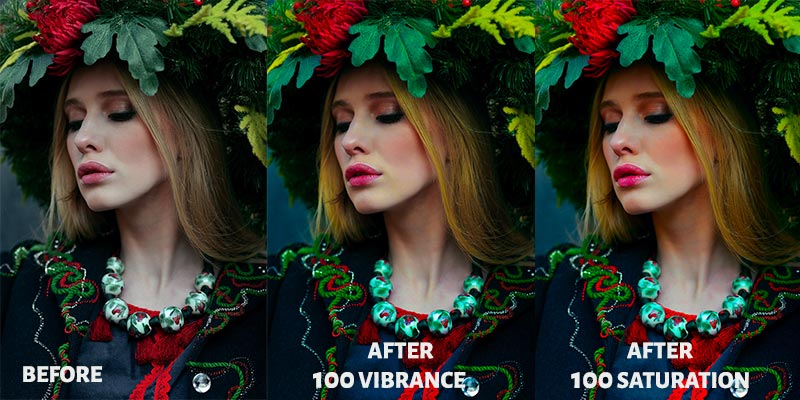
Both vibrance and saturation help to increase the intensity of the colors in the photo. But, they do it differently.
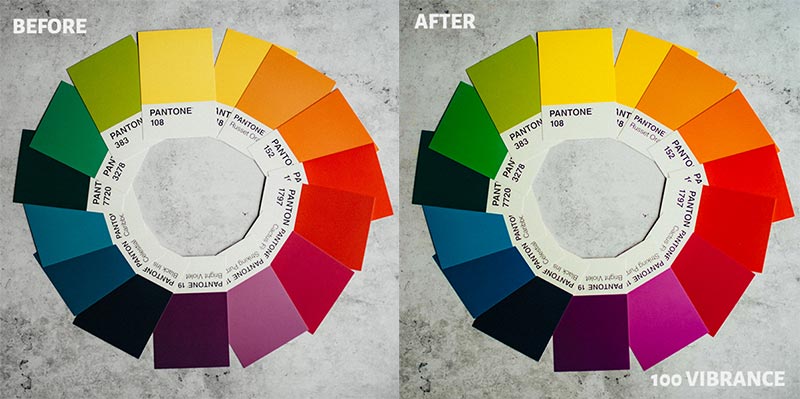
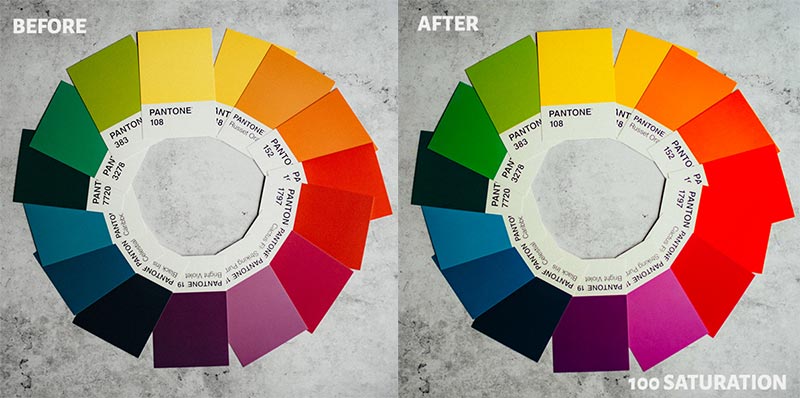
The vibrance affects the less saturated or the mutated colors in the image. So, it gives a subtle pop to the image color.
The saturation will deepen all the color tones in the picture.
The saturation is a stronger effect when compared to the vibrance in terms of color intensity.
If you increase the saturation levels beyond a particular level, you will blow out the colors and details in the image. All the color pixels in the picture get amplified when you increase the saturation level. So, use it carefully.
You need to maintain a perfect balance between these two settings to get the right color intensity for your image.
Vibrance vs Saturation Explained with Example 😎
It is easy to understand the difference between these two with the help of an example.

I will use this image of the Blue-eared Kingfisher, which I have photographed from the Andamans. The image shown above is unedited.
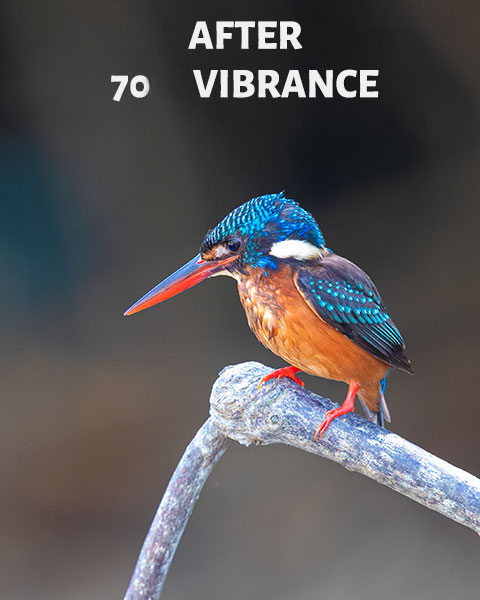
I will apply a vibrance of 70 to this image. You can clearly see that the light tones and the subtle colors have popped up in the picture.
You don’t have to increase the vibrance by this much amount. I have done it to show the effect.
Here, I have not altered the saturation.
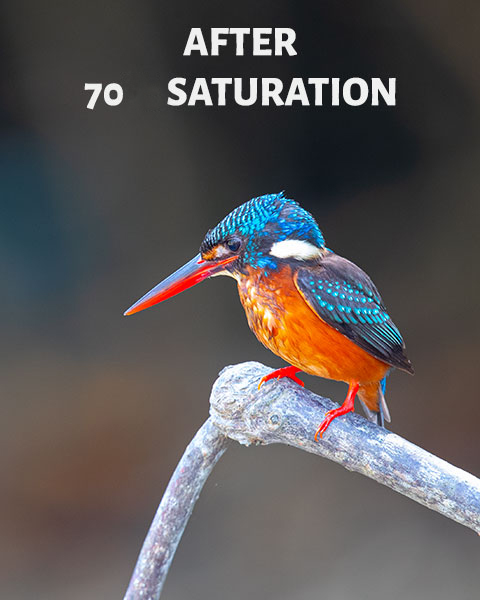
Now, I will pull back the vibrance settings to zero.
I will push the saturation settings to 70.
Now, you can see that all the color tones in the image became very intense. So, if you increase the saturation by too much, then the image can become annoying. 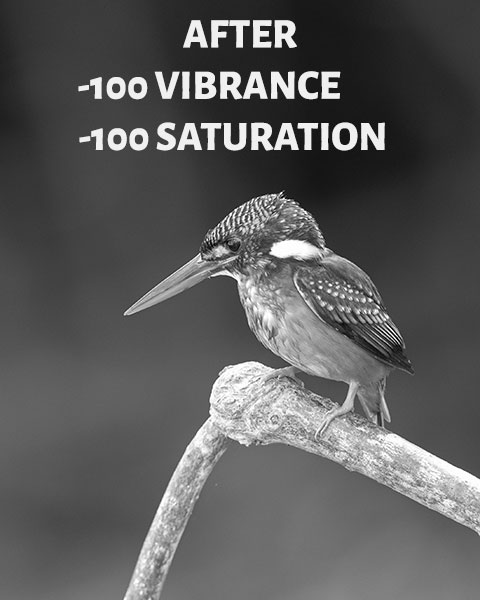
If you pull the saturation slider to the extreme left (-100), you will strip all the image colors.
You will get a monochrome image as a result. But, making the vibrance slider to -100 will still retain some color intensity. It will be like a faded color picture.
You need to play with both these sliders according to the image colors to get the desired result.
Saturation vs Vibrance in Lightroom
Adobe Lightroom is one of the most popular photo editing software used by most photographers.
![]()
You can view the sliders for adjusting the image’s vibrance and saturation inside the “Develop” module.
It will be under the “Presence” section inside the “Basic” edit section.
👉🏻 
Vibrance vs Saturation in Photoshop
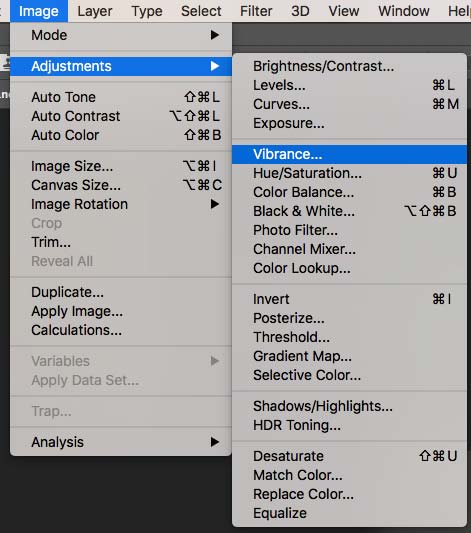
If you are using Adobe Photoshop for your edits, select the “Image” dropdown menu from the top toolbar.
Select the “Adjustment” option.
You can see the “Vibrance” option in it.
Select it, and a new window will pop up, showing the “Vibrance” and “Saturation” sliders.
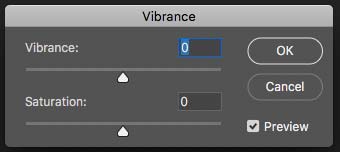
If you push the sliders to the right, then you can increase the strength of vibrance and saturation.
Moving the slider to the left will decrease the strength.
When to Use & What Intensity?
You will have to use either of these sliders for all your image edits.
The strength of the sliders will vary with the photography type and the lighting of the scene.
 Landscape Photography
Landscape photos demand good color contrast.
So, you need to maintain the right balance between the saturation and vibrance settings. Here, you will be playing more with the saturation slider than the vibrance one.
 Portrait Photography
Unlike saturation, increasing vibrance will not affect the skin tones. It is good to push the vibrance slider more toward the right side for the portrait shots.
It is better to avoid using a saturation slider for portraits unless it is absolutely necessary.
Increasing the saturation level beyond some levels will make the photo look unnatural.
Conclusion
Now, you know the exact difference between vibrance and saturation. So, start editing your beautiful images by setting the right amount of intensity for these two parameters.

