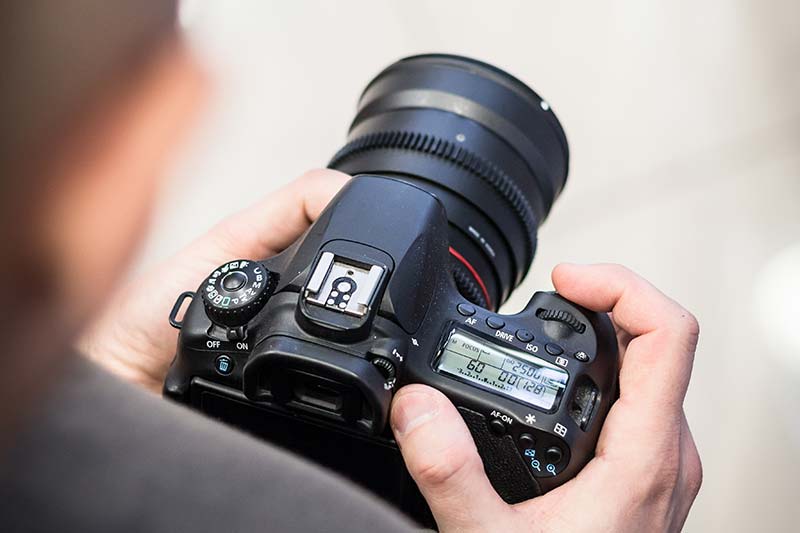
10 Essential Camera Functions for Beginners
If you have just started photography, you will be exploring your new camera to learn all the essential functions that can help you capture beautiful images. I will share the 10 basic camera functions that you need to learn and understand for better pictures. These functions will be present in cameras from all brands. So, you can use this guide for cameras from Nikon, Canon, Sony, Fuji, etc. It will work for all camera brands.
1. Aperture Priority Mode
If you are using an interchangeable lens camera like a DSLR or Mirrorless camera for photography, the first thing to select in your camera after powering it ON is the camera mode. For beginners, it is good to start with the Aperture Priority mode. However, don’t use the Auto mode in your camera if you really want to learn photography.
Select the Aperture priority mode in your camera. In some cameras, it will be called the Aperture mode also. It will be denoted as Av or A in the camera. Here, you can select the Aperture value, and the camera will give you the appropriate values for shutter speed and ISO for the required exposure.
If you want more light to enter your camera, go for a large aperture (small f-number). It will help you achieve a higher shutter speed at low ISOs. Lower ISO values help to reduce the noise in the image. You will be able to get a shallow depth of field. It is good for portrait shots.
If you want more focus area, you can go for a small Aperture (large f-number). It is useful for landscape photography where you want everything in the scene to be in focus.
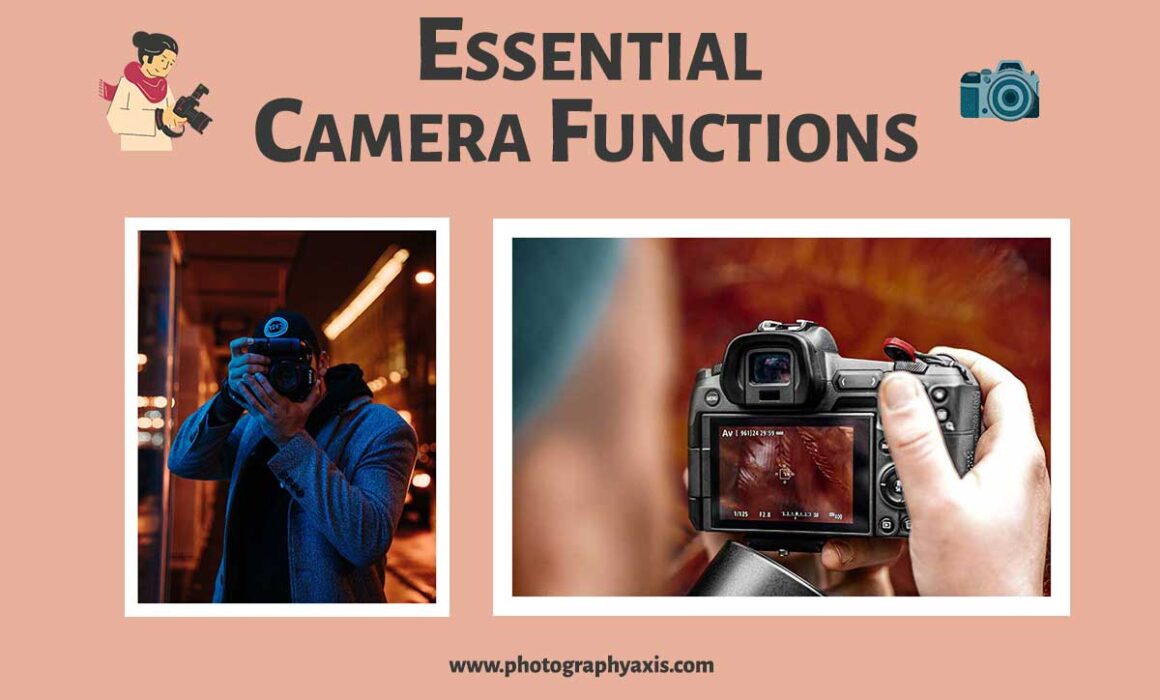
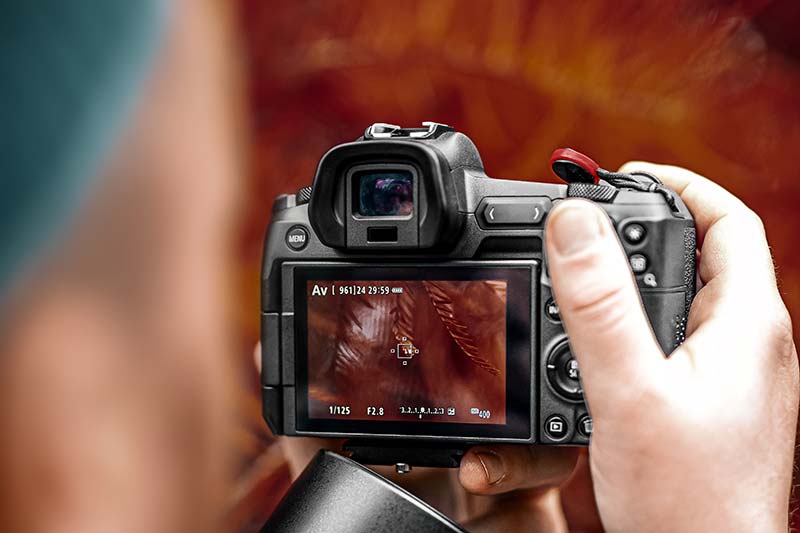
2. Image Zooming
Whenever you capture an image, are you sure that you are getting a good tack sharp image?
You can always see the image on the LCD display of your camera. But, these displays are quite small with an average size of 3 inches. So, if you just preview the image, you won’t be able to make out whether it is sharp or not.
You need to use the zoom-in feature in your camera and zoom in the image to 100 percent and see all the areas of the image to check and confirm that the image is sharp or not.
You can press the magnifier glass button in some cameras. Some cameras support touchscreen feature. You can pinch and zoom using your hand here.
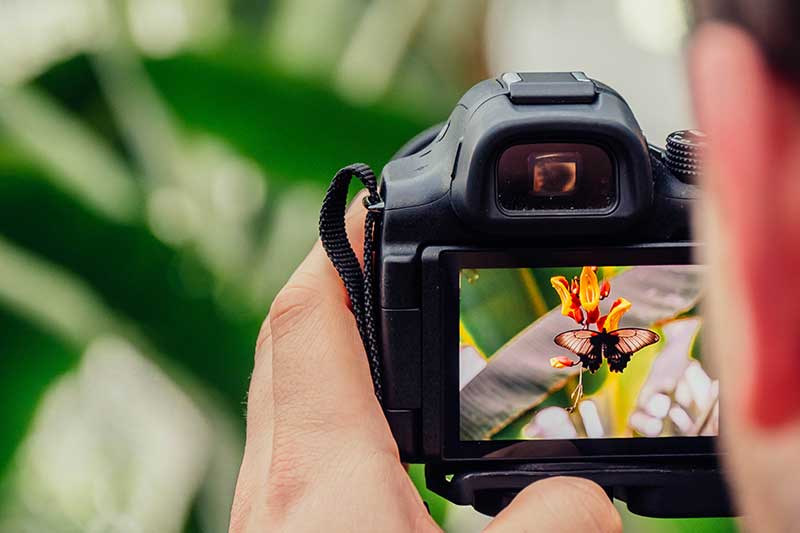
3. Back Button Focus
In most cameras, the focus button will be integrated with the shutter trigger button. The half-press of the shutter button will initiate the focusing, and when you fully press the shutter button, the image capture will happen.
The issue with this setup is when you have a subject like a bird perched on a tree branch. It will be doing lots of actions. So, you will be capturing multiple images.
Whenever you press the shutter button for capture, the camera will try to focus on the subject again. It will result in wastage of the camera battery as well as time. Therefore, it is good to use a separate button in your camera just to focus in such situations. Once you have locked the focus on the subject, you will have to just click the shutter button for the capture.
All the interchangeable cameras come with a Back Button focus option. You can configure this button to focus on your subject.
4. Auto Focus Modes
When you use a digital camera, you will be using the Autofocus feature. All DSLR and Mirrorless cameras come with three types of focusing modes. They are One-Shot AF (AF-S) mode, AI Servo (AF-C) mode, and AI Focus AF (AF-A) mode.
You need to select the correct AF mode among these three modes. One-Shot AF mode is suitable for static subjects. AI Servo mode is good for moving subjects. In this mode, the camera will be in continuous autofocus mode.
The AI Focus mode is a hybrid mode. If your subject is in motion for some time and not in motion for other times, then you can use this mode. So, select the autofocus mode according to your scene.
5. Exposure Compensation
By default, all the cameras will have their exposure compensation dial at “0” (zero) position. However, this 0 value for exposure compensation will not work in all situations. You will have to underexpose or overexpose your scene in certain situations. In order to do that, you need to change the exposure compensation value.
If you move the slider to the right side (positive values), you are overexposing your scene. If you move the slider to the left (negative values), you are underexposing the image. So, you need to set it accordingly.
For example, if you shoot a landscape with snow and ice, you will have to overexpose your image. It is because the camera’s meter will try to make the image 18% grey. Thus, if you shoot with zero exposure compensation, you will get a greyish tone in the image, which is an underexposed image. So, increase the exposure compensation to get the perfect exposure.
6. Blown Highlights Detection
Blown-out highlights can be an issue in many situations. The real problem with this issue is you won’t realize it until you open the image on your computer. There are two ways to deal with this issue.
First, you can check the image histogram and look for blown-out highlights. Next, you need to check the right side of the histogram graph. If the graph is getting spilled out from the right side, it indicates blown highlights in the picture. In such situations, you need to reduce the image exposure.
The second way of detecting the blown highlights is to enable the highlight alert in the camera, also known as the Blinkies. Here, you can see the blown-out highlight section blinking red when you preview the image in the camera. It is the best and easy way for blown-out highlight detection.
You can use any of these methods.
7. Metering Modes
There will be multiple metering modes in your camera. It includes Evaluative, Centre-weighted, Partial, and Spot metering modes.
You need to have a good understanding of these metering modes. Only then you will know which mode to set for different lighting conditions. From my experience, the Evaluative metering mode works for 90 percent of the scenes.
8. White Balance
Many amateur photographers find it difficult to set the white balance correctly. You will find different white balance settings in a camera like Daylight, Cloudy, Tungsten, etc. These white balance value corresponds to a particular color temperature in Kelvin.
If you are shooting outdoor during the daytime, Daylight white balance will be good for you. You can go for Cloudy for late evening shots. Like that, you can choose each of these white balance settings for different lighting conditions.
If you find it difficult to set one, you can always set AWB as the white balance. AWB stands for Auto White Balance. If you shoot the picture in RAW format, you can easily fix all kinds of white balance issues later during the editing stage.
9. Image File Options

You can see two file types in your camera, RAW and JPEG. There are three options to save your final image. You can save it in RAW, JPEG, or RAW + JPEG.
I strongly recommend saving the image in RAW format. It will help to capture more details in the picture. The RAW image will give you better editing options also. If you are not planning to edit pictures, you can choose JPEG.
10. Picture Profiles
All digital cameras come with different picture profiles. Some of the commonly seen picture profiles include Portrait, Landscape, Standard, Neutral, etc. You can also set a picture profile if you plan to record the image in JPEG format.
If you are shooting people portraits, go for the Portrait picture profile. It will help to give the right color tones for the skin, saturation levels, and sharpness for your portrait shots. If you are into landscape photography, you can choose the Landscape picture profile.
Conclusion
Now, you know all the essential camera functions that you need to start shooting pictures. So, take out your camera and learn all these features. It is a good idea to keep the camera manual also along with you when you learn these functions.
As an amateur photographer, you may fear taking your DSLR/ Mirrorless camera outside for shooting, especially if it is a high-end one. If you have such fears, it is good to take insurance for cameras and lenses. It will help you to relax and capture images. You can share your pictures on social media sites and get feedback. It will help you to improve as a photographer. It is essential to have a relaxed mind while doing photography. Otherwise, you won’t be able to capture the desired frame.
If you plan to share your pictures on Instagram, you can consider converting a series of images into a video with appropriate text and music. Use eye-catching fonts to get good attention. You can easily get lots of good free fonts online to make the text look attractive to the viewer. It will help to improve your reach as a photographer.