22 Best Nail Photography Tips & Ideas
If you are a professional or looking to share your nail pictures on social media sites like Instagram or Facebook, you need to know how to photograph them. Otherwise, you will not be able to showcase your beautiful nails properly. In this guide, I will share the 22 best nail photography tips for stunning nail pictures.
1. Use Soft & Diffused Lighting
It is a bad idea to use a hard light for nail photography. It will create unwanted shadows in the image.
Go for a soft and diffused light. It will help to capture a pleasant image of your nails.
Also, most nail polishes are shiny. So, harsh light can result in unwanted reflections from the nails.
2. Shoot with Large Apertures
When it comes to nail photography, fingernails are your main subject. You need to ensure that the viewer’s attention is on the nails.
When you shoot with a large aperture, you can get a nice background blur. It will help to bring the whole focus of the viewer onto the nails.
3. Try Nails on Face Shot

You can keep one of your hands on the face showing your fingernails. There are multiple ways to position your hands.
You can keep it on one half-side of your face.
Otherwise, you can place it outside the face with the 5 fingers pointing toward the face. Here, the face will occupy the majority of the frame. So, you can even go for a half-face shot to ensure the fingers occupy more space.
You can even cover the entire face with one of your hands, to show the fingernails. To make the frame more interesting, keep some space between two fingers to show one of your eyes.
4. Go for a Live Nail Polishing Shot
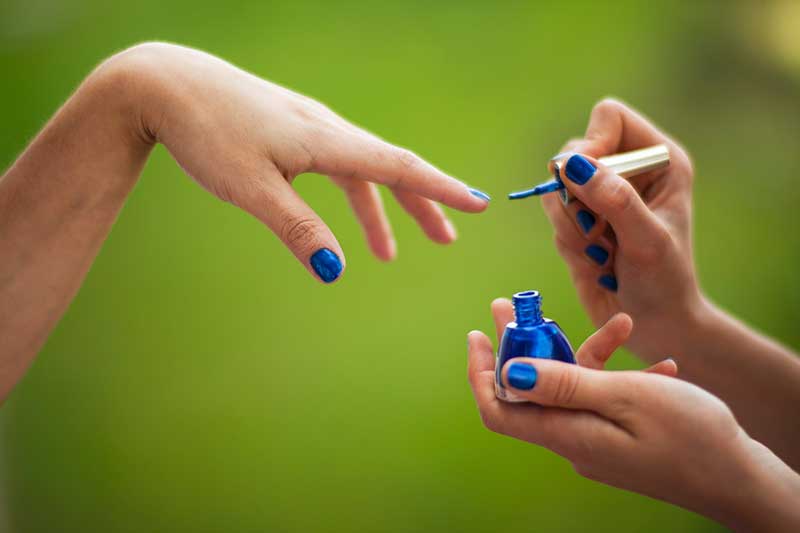
You can even make the image more lively by photographing it during nail polishing time. It can help to photograph some unique images.
While capturing such an image ensure that the nail polish is applied to some of the nails. If all the nails are bare without any polish, the image will not look interesting.
5. Fingers on Hip Pose
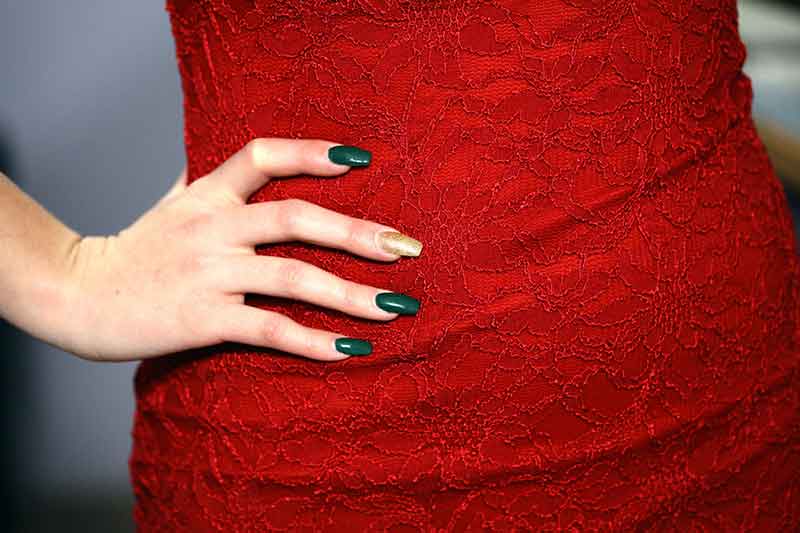
Another nail photography poses that you can try is the “Fingers on Hip” pose.
Here, the color of your dress becomes an important part of the image composition. Try to go for a single-color dress that goes well with the nail color. It is a good idea to go with complementary colors.
In such a composition, usually you can see the 4 fingers with polished nails in the image.
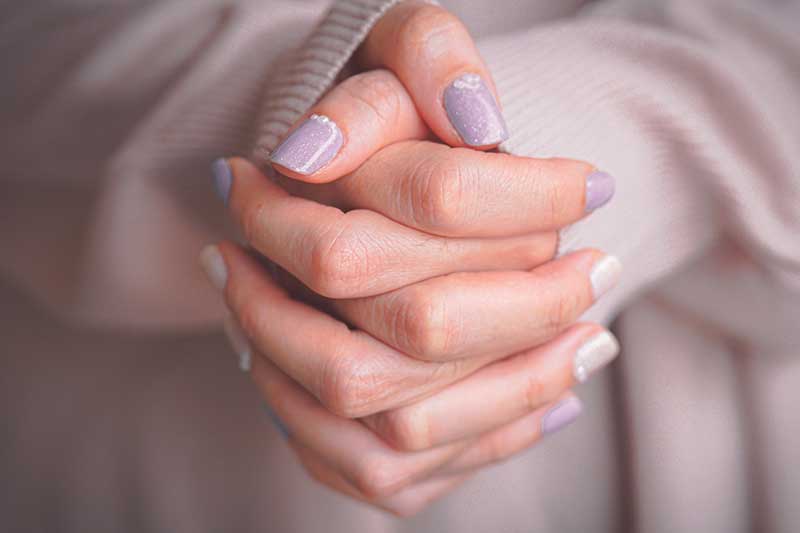
6. Folded Hand Pose
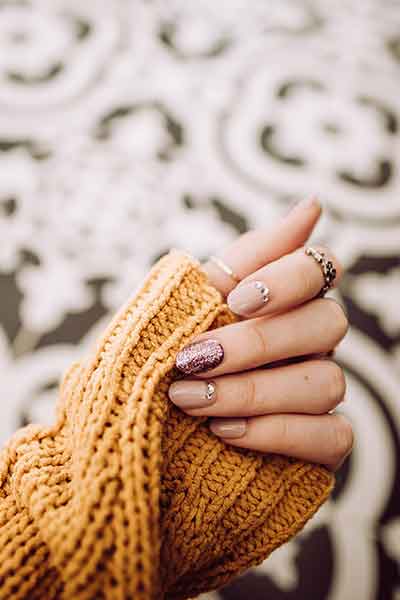
If you check on social media sites like Instagram for nail images, one of the popular poses will be the folded hand pose.
You just need to fold one of your hands. When you photograph, four nails will be visible in the image.
It will be good if you can include some parts of the dress in the hand, like in the above picture. Also, try to get a background color that goes well with the dress color.
7. Try Photographing from Different Angles
One common mistake made by most photographers while shooting nails is always shooting from the same angle.
The most common angle will be the one where the fingers appear flat and parallel to the camera.
I strongly recommend trying photographing manicure shots from other angles also. It can help you capture some unique images.
8. Group Shot

You can even take a group shot of the nails of your friends and family members. Make them sit in a circular fashion.
Ask them to stretch their hands towards the center. When you photograph the hands from the top, you will be able to see an interesting pattern too.
9. Mug in Hand Pose
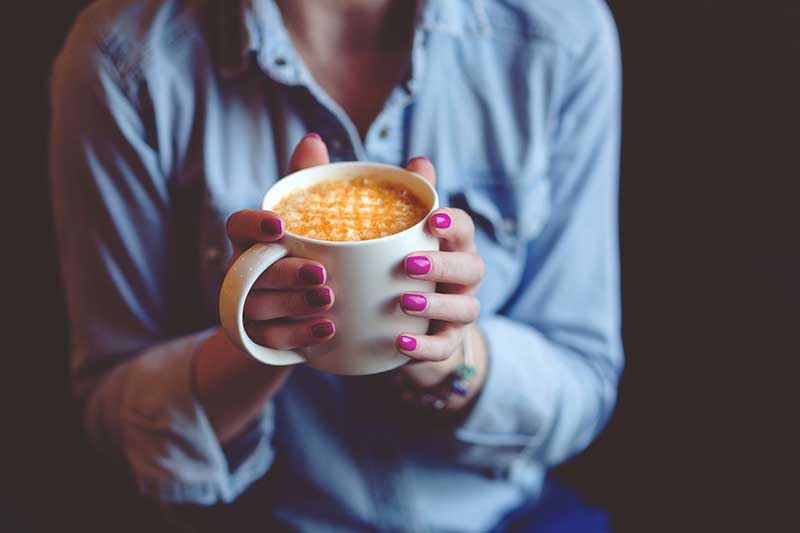
If you are interested to try a different pose for nail photography, I will suggest going for the mug in hand pose.
You can take any coffee mug. Hold it in your hand in such a way that each of the 4 fingernails is clearly visible in the image.
You can either go for a half-body shot with the mug and fingers alone in focus. Otherwise, even a close-up shot of the mug with the fingers will look pretty.
10. Make Sure the Background Complement Nail Colors
When you choose a background for nail photography, make sure it complements the nail color. It will help to create a strong composition.
Otherwise, the background color can distract the viewer.
11. Do a Basic Image Retouching
Whatever nail image you capture, you must do some basic photo retouching to enhance the image.
A slight tweaking of the exposure, contrast, vibrance, and saturation can take your nail images to the next level.
You must also save the final image in web format and appropriate resolution suited for social media sites.
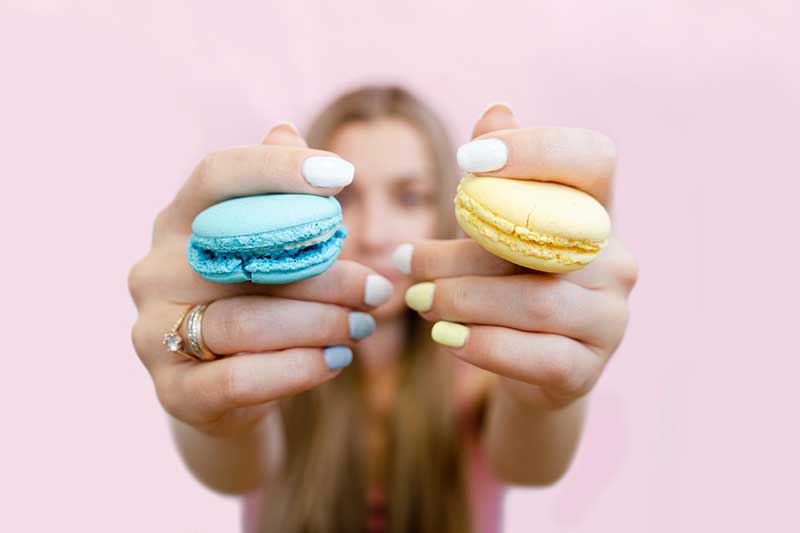
12. Nails in Focus with Person Out of Focus
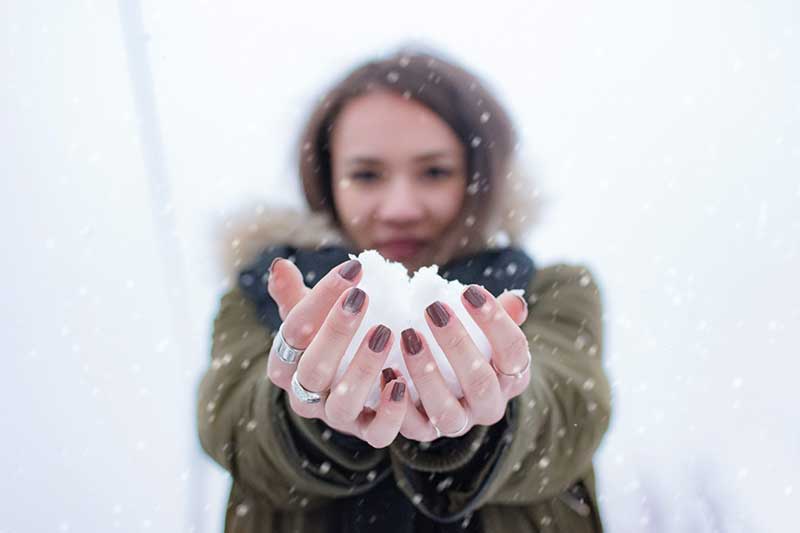
Nails must be the main subject when it comes to nail photography. One easy way to bring the viewer’s attention to nails is by photographing nails in focus and blurring the person.
You can ask the person to stretch the hands forward to showcase the nails. Capture the image with a large aperture to create a nicely blurred background. The focus should be on the nails.
Make sure not to introduce the foreshortening effect in the image. It can happen when you get too close to the fingers with the camera.
13. Fingers on a Bed of Flowers
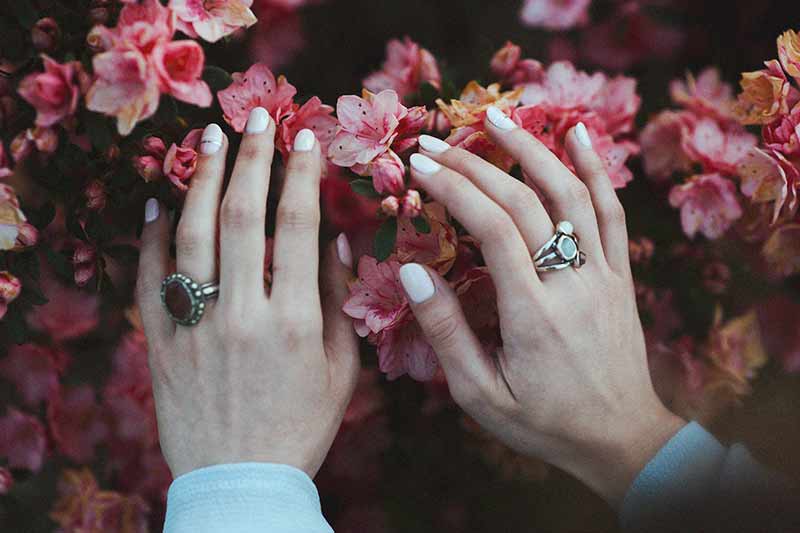
To make the image more interesting for the viewer, you can keep your fingers on a bed of flowers.
It will make the picture more attractive.
14. Shoot at Low ISO
It is always best to photograph nails at low ISO values. Higher ISO can result in noisy grains in the image.
When you try to remove these grains from the image, you will also lose some amount of details from the picture.
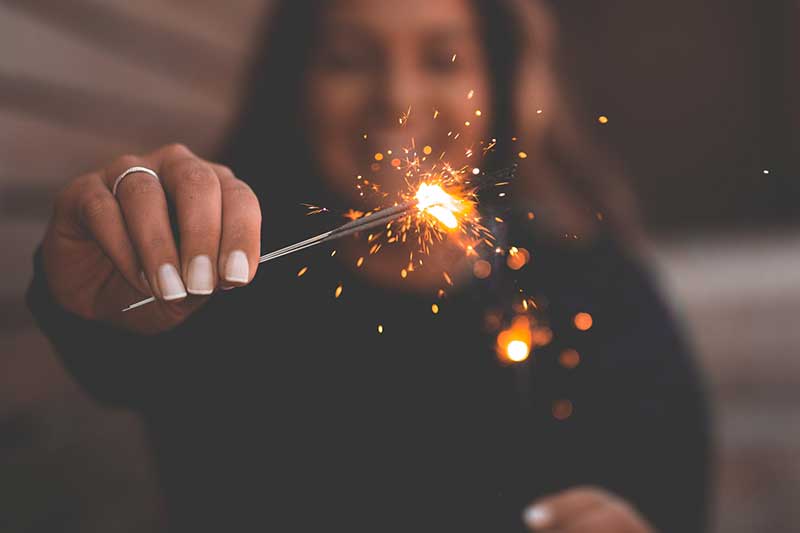
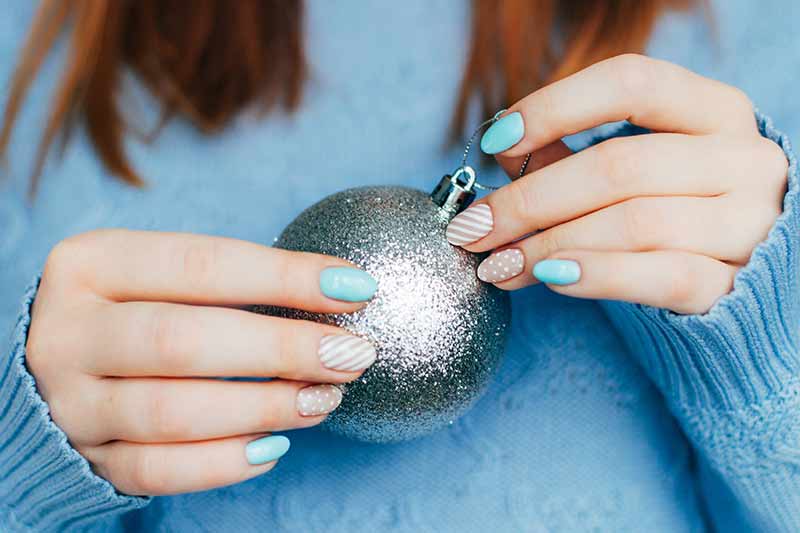
15. Use Props
If you just take a picture of your fingernails with a plain background, it can look uninteresting.
So, it is a good idea to use some props to take the image to the next level. When you use props make sure it complements the scene.
Also, the prop color must go well with the image.
16. Go for a Plain & Simple Background
If you go for a complex background, it can be distracting for the viewer. Thus, the viewer may not be able to enjoy the beauty of the nails in the image.
Always use a plain and simple background for photographing nails.
17. Shooting Mode
If you are a newbie, use the Aperture priority mode. You can set the aperture value in this mode and the camera will give you the rest of the settings to get the perfect exposure.
Otherwise, you can go for the Manual Mode. It will give you more control over the camera settings.
Never shoot in fully automatic mode.
18. Choice of Focal Length
From my experience, portrait focal lengths like 35mm and 50mm are good for nail photography.
You can use a prime or zoom lens. The prime lens can get you slightly better-quality images.
19. The Eight-Finger Pose
You can also go for eight fingers pose. Here, the nails on both thumbs will not be visible in the image. The other 4 fingers of both hands will be the main subject.
Try to photograph these eight fingers by keeping the hands in different positions.
20. The Ten-Finger Pose

You can even show all 10 fingernails in the image. There are multiple ways you can pose for this image.
One popular way is to keep one hand over the other in an overlapped fashion.
You can also keep the two hands in such a way that it looks like each of the hands come from two corners.
21. Compose the Image Properly
The secret to a beautiful nail picture lies in the composition part. So, as a photographer, it is your responsibility to compose and capture the image properly.
You can use any of the popular photo composition techniques for capturing stunning pictures of nails.
22. Posing with Jewelry
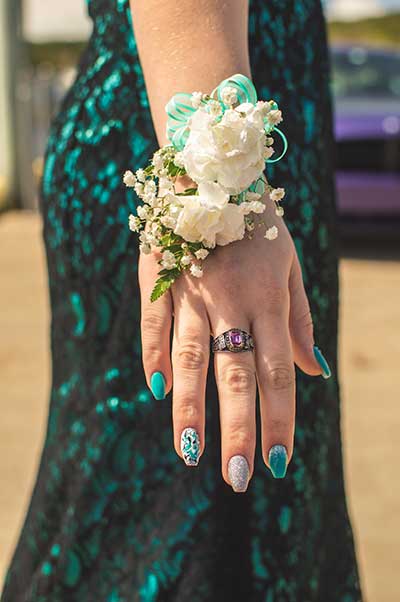
It is a good idea to wear some jewelry for your manicure shots. You can wear bangles, bracelets, or finger rings. It can help to enhance the aesthetical beauty of your nail shot.
Make sure to match the jewelry design and color with the manicure color. Otherwise, it will look odd.
Final Thoughts
When you do nail photography for the first time, you may find it a little difficult to perfect it. Once you follow these tips, you can master nail photography in no time.