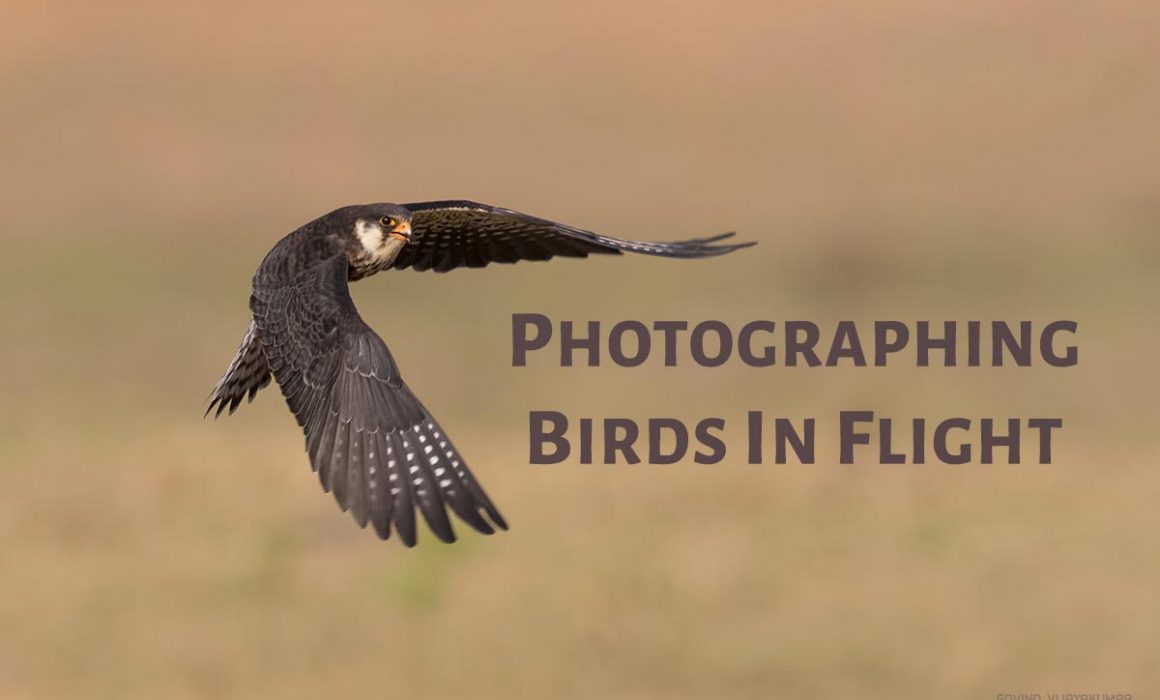
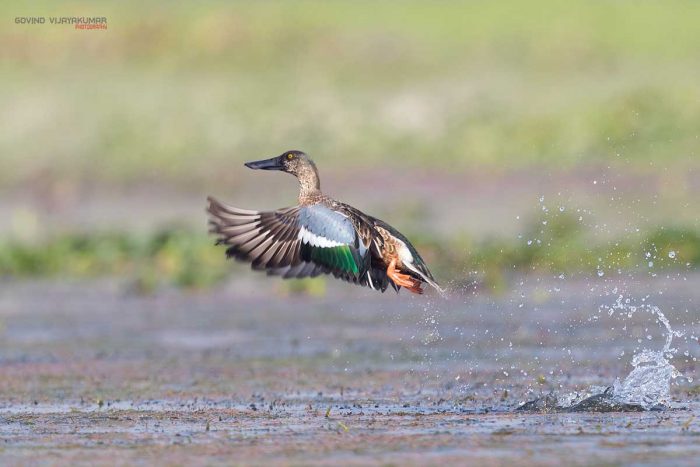
Photographing Birds in Flight
The real challenge in bird photography is photographing birds in flight. In order to get a good flight shot, you need to make sure that you have the right ingredients. Lets us explore some tips to get the perfect flight shot of birds
Camera Lens
Use a zoom lens or prime lens with Telephoto focal length. You can use a Teleconverter if you are using a fixed focal length prime lens. This will help you to get more reach.
For example, a 1.4x teleconverter on a 500mm lens with a full from the body would be equivalent to a 700mm focal length. Teleconverters are not good for zoom lens since it reduces your aperture.
If you are looking for the best image quality, then you should go for a prime lens. You will need at least a 300mm focal length for photographing birds in flight.
Camera Body
You can make use of any camera with a telephoto focal length to capture birds in flight. A good bridge camera with a good zoom is a minimum requirement.
If you are using a DSLR/Mirrorless camera, you can use an APS-C body as well as a full frame camera body. In case of an APS-C camera body, you will get the crop factor advantage.
If you are using a Canon APS-C body then your effective focal length would get multiplied by 1.6. So a 500mm lens would become an 800m lens. Here the disadvantage is that you can’t pump the ISO to higher values like in a full frame camera body.
Camera Settings for Photographing Birds In Flight 🦅
Exposure
Try to get the Sun behind you. This will ensure that you get a good amount of light on the subject.
You can overexpose the shot by 1/3rd stop. If you are photographing against a white background then try overexposing the image by 1 stop so that the bird doesn’t get underexposed.
Camera Mode
Ideally, you should be using the Manual mode in your camera. If you have not explored the camera manual mode yet then go for the Shutter priority mode. You need to get a good shutter speed to photograph the bird in flight.
Aperture
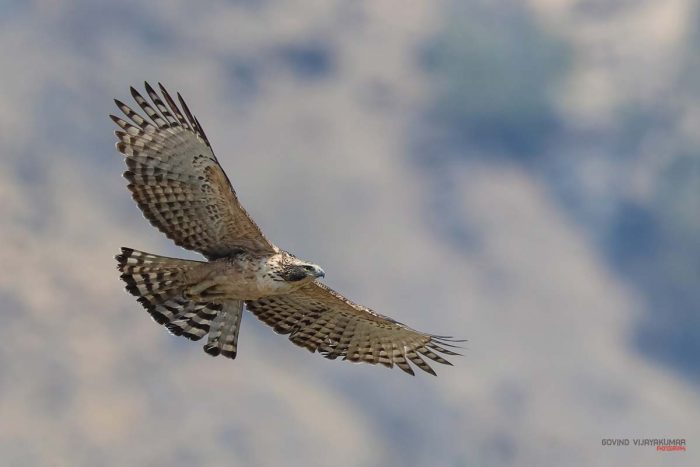
Go for a bigger aperture. By this, I didn’t mean to go for the biggest aperture supported by the lens.
If you are using an f4 lens then go for apertures like f5.6 to f8. This will ensure that you get the full body of the bird in focus.
When the bird is flying there is a chance that it can come a little closer to you, provided the bird is comfortable with your presence. So, if you use the f4 aperture then you might only get the head or some part of the body in proper focus.
Shutter Speed
This is the important parameter for photographing birds in flight. So, What shutter speed should I set?
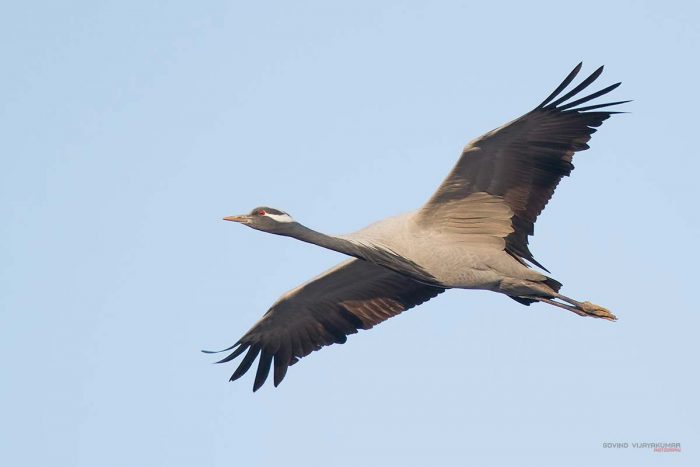
It actually depends on the type of the bird. If you are photographing raptors like Eagle then they would be flapping at a smaller rate. So, a shutter speed of 1/1000 would be sufficient to photograph it.
In case of birds who have a higher wing flap rate like the hummingbirds, go for a shutter speed of 1/2500 seconds or higher.
ISO
Try to avoid as much noise as possible in your photos. So, go for the lowest possible ISO value.
The lighting is the main factor which sets the ISO. If you are using an APS-C camera body then an ISO value up to 800 would be a good choice. For full frame camera bodies, you can go beyond 800 ISO.
Camera Metering
You can set your camera to Evaluative Metering mode. This will do the job.
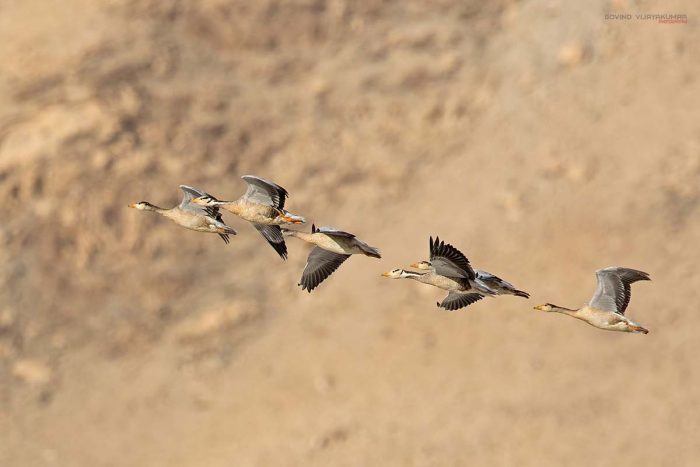
Burst Mode
It doesn’t matter if your camera supports only 5fps in Burst mode. Use Burst mode for photographing birds in flight. It ensures that you don’t miss any good frame.
You can select any one frame from the burst shots. In some frame, wings may be covering the eyes or no catch light in the eyes. Discard those frames.
Don’t worry about increasing the camera shutter count by using the burst mode.
Shoot in RAW
Always capture the image in RAW format. This ensures that you can make minor tweaks in the photos like exposure correction or white balance correction in the photo later while post-processing.
Focusing Technique
Since we are photographing birds in flight I can’t ask you to keep the bird’s eye in focus. You can focus on any part of the bird.
Use continuous focusing mode in camera. It will ensure that the bird remains in focus once the focus is locked. So, you will have to just track the bird through the camera’s viewfinder. Once you get the desired pose and composition, press the Shutter button. For Canon users, AI Servo mode will do this job and for Nikon, it is continuous Focus.
Now, the question would be which focus point to use? If your camera supports a large number of focus points then choose any focus points depending on your image composition.
Certain focusing points in certain camera bodies are faster than the others. There are double cross hair and crosshair type focusing sensors. Double cross hair focusses faster than the other.
If you don’t know which one is faster, go for the center point. It will have the faster focusing sensor in almost every camera. Give some space around the bird. This will help you to crop and recompose the image.
Use Tripod
I always recommend using a tripod for photographing birds in flight.
Most of the bird photographers would be using the 500mm or 600mm heavy lenses. It is really tough to get a good flight shot handheld. So, use a tripod.
For birds in flight, you can use a Gimbal head. It will help you to pan the camera in any direction.
If you are using a zoom lens like canon 100-400mm or 70-300mm then you can even shoot handheld since they are less bulky.
Shooting Technique
Set your camera and lens on your Tripod. If you are shooting handheld, be ready with your camera.
You need to pan your camera in the direction of bird’s flight. Try to get the focus locked on the bird and trigger the shot when you get the right composition.
Make sure that you have some light on Bird’s face. Click and hold the shutter button so that you can take multiple shots in the Burst mode.
Don’t worry if you get it wrong the first time. You need to get good practice to get it right.
👉🏻 📖 READ MORE: Best Bird Photography Tips