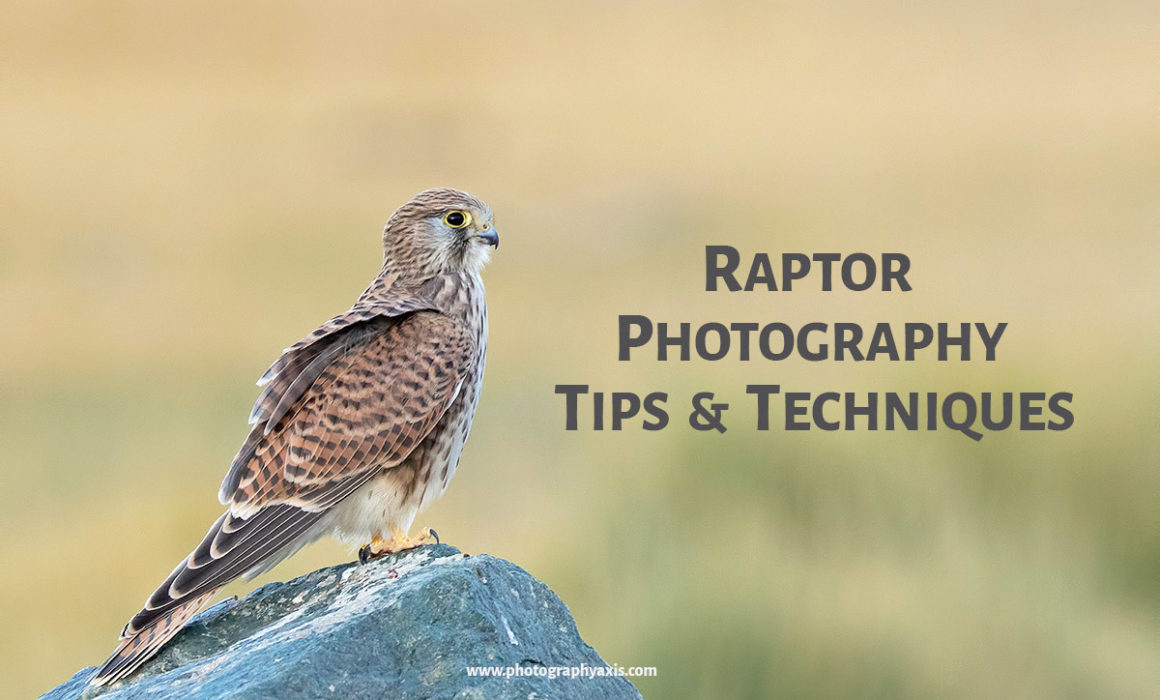
Raptor Photography- Tips & Techniques
I have been photographing Raptors for quite a lot of time. So, I thought of sharing my Raptor Photography Technique and Tips which would be useful for other bird photographers. Raptor photography requires lots of patience.
You can photograph Raptors either in flight or perched. I will explain both the techniques in this tutorial.
Camera Gear for Raptor Photography
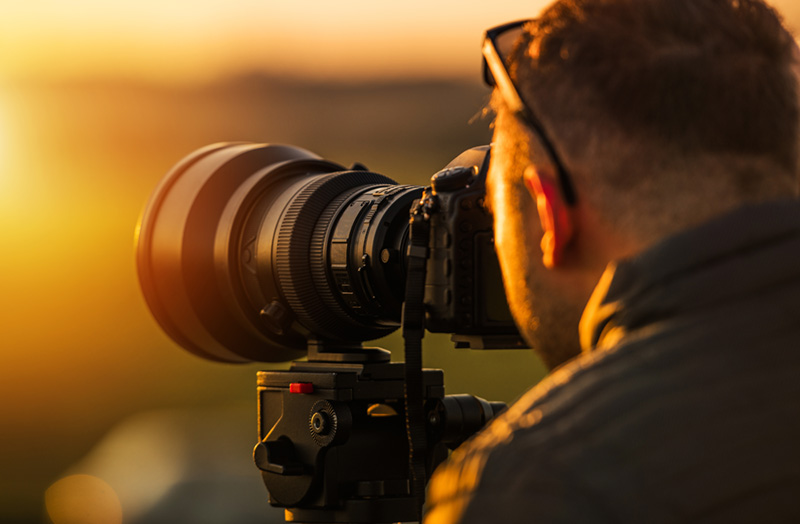
Camera
I would recommend going for a DSLR or a mirrorless camera. You can also use long zoom bridge cameras. But, the image quality would be less when compared to the interchangeable lens cameras.
Lens
You will need a telephoto lens of at least 300 mm focal length for Raptor photography. Higher the focal length better the feather details. It also helps to shoot at a comfortable distance without disturbing the raptor.
You can either use a Prime or Zoom lens.
Tripod/Monopod/Bean Bag
Both Tripods and Monopods are good. But, the choice depends on whether you are trekking or inside a hide.
A monopod is useful if you are trekking. For hide photography, a tripod is the best option. If you are inside a safari vehicle or car, then Bean bag is the best option.
If you are using Super Telephoto lenses like a 600mm or 800mm prime lens, then you need some support, unless you are well built. You can go handheld if you are using a zoom lens.
Camera Settings for Raptor Photography
Camera Mode
You can use the Manual mode or Shutter Mode for flights and Aperture mode for Raptor portraits. I recommend using Manual mode to get better control over your camera.
Shutter Speed
For raptors in flight, make sure to use a minimum shutter speed of 1/500. Higher the shutter speed, better would be the image freeze.
For Raptor portrait, a shutter speed of 1/250 and above would be the right choice. If it is in the act of preening or feeding the young ones, then go for 1/500 and above shutter speed.
Aperture
A higher Aperture helps you to get a nicely blurred background. So, try to go for the lowest f-number.
ISO
A Lower ISO would be the ideal choice. But, it is all dependent on lighting. Try to match the ISO settings with the shutter speed to ensure that your image doesn’t end up getting blurred.
You can even go for an Auto ISO. But, make sure to set the threshold limit to a usable ISO value.
Raptor Photography Tips and Techniques
1. Understand Raptor Behavior
It is good to have a proper understanding of Raptor behavior. It will help you to anticipate the next raptor movement, which will get you the right timing for the shot.
For example, Raptors like Eagles and Hawks fly high. So, the chances of getting a good picture are less if it is soaring up in the sky. You may end up in an image with an uninteresting white background, which is suitable only for Raptor identification.
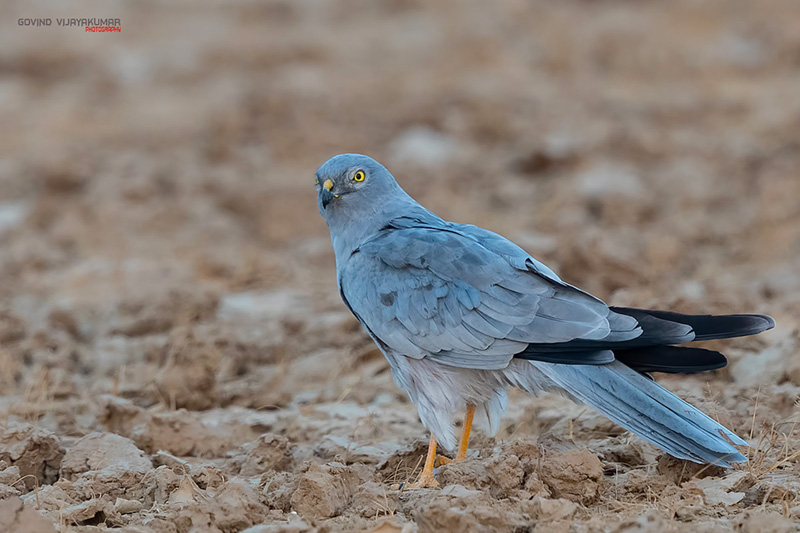
In the case of Harriers, they fly much lower than the Eagles. So, you have a good chance of photographing harriers against a beautiful blurred green or brown background.
I mostly photograph Raptors in and around India. I use the book, “Birds of Prey” by Rishad Naroji to understand the behavior of different raptors seen in India. It also gives the raptor distribution in different areas. So, you will get an idea of what to expect in your area.
2. Find the Raptor Hotspots in your Area
The first thing to do is to explore your area for raptors. But, it would be challenging to go around looking for these Birds of Prey.
You can use the eBird website to know the raptor distribution in an area. It will have details like which raptors are sighted, and at what time of the year. This data is based on the checklist uploaded by other birders in that area. So, make use of it.
3. Raptor Photography from Vehicle

Some of my best raptor pictures are photographed from a car. Shooting from a car allows you to capture good shots since the bird is comfortable with the vehicle’s presence. You shouldn’t switch off the car suddenly when you are near the bird.
It may make the perched Raptor to take off. So, drive the car gently and stop it at a comfortable distance without switching the vehicle off. Use a Bean bag for a better balance to frame your images.
4. Slow Approach Technique
If the Raptor is sitting on the ground, then don’t rush in. Move slowly so that bird doesn’t detect you as a threat.
If you are in a desert-like place with flat ground, you can even crawl towards the bird. If the Raptor is with the kill, then keep some distance. Otherwise, the bird will miss its meal because of your fault. So, follow Bird Photography ethics.
5. Leave the Shy One
Some individuals will be shy. So, there is no point in approaching such raptors.
So, if the bird takes off from far of a distance, after seeing you, then better to leave it, such raptors will not give you any good shots.
6. Camouflage Dress
It is good to dress in camouflage clothes. If you wear a dress in flashy shades of red and orange, the bird will spot you from far off and it will take off.
So, wear clothes which blends with the photography environment.
7. Use Photography Hide
Photography hides are the best way to photograph raptors with their natural behavior. You will need lots of patience to wait inside the hide. Sometimes, the bird may not show up at all.
Position your camera and be ready with the right exposure settings. Use a Gimbal head with your tripod for easy manoeuvring.
Use a Tripod for Hide photography.
8. Try to get a Good Background
If the Raptor is in flight, then lock the focus on the bird and follow it. Capture the image only when you get a good background.
If there are mountains, then try to click when the Raptor moves in front of these mountains. It will help you to get a beautiful background with shades of green or brown. Try to adjust your position to get the best possible background.
9. Photography Angle Matters
You should also consider the angle of photography. Eye-level works well for all images. So, try to be in a position where you can frame and photograph the Raptor at eye level.
It may not be possible in all situations. So, try to reduce the angle as much as possible. Don’t take photos from awkward angles like from the bottom of the bird. It will only help to waste your camera shutter count.
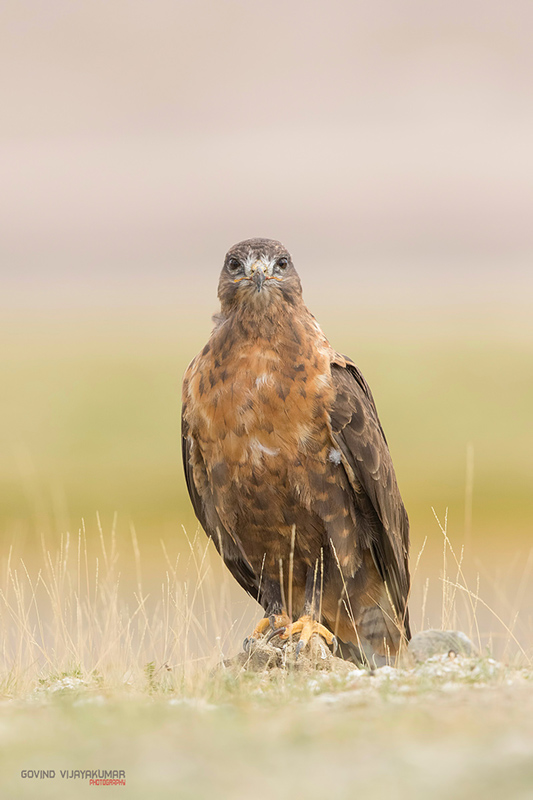
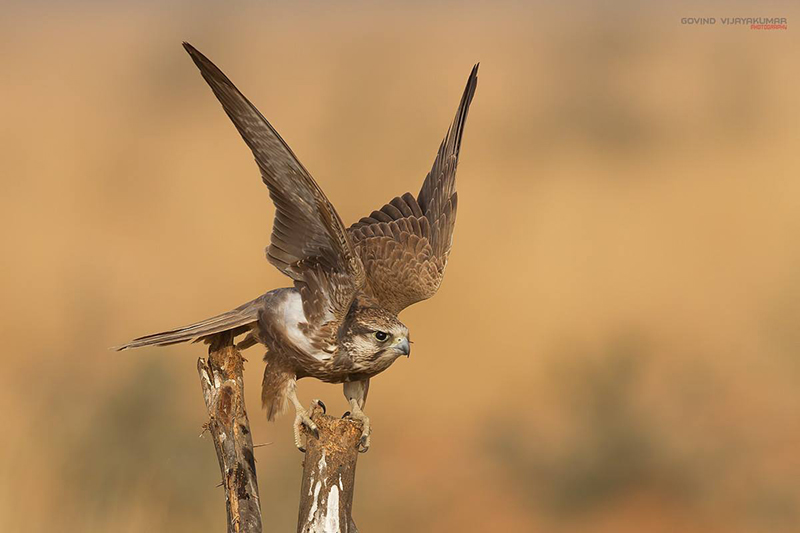
10. Raptor Pose (When Perched)
When the Raptor is perched, then you should also look for the best possible pose for the shot.
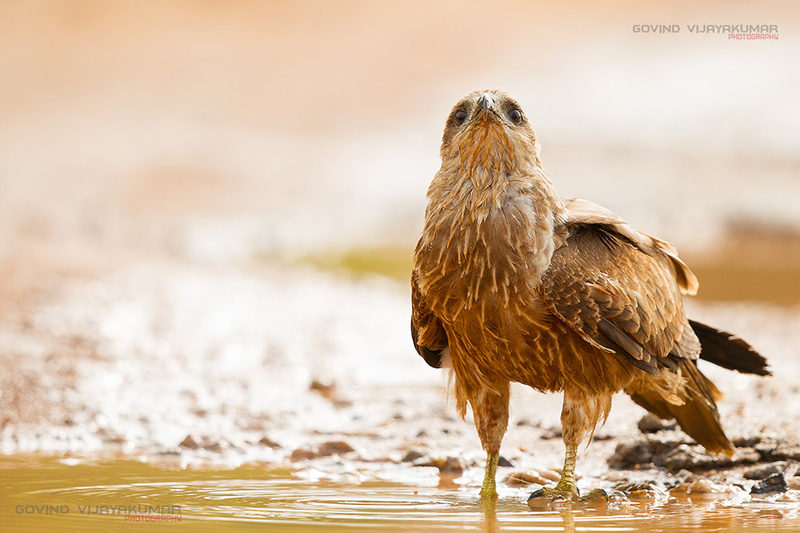
Side views and front views work best for raptors. A backside view with a head turn works in some situations. Make sure that there is light falling on its face.
11. Raptor Pose (When in Flight)
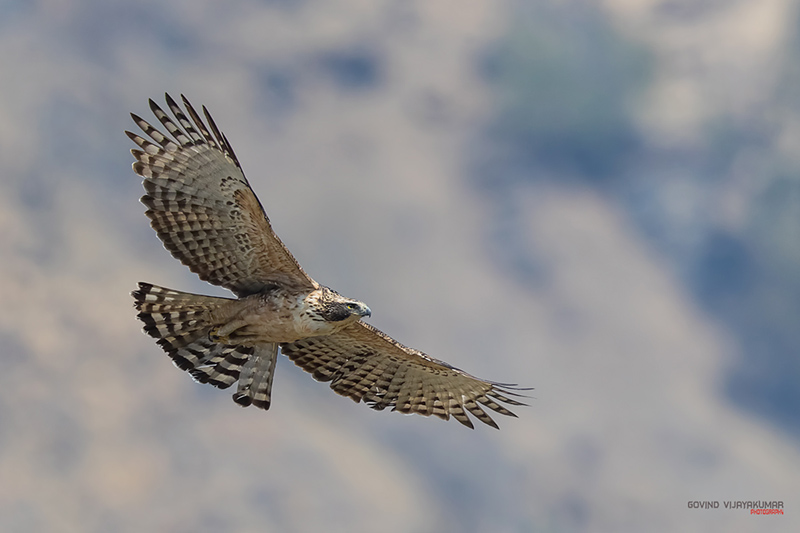
When raptors are in flight, try to get good eye contact in the image. The light should be falling on the eyes. Don’t shoot if there is no light on the bird.
Side angles and head-on shots work well for flying raptors. Don’t go for the backside shot, unless you are using the image for raptor identification purpose.
12. Crop the Image
You may not be able to get the desired image composition in Raptor photography. So, crop the image to get the desired composition while editing.
Nowadays, Digital Cameras with higher Megapixels. So, cropping the image will not have much impact on the image quality. For a 20-30 Megapixel camera, a crop up to 50% looks good.
When you are capturing raptors in flight, you would be using the camera in landscape orientation. But, sometimes the image looks better in portrait orientation, especially when the wings are in a North-South Orientation. So, you will have to crop to remove the negative space in the image.
Conclusion
So, make use of these tips, camera settings, and techniques for raptor photography next time. The more time you spend in the field better will be your images.