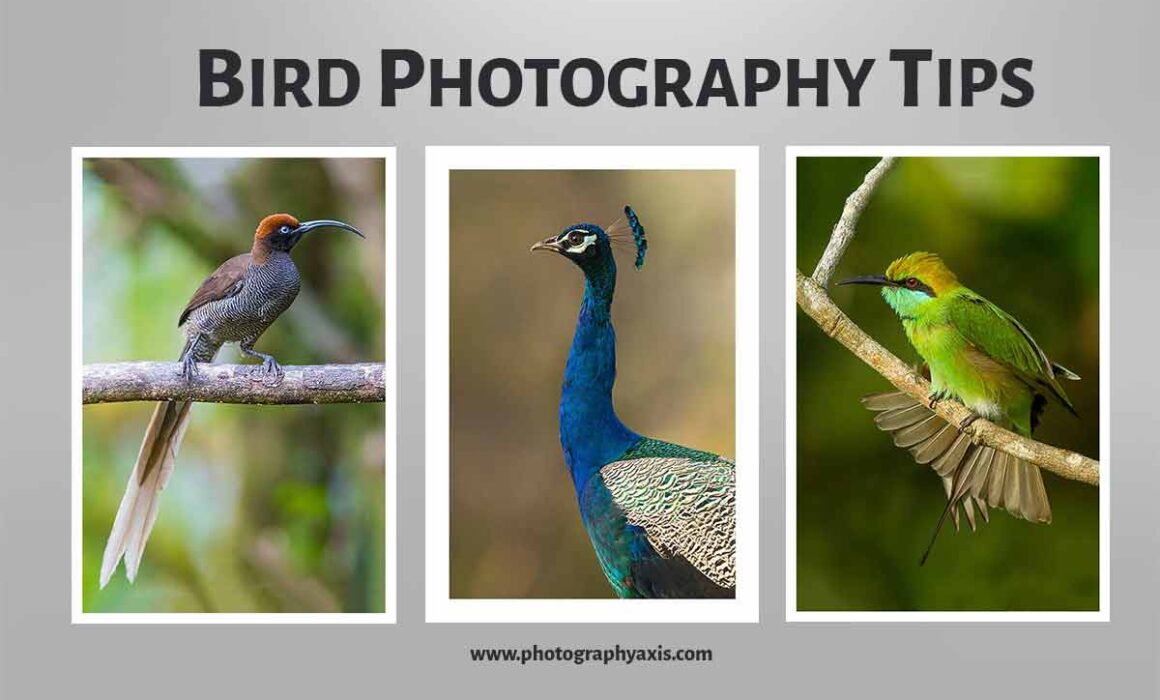
33 Best Bird Photography Tips for Stunning Bird Shots
If you have just started bird photography, you will be really interested to take your bird pictures to the next level. I have been photographing birds for more than 15 plus years. During this period, I have learned a lot that has helped me to capture better bird images. In this guide, I will share the 33 best bird photography tips that you can use to capture great images.
1. Try to Photograph at Eye Level
Bird images do not look that good if you try to photograph them from a high or low vantage point unless you are going for some creative bird photography.
From my experience, the best vantage point for photographing birds is eye level view. Birds perch on trees, rocks, and ground. You need to adjust your position and camera angle according to the bird’s position to ensure that the bird comes at eye level.
For example, if the bird is sitting on the ground, you need to get down with your camera to capture an eye level image.
2. Be Fast with Camera Settings
Unlike human portraits, you will not get the time to play with the camera settings when it comes to bird photography.
You need to act fast. So, be ready with the right camera settings for photographing birds. To be fast with the camera, you need to know the exact location of all the necessary buttons.
If you are a newbie, I recommend going to any nearby area for photographing local birds initially. It will help you gain the necessary speed. You can also customize the buttons according to your photography workflow.
3. Don’t Be Afraid to Shoot at High ISOs

I know many photographers, especially beginners who are afraid to shoot at High ISO values. Even I had this fear during my initial days.
First, you must check the maximum possible ISO value in your camera that can deliver images with less amount of noise.
The noise in the image should be such that you can remove it using any denoising software without losing details. Nowadays, there are AI-based denoising programs that are capable of removing high noise with a couple of clicks.
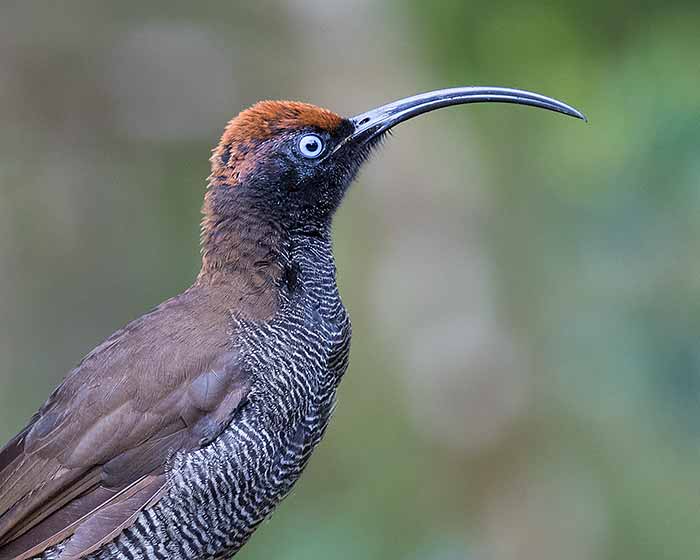
4. Get the Eyes Sharp
Like any living subject, you need to get the eyes of birds to tack sharp in the image. If they are not sharp, the whole image will look uninteresting.
Always try to get focus on the bird’s eyes. But it will not be possible all the time from my experience. Try to focus on the head of the bird at least.
If you use a new mirrorless camera, you can even enable the animal/ bird eye focus feature to get a good focus lock on the eyes of the bird.
5. Make Sure Eyes are Not in Shadow
You must also ensure that the bird’s eyes are not in shadow. If there is no catch light in the eyes, the image will look unpleasant.
You need to be watchful when the bird does head turns. The light will fall on the eyes perfectly at certain angles depending on the birds positioning from the light.
If you are a beginner, observe the bird through your camera for some time. Try to capture the image when there is light in the eyes.
6. Gear Matters
There are people who say that camera gear does not matter for bird photography.
But believe me, if you want to capture great bird images, you need a good camera body and lens.
It does not mean that you need to invest in expensive camera gear. There are different options available. But make sure to pick up the best one that comes within your budget.
7. Understand Bird Behaviour
There are different types of birds. The behaviour of one type of bird will be different from the others.
For example, the behaviour of raptors will be completely different from ducks.
If you are interested to photograph the best images of all these birds, it is essential to have a good understanding of the bird’s behaviour. You must be able the predict what the bird is going to do next. It allows you to be ready with the right camera settings.
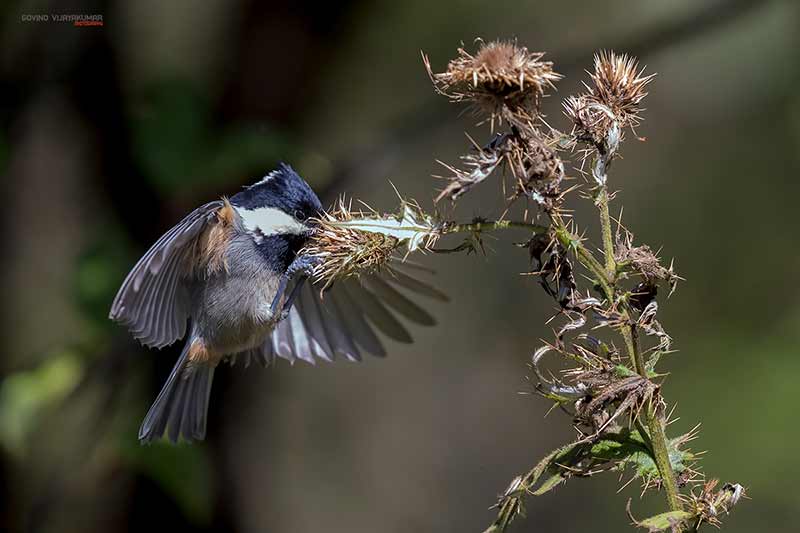
8. Use Burst Mode for Action Shots
When the bird is hunting or in another action, you must use the burst mode. Don’t be afraid that it will reduce the shutter count of your camera.
Nowadays, cameras come with a burst mode that supports a burst rate of 12 shots and above. This higher rate is very useful to freeze the action shots.
Once you capture a series of action shots, you can select one or two best images from them. You can chimp the rest of the images. Thus, burst mode helps to capture the perfect moment. But make sure not to overuse it.
9. Try to Use Silent Shutter if Possible
It is a good idea to use the silent shutter option in your camera if it supports it. The normal shutter noise can disturb the birds. So, it may fly away when you try to take a photograph.
The silent shutter ensures that very less sound is produced during the shutter release. It will help to ensure the bird is not disturbed.
It will help you capture better bird images.
10. Approach Bird without Disturbing It

If you want to master the art of bird photography, you need to know the right technique for approaching the birds without disturbing them.
From my experience, all birds will not allow you to approach them. Some are shy. I recommend not going behind shy birds. It is a waste of time.
Try to spend some time with the bird. The bird needs to feel safe in your presence. Once they are comfortable, you can approach them slowly. Capture some pictures after every few steps. Once you cross a certain distance, the bird will not allow you to get any closer. It will take off.
11. Auto ISO is a Good Option
When it comes to bird photography, you need to act fast. Otherwise, the bird may fly away.
It will be tough to set all the exposure settings manually in the camera. Thus, it will be a good idea to set the Auto ISO option. Let the camera take care of setting the ISO value.
You can even limit the highest ISO value to a certain value that does not produce too much noise in the image.
12. Compose through Cropping

From my experience, it is a little tough to compose bird images with the camera itself. Birds will not come and pose for you. Also, they may fly away if they sense some danger.
To get perfectly composed bird images, you need to crop the image, 90 percent of the time.
So, it is always a good idea to leave some space around all 4 sides of the bird image when you photograph it. It will make the cropping process easy.
13. Try to Photograph at Golden Hour
Golden hour is the best hour to photograph wild birds.
It will be there for around one hour before sunset and one hour after sunrise. You will get the best possible lighting during this time of the day.
The golden rays of soft diffused light from the Sun falling on the bird can help to create some wonderful frames. Try to find some good bird subjects during the golden hour.
14. Try to Get the Sun Behind You

For bird photography, you will be mostly dependent on natural sunlight. You need to shoot in such a way that the Sun is always behind you.
Only then the light will fall properly on the bird. If the Sun is on the opposite side, it will cast unnecessary shadows on the subject.
Sometimes, it can even result in a blown-out background when you try to expose for the bird.
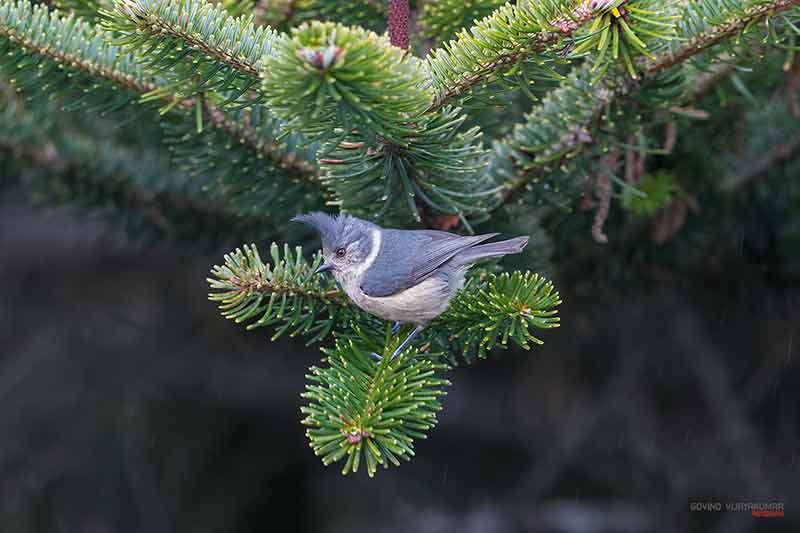
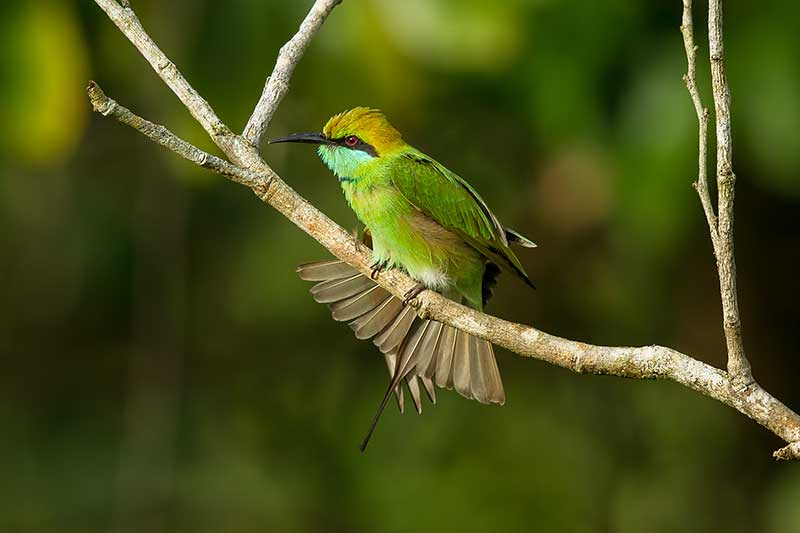
15. Get Close for Bird Portraits
If your interest is in bird portraits, you must try to get close to the birds.
But at the same time, you must ensure not to disturb them. Otherwise, they will fly away.
When you get closer to the birds with your camera, you will be able to capture more feather details of the birds in the image. Thus, the portrait shot will look more pleasing to the viewer.
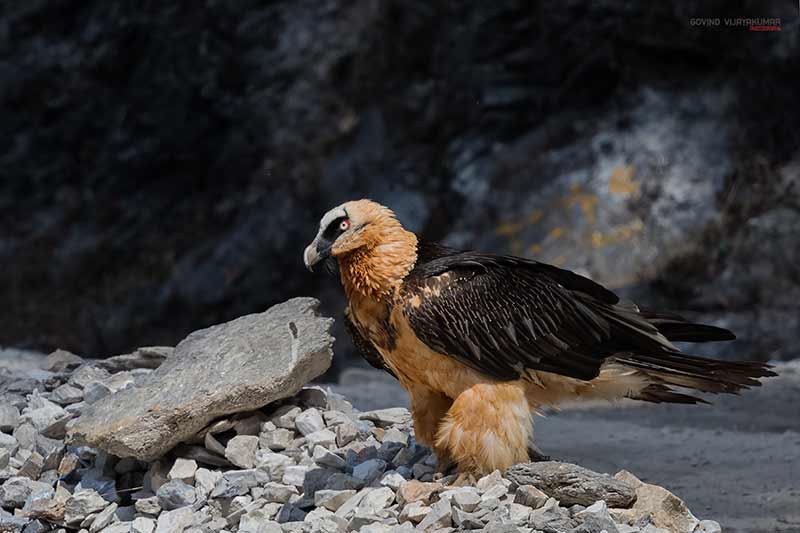
16. Background Matters
If you photograph a bird with a cluttered background, it will look unpleasant to the viewer.
When you photograph birds, your end goal is to capture an aesthetically pleasing image.
One main component of any image is the background. You need to ensure that the background is free from distractions. It must complement the bird.
17. Capture Some Habitat Frames
Do not always go for bird portraits with nice and clean backgrounds. Try to capture some habitat frames also.
Sometimes, the habitat along with the bird can make the frame look very beautiful.
18. Use Shallow Depth of Field for Selective Focus

When you photograph bird portraits, use the selective focusing technique. It is an effective way to bring the viewer’s attention to the bird without any distractions.
For selective focusing, you need to choose the maximum possible aperture and try to get close to the bird.
It will help to create a nice background blur effect in the image. Thus, the bird will stand out in the frame.
19. Spend Some Time with the Subject
Don’t be in a hurry-burry mode when you do bird photography.
After spotting the bird, try to spend some time with it. When you do it, the bird will become comfortable with your presence. It will help you capture some natural behaviour of the bird.
Also, it can help you to get close to the bird.
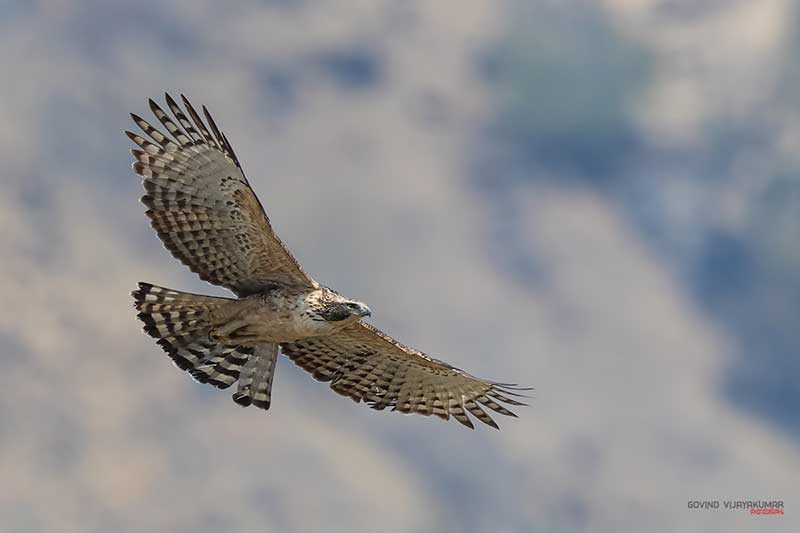
20. Get the Right Shutter Speed
You need to ensure to use the right shutter speed, especially for birds in flight or action.
Otherwise, you will not be able to freeze the action. It can result in image blur.
The selection of shutter speed is fully dependent on the bird type. For fast-moving birds, you need to use shutter speeds of 1/1600 and above.
21. Best Shooting Mode
I use Aperture priority mode for 80 percent of my bird shots.
For the rest, I go with the Manual mode. I use manual mode when the bird gives me some time to play with the settings.
In my opinion, these two are the best modes for photographing birds.
22. Capture Story-Telling Shots
During your initial bird photography days, there is a chance that you will get obsessed with photographing bird portraits alone. It has happened to me. It is due to the fact that there are different types of birds around you.
Try to capture some storytelling images also. It will not be possible to do this all the time. But when presented with an opportunity, do not miss it.
23. Capture in RAW format
I recommend capturing the bird image in RAW format instead of JPEG. There are many benefits of photographing in RAW format.
RAW allows you to edit the image in a better way without losing much details. Also, you can easily fix the white balance of the image in RAW format.
24. Play with Light
Like in any type of photography, light plays a crucial role in bird photography also.
One important bird photography tip that I want to share from my experience is, “Never be afraid to play with light”.
Try photographing the same scene with different exposure settings. You will get different types of natural light when you photograph birds at different places at different times of the day.
The feel and mood of an image will differ with this lighting only if you complement it with the right exposure,
25. Get the Exposure Right
Try to nail the exposure right in the camera itself.
If you don’t get it right in the camera, you will have to unnecessarily waste your time fixing the exposure in the editing stage. It can also cause some introduction of noise or losing details in the image.
If you feel that some part of the image is getting burnt because you are exposing for the bird, you can capture a slightly underexposed image. You can edit this image later to fix these exposure issues without losing details.
26. Do a Basic Retouching
Whatever bird image you capture, you must do some basic retouching on it before sharing. This retouching is essential to enhance the beauty of the image.
Sometimes, you may need to fine-tune the white balance, contrast, sharpness, or other aspects of an image.
You will have to remove the noise from the image if you use high ISO values.
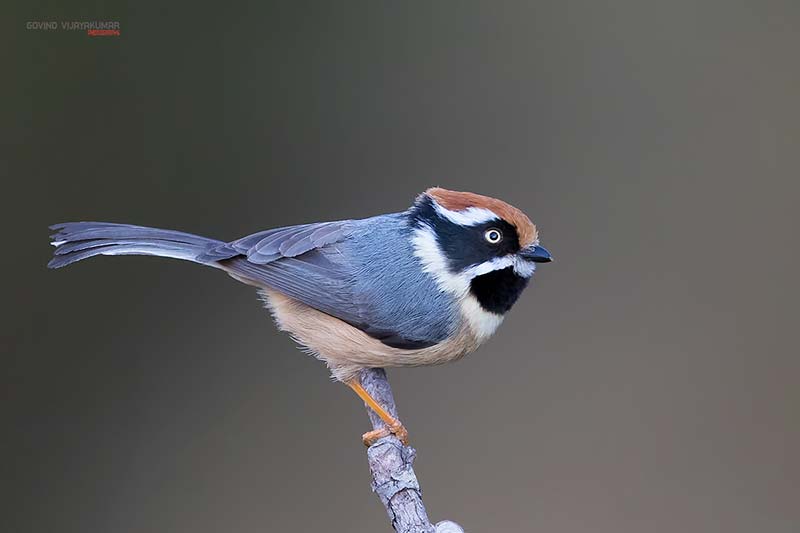
27. Try to Photograph Best Bird Poses
Many forget the fact that the image can look different with different bird poses. As a bird photographer, you must try to photograph the bird in all the best possible poses.
You can refer to this article to know more about the best bird photography poses.
It will help you capture bird images that are pleasing to the viewers.
28. Use Photography Bird Hides If Possible
Another good idea is to use photography bird hides for photographing birds. There will be places in your area that birds visit frequently.
You can use the bird hides in such places. You need some patience to sit and wait inside the hide for birds.
One main advantage of using bird hides is that the birds will not get disturbed. It will help to photograph natural bird behaviour.
29. Use Prime Lens for Better Image Quality
I strongly recommend using prime telephoto lenses for photographing birds if you have the budget. It will help you capture the best bird images.
500mm and 600mm primes are the two best focal length options when it comes to bird photography. You can get these prime lenses from popular brands like Sony, Nikon, and Canon.
The only downside of these lenses is that they are a little heavy when compared to the zoom ones. So, you may find it a little tough to carry.
30. Photograph Silhouettes
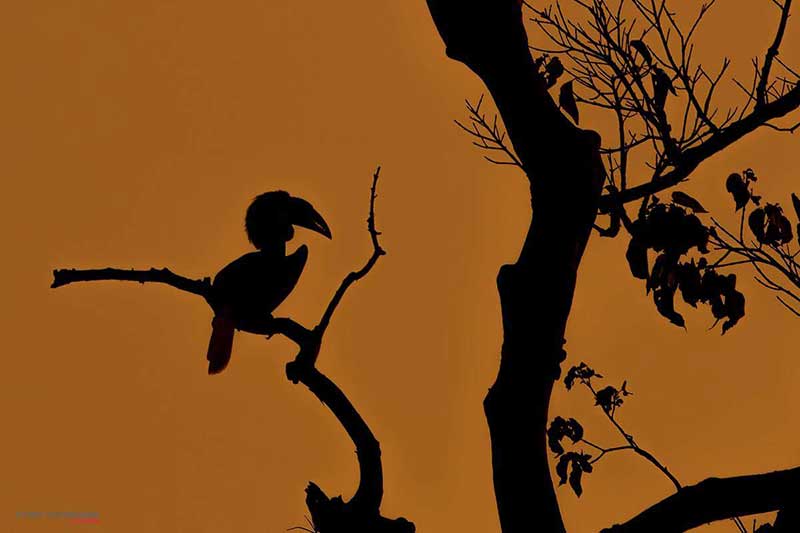
You can also try photographing interesting bird silhouettes.
It is possible only when the Sun is behind the subject during the golden hour. Photographing silhouettes can be a little tough if you are a beginner.
You can take your bird silhouette shots to the next level if you can photograph the bird during the action along with other elements in the scene.
31. Don’t Go for Frequent Gear Upgrades
I strongly recommend not going for frequent camera gear upgrades. Many feel that their bird images are not good since they are using old gear.
But the actual fact will be they are using the wrong photography technique and camera settings. So, upgrading your camera gear will not help you in such a situation.
You need to know the limitations and strengths of your camera gear and use it accordingly. Also, make sure you know all the features of your camera.
32. Focal Length Choice
The focal length of the lens does matter for bird photography. I use a focal length range of 300mm to 700mm for photographing birds. It is a good telephoto range for birds.
300mm focal length is good for large birds. 700mm is good for small and medium-sized birds.
I get the 700mm focal length by adding a 1.4x teleconverter on my Canon 500mm F/4 L ISII USM Lens.
33. Master Bird Photography through Practice
It requires some practice to master the art of bird photography. If you are a newbie, you will take some time to capture stunning bird images.
You will fail a lot initially. But don’t get disheartened, try again. Make sure to learn from your mistakes.
Get out in the field with your camera, and use these bird photography tips to capture some wonderful bird images..