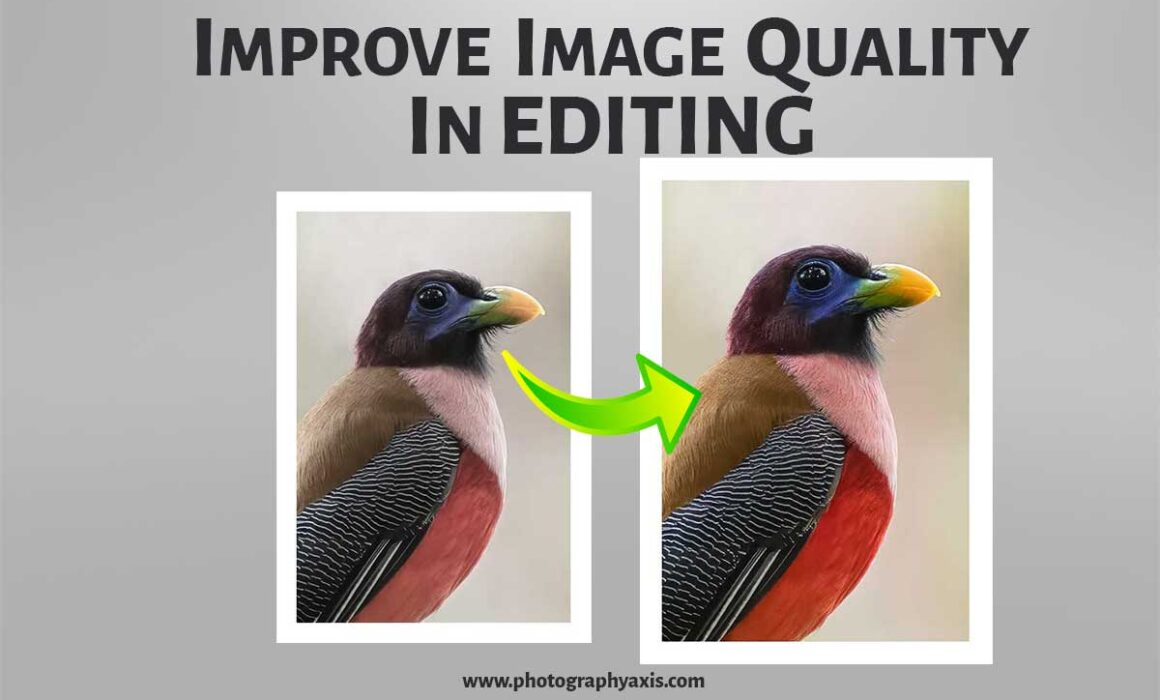
A 9-Step Guide To Improve Image Quality In Post-Production
For all photographers, a picture is not complete unless it goes through the post-production stage. You will be using the images for different purposes like posting on the web, social media, printing, etc. Each of these use cases demands different levels of photo quality.
In this guide, I will show you the 9 steps that you can follow to get the best possible image quality.
1. Use RAW files for Post-Production

One main advantage of using an interchangeable lens camera like a DSLR/Mirrorless camera is its ability to shoot in RAW format. So, you must make full use of it.
I strongly recommend using a RAW file over a JPEG file while editing. A RAW file gives you more options to edit an image.
2. Apply Lens Correction
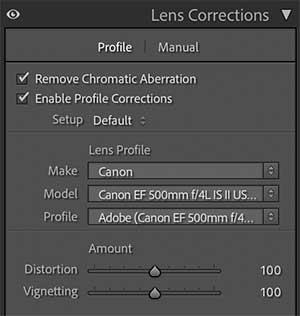
All camera lenses come with some level of distortion. You can fix many of these distortions easily with a good photo editing software.
I strongly recommend doing this as your first step, before starting the post-processing of your image.
Many miss this step.
3. Correct White Balance If Necessary
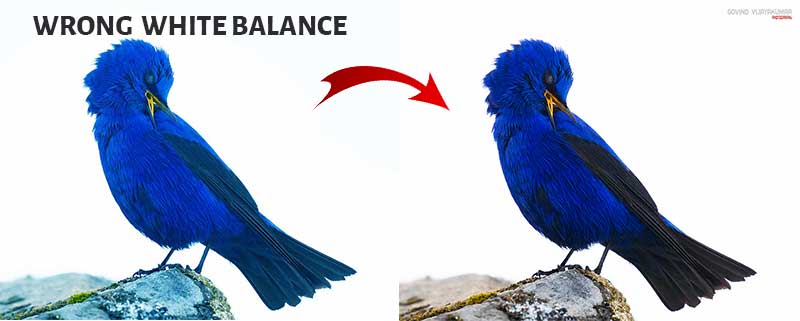
Many a time, the white balance of the image would have been wrongly set. Sometimes the auto white balance may be the culprit.
You need to open the image on your computer and double-check. If it is wrong, you need to adjust the color temperature accordingly.
It is always good to shoot in RAW format. It allows you to fine-tune the color temperature later while editing.
4. Fix Exposure
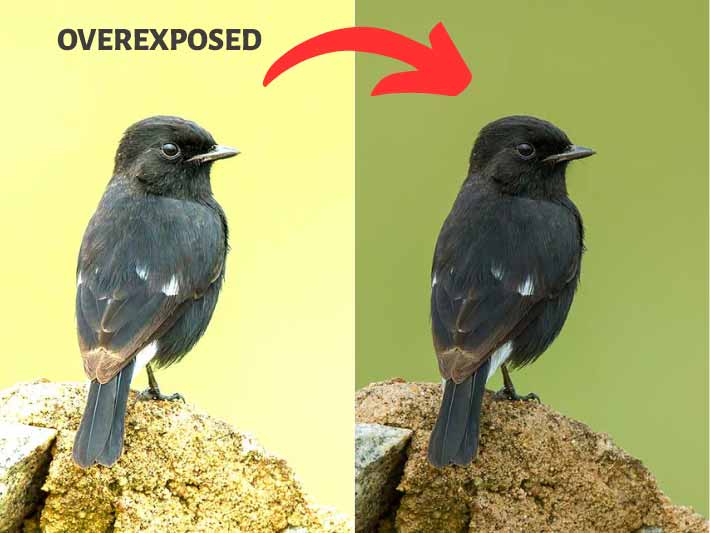
Sometimes you may have some exposure issues with the captured image. It mainly occurs during tricky lighting conditions.
You can tweak the exposure easily in the post-processing stage. But if the image has heavily blown out highlights and burned shadows, it will be tough to fix it.
You can refer to the histogram of your image to ensure that there is no clipping of details while playing with the exposure.
Sometimes, you will be tweaking the exposure to bring a dramatic feel to the image. Fine-tuning the image exposure can help to set the mood of the image at times.
5. Vibrance and Saturation Adjustment

Many a time you need to boost the color in the image. It can be easily done with the help of two sliders – Vibrance and Saturation.
I recommend playing with the vibrance slider first and the saturation slider after that.
Also, make sure not to push the saturation slider too much. It will make the image look unpleasant and artificial.
6. Remove Noise
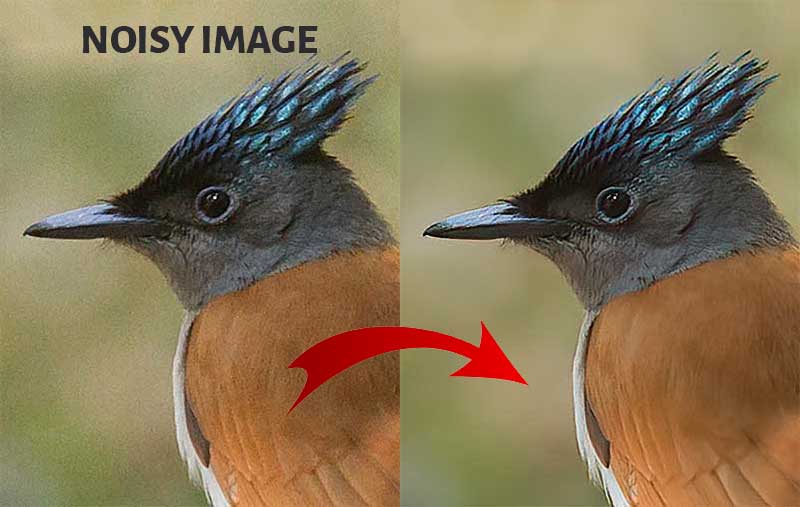
When you shoot at high ISO values, there will be some noise in the image. It will appear in the form of grains.
If there are lots of grains, the picture will look unpleasant to the viewer. So, you must reduce this noise in the image.
But make sure not to remove too many details from the image by noise reduction.
7. Fixing the Image Background

For certain pictures, you need to fix the background of the subject.
When you shoot product images, you might be interested only in the product and not in the background. Thus, you will remove the background later during the editing stage.
Many applications can do this job for you with a few clicks. You can use any of these programs to remove background from image.
8. Choose Correct Color Space
When it comes to photos, there are two popular color spaces. One is sRGB and the other one is the Adobe RGB.
When you print pictures, you can use the Adobe RGB color space. But you need to check and confirm that your print house supports it. You can use sRGB for all images that you share on the web and social media.
Before exporting the image from the editing software, make sure to select the right color space.
9. Select Right Image Export Settings
Once you are done with all the edits, you will be left with exporting the image. Here, you need to ensure to use the right export settings. Otherwise, all the edits you did will go waste.
The export settings that you select depend on the end use of the image. You may be using this image for web, print, or posting in social media. So, choose the right settings.
Most photographers use Adobe Lightroom to edit their pictures. You can use these export settings for print, Instagram, and Facebook if you are a Lightroom user.
Final Thoughts
Good editing skills are essential for a good photographer.
The right post-processing workflow can take your pictures to the next level. So, make sure to adhere to the best editing practices followed by professional photographers.