Lightroom Denoise AI – Is It Really Good?[Full Tutorial+Review]
Now, Adobe has brought the AI-based noise removal feature to Lightroom. Most photographers use Adobe Lightroom for editing their images. Many use external plugins like Topaz Denoise AI for removing the noise with the help of AI.
Thus, the introduction of Denoise AI to Lightroom can be a game changer. But the question will be, how effective is Lightroom Denoise AI in removing the noise from the image? We will find the answer to this question through this article.
Lightroom Denoise AI Review
Now, I will review the new Denoise AI feature in Lightroom.
1. Import Image
I will open Adobe Lightroom and import some noisy images in different file formats.
I will import JPEG, RAW, and TIFF files. These are the commonly used image file formats by photographers.
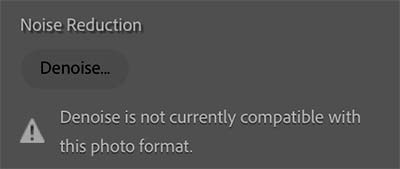
When I tried to apply the Lightroom Denoise AI on JPG and TIFF files, it showed that currently this feature is not supported for these image file formats.
So, you can currently use the Denoise AI feature only for RAW images.
Thus, if you record your pictures in JPG format on a camera, you cannot use this feature now. Maybe in future updates, Adobe may make this feature compatible with other file types too.
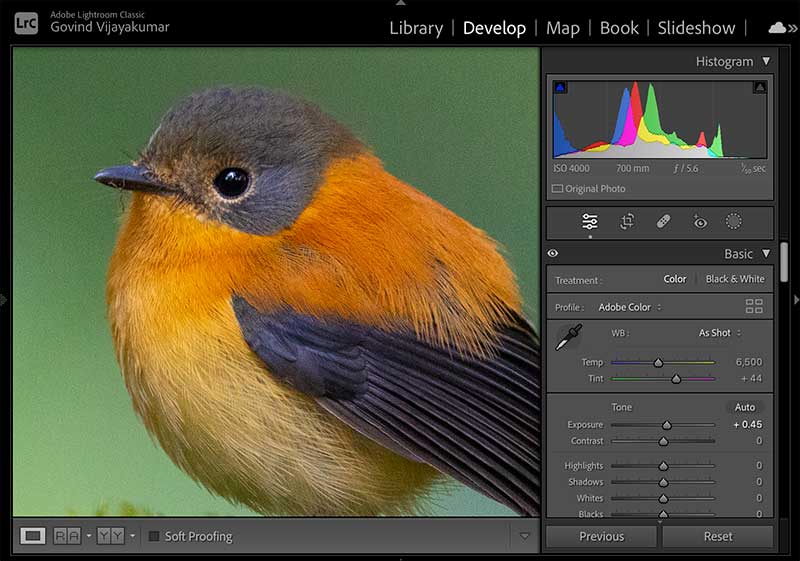
I will import a RAW image of one of my Black and Orange Flycatcher images to test the Denoise AI feature in Lightroom.
After importing, I need to take it into the Develop module.
I will increase the exposure and tweak the Vibrance and Saturation sliders to make the picture more vibrant.
2. Apply Denoise AI
Now, I will apply the Denoise AI to the image.
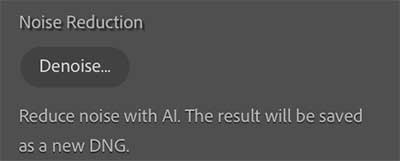
You can see the Denoise button under the Noise Reduction module on the right-side panel. Just click on this button.
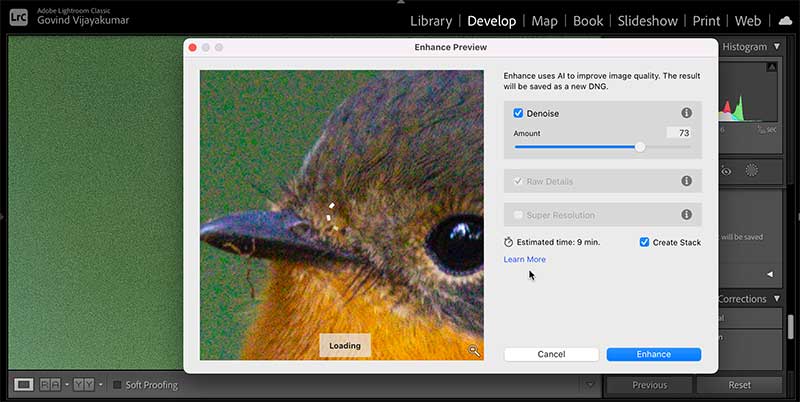
You can see a new pop-up window now. There will be a zoomed-in image preview in this window.
You can see the Denoise option along with a slider here. You need to fine-tune this slider to make the image free from noise.
 It takes some time to generate the output preview image. This 40 MB RAW image took around 5 min 24 sec to generate the output.
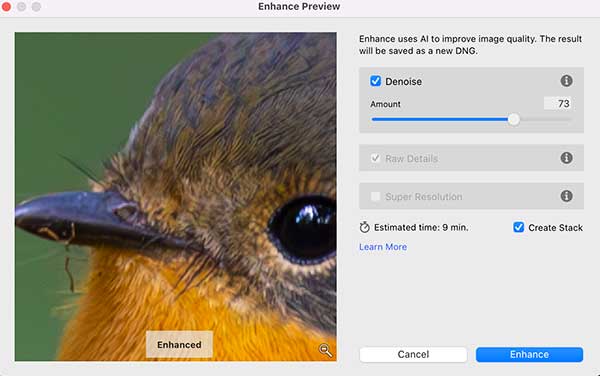
One thing I liked here is that when you move the slider, the result can be instantaneously viewed in the image preview. There is no delay like many other denoising software.
But, if you move the image in the preview, the software will again go into the analyzing mode and it will take some time to generate the preview. But, it will be faster than the initial one.
You can see two more options here: Raw Details & Super Resolution. Currently, Adobe has disabled these two options. I think the Super Resolution feature is to increase the image resolution. The Raw details option may be for fine-tuning the details in the image.
Once you are satisfied with the output preview, click on the Enhance button to apply this effect.
Now, Lightroom will start creating a DNG file output. This process takes some time. It took around 3 min 10 sec for this image.
The denoising will also be applied to the current working image in Lightroom. So, you can either go ahead with the rest of the edits in Lightroom itself or use the exported DNG file for the rest of the edits.
Now, I will export the final picture from Lightroom.
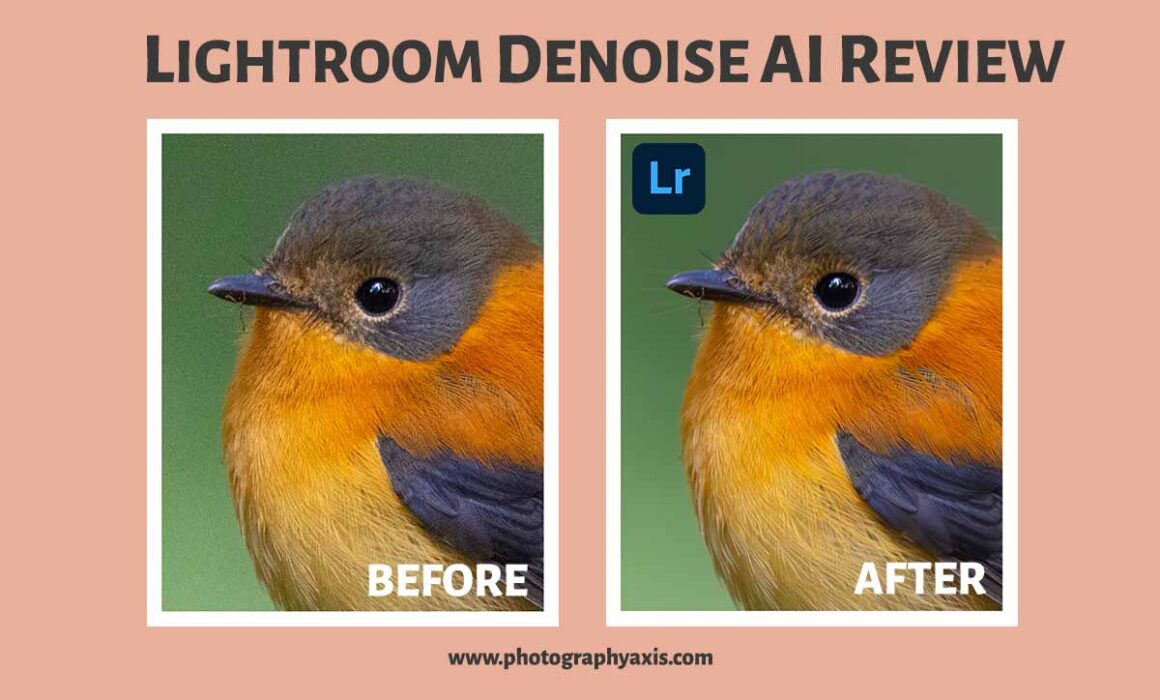
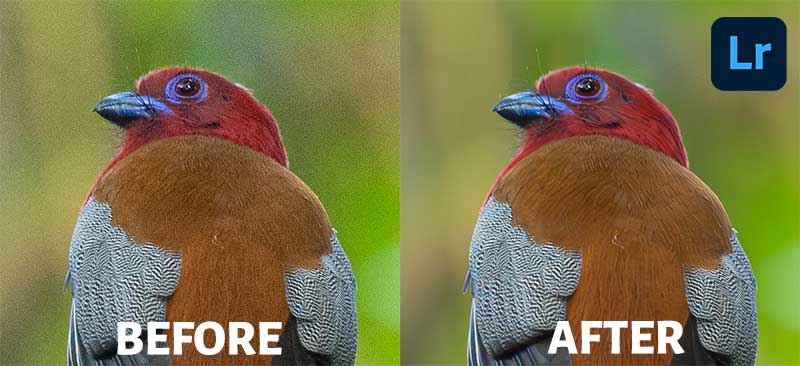
You can see the Before/ After images below. 😎
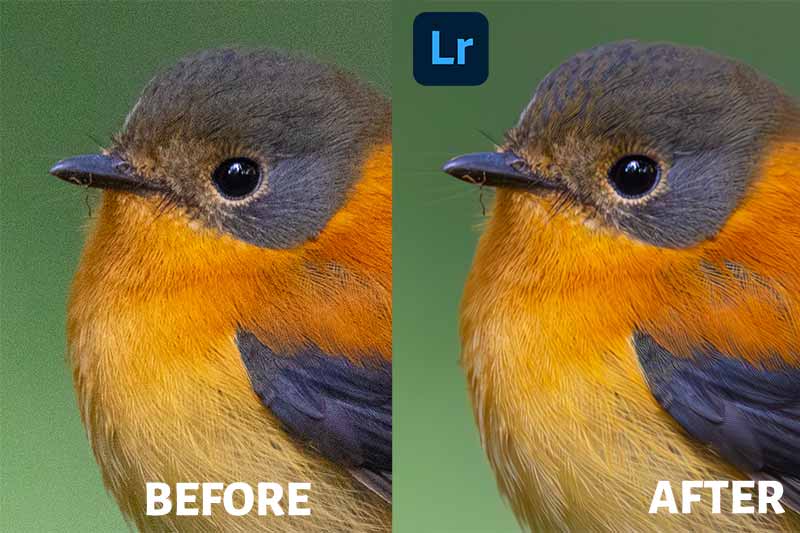
The Denoise AI in Lightroom does a good job of removing noise easily from RAW images.
Lightroom Denoise AI Before After Images
I tried the Denoise AI feature on multiple images. You can see the Before and After images below.
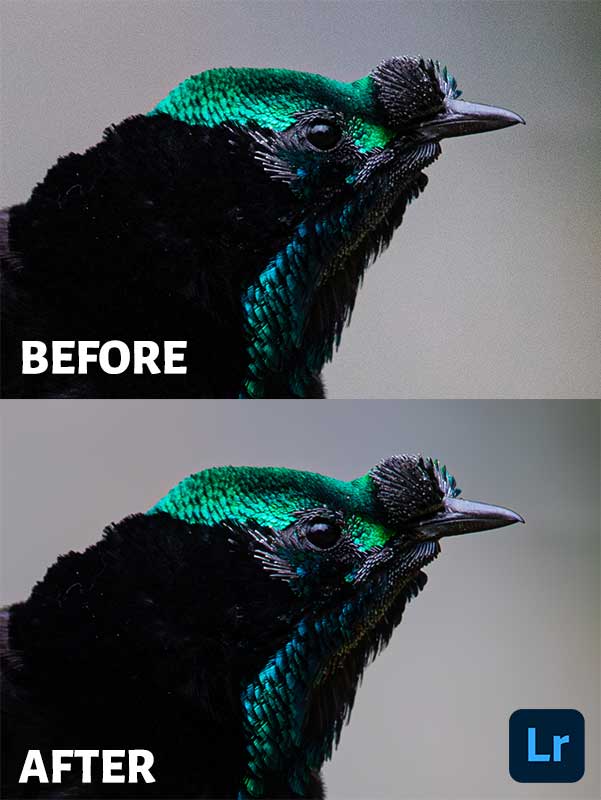
Now, I will check the performance of the Denoise AI feature for a high-noise image.
It does a decent job for a high-noise image too. You can sharpen it more after denoising.
Final Thoughts
The Denoise AI feature in Adobe Lightroom does a good job of removing noise from the RAW image by varying a single slider. There is not much reduction in the sharpness of the image during the noise removal.
I hope they make this feature compatible with JPEG images so that people who shoot JPEG images find it useful.