Topaz Adjust AI Review- Is it a Good Choice?
Topazlabs have launched Topaz Adjust AI, another photo enhancement tool in their AI series. It is the upgraded version of their old ReAdjust plugin with the new algorithm. The performance of their other tools in the AI series, which include DeNoise AI, Gigapixel AI, Sharpen AI, and JPEG to RAW AI is awe-inspiring. So, let us see whether the new Adjust AI keeps up the expectation or not.
😍 UPDATE [28 DEC 2020]: Click here to claim a 30% discount + use code “holiday15” and receive an additional 15% additional discount for Topaz Adjust AI for a limited time, this holiday season.
TOPAZ ADJUST AI REVIEW
Topaz Adjust AI Review Computer Specs
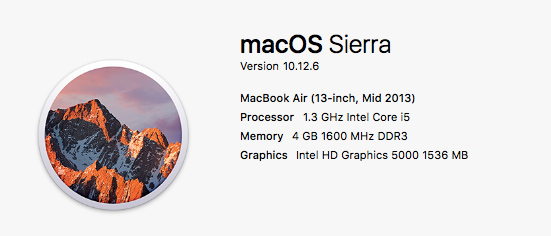
I will be using my 13″ MacBook Air for Topaz Adjust AI Review. The specifications are given above.
How to use Topaz Adjust AI
Now, let us see how to use the Topaz Adjust AI on your photos. It is available as a standalone version as well as a plugin for Lightroom, and Photoshop.
I will use the image of the Indian Chameleon, photographed from Masinagudi, Tamil Nadu, India, with this Adjust AI. I did a noise reduction on this image using Topaz Denoise AI.
1. Open Topaz Adjust AI
2. Drag and Drop the image into it. The other way to do is to click the Open button in the bottom and select the picture to edit in Adjust AI. You can either drop a JPEG image or a TIFF image.
3. You can view the Topaz Adjust Before/After images in three different ways. Dual View to see the images side by side, split screen view option and Toggle view option is on the top panel.
4. Next, we have the Fit option, and image resize options. This option is for adjusting the image size in the main preview window. You can also adjust the image preview size using the slider.
5. After this, there is a Toggle option, which toggles between the Controls panel and the Presets. There is also an “Add” button to save your own preset to make the editing easy and fast.
6. Once you click the “Presets” option, you can see small thumbnail views of the image with different presets applied to the picture. You can select more preset options from the drop-down menu. Topazlabs have provided a good collection of presets for users and you can vary the strength of each preset by varying the Opacity slider. It will be set to 1 by default.
CONTROLS SETTINGS
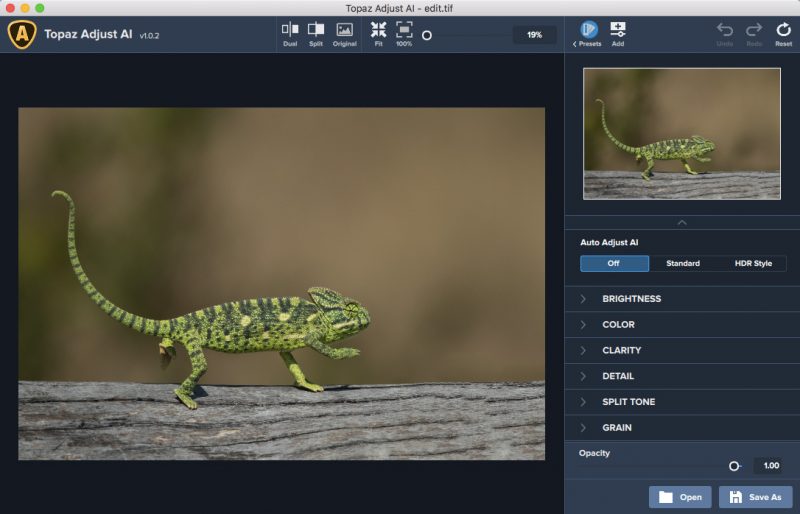
7. Now, I will move to the “Controls” section, where I will edit this image. Here, the settings are on the right side, “Navigator Panel.”
8. First, we have the “Auto Adjust AI” option with three settings; OFF, Standard, and HDR Style. I will apply the Standard option. I was not happy with this, so I have decided to go with my own settings. It will also help to give better control over this Topaz Adjust AI software.
9. Topazlabs have given a Strength slider to vary the amount of Standard and HDR Style effect on the image. It was at 1.0 by default.
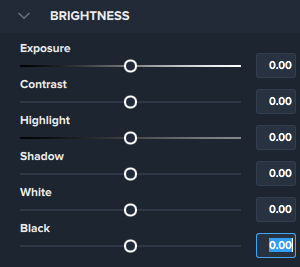
10. Next, we have the Brightness module to play with the exposure settings. If you are using Topaz Adjust AI as a Lightroom plugin or Photoshop plugin, then you can skip this part since you have already set this. But, you may have to use this slider at some point of time to control the tones since you are playing with the other parameters.
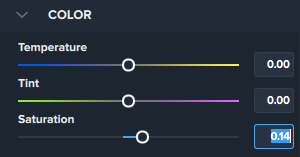
11. The “Color” module is the place for setting the White Balance. It has Temperature, Tint, and Saturation slider.
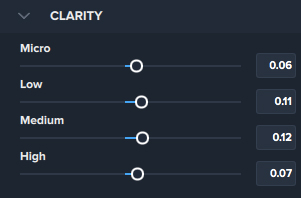
12. Next module is a significant one, “Clarity.” It comes with four sliders: Micro, Low, Medium, and High. So, this module deals with adjusting the clarity and texture of the image. So it allows you to vary the clarity of the image to a greater extent. If you are using it with Lightroom, then it would be good to set the clarity using this one alone.
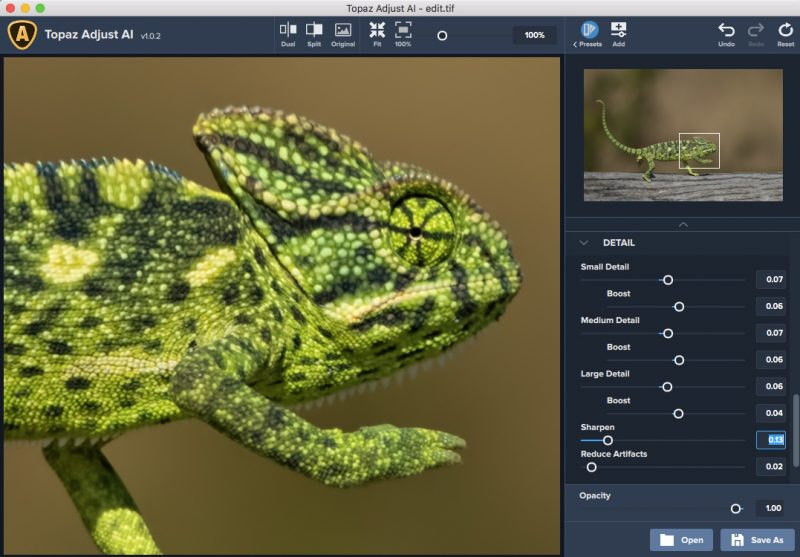
13. “Detail” module is another useful feature, where you can control the sharpness of the details in three levels: Small, Medium, and Large. Individual Boost sliders are also given to amplify the detail enhancements. I recommend zooming the image to 100% while using these sliders. Otherwise, you may end up in over sharpening the image. Along with these sliders, there are two more sliders, Sharpen and Reduce Artifacts for sharpening the picture as a whole, and to remove any artifacts respectively.
14. Now, the last slider, “Opacity.” As the name suggests, it controls the overall strength of the settings. So, if you feel that you want to reduce the intensity of the applied settings, then you can lower this slider.
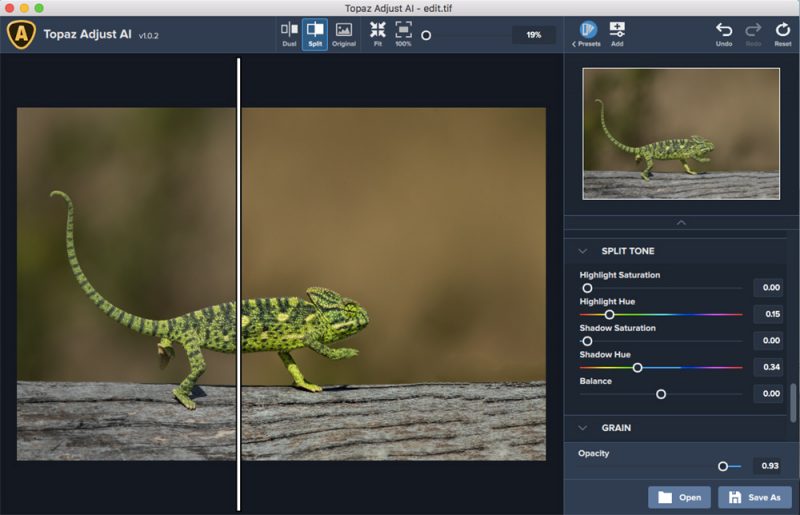
15. Next, we have the Split Tones option. It allows you to color grade your image. So, if you want to set your image into particular tones like shades of blue, orange or any other colors, you can use this one. It allows you to control the Shadows and Highlights separately for the Split tone effect.
16.The Last module is the “Grain”. If you are interested in giving a filmy look to the image by introducing grains, then this module is handy. It allows you to set both Color grains as well as Gray grains.
17. After finishing the settings, you can click on the “Save As” button to save your final image. A new window will pop up. It will give you the options to save in JPG, JPEG, TIF, TIFF, PNG, or DNG format. You can also set the destination folder, quality of the image, and color space.
18. Now, let us see the Before After Image after the Adjust AI edits.
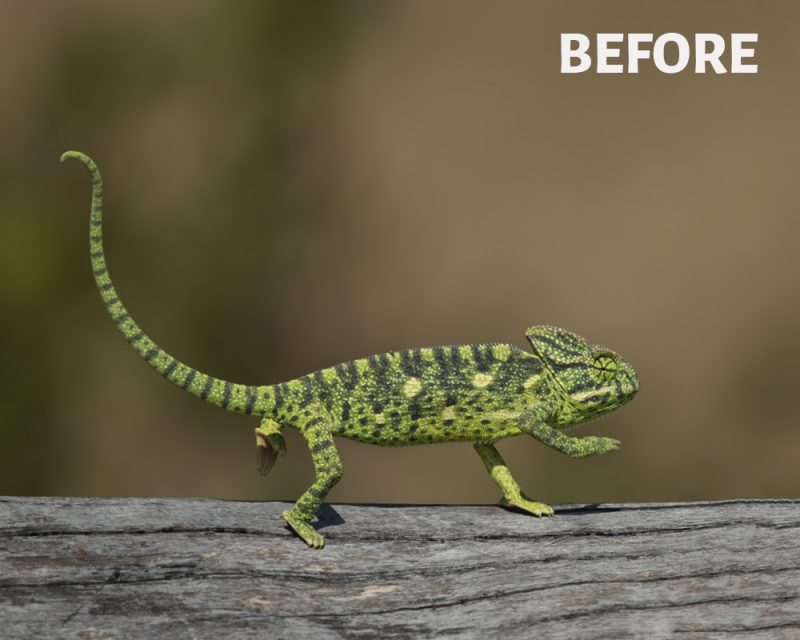
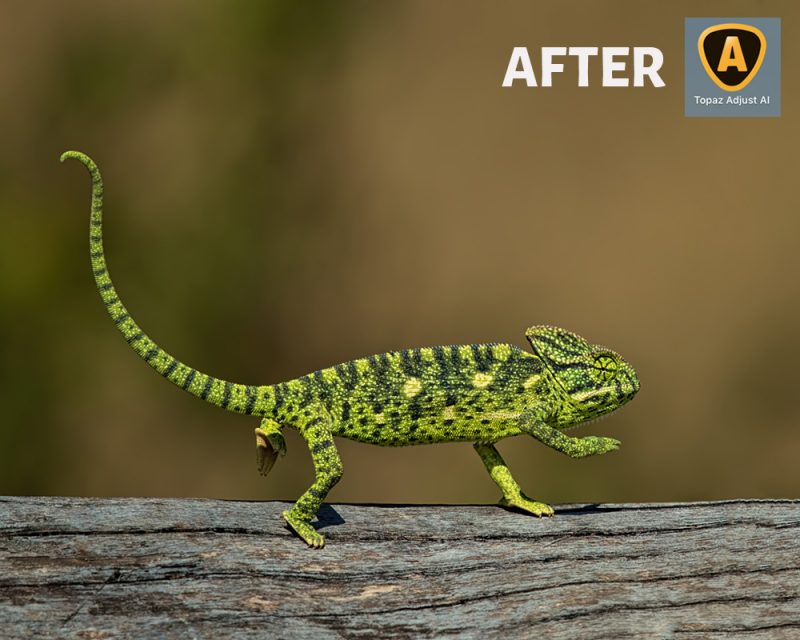
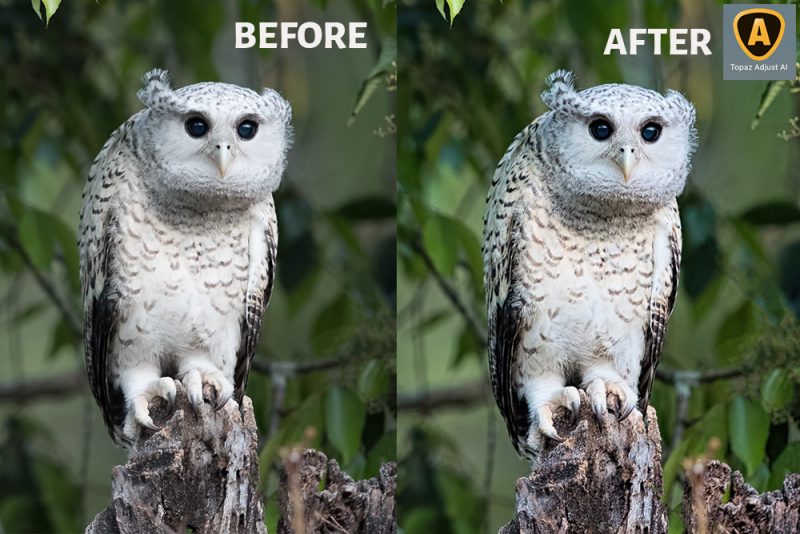
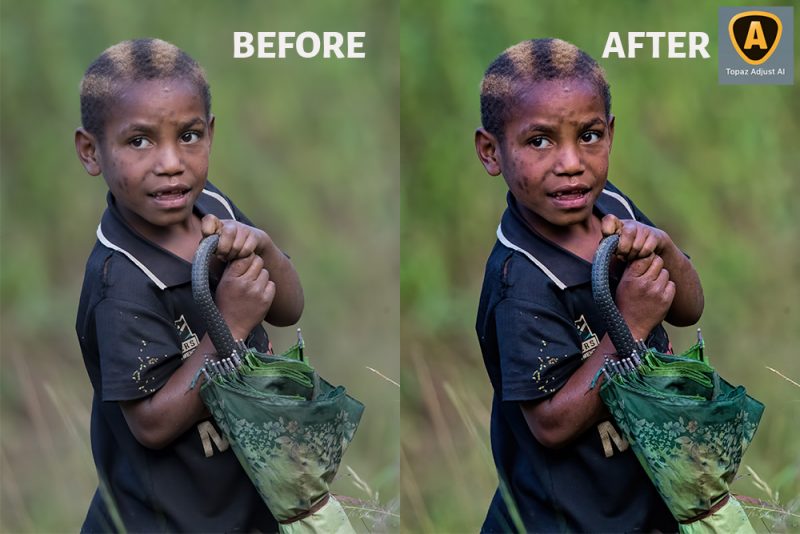
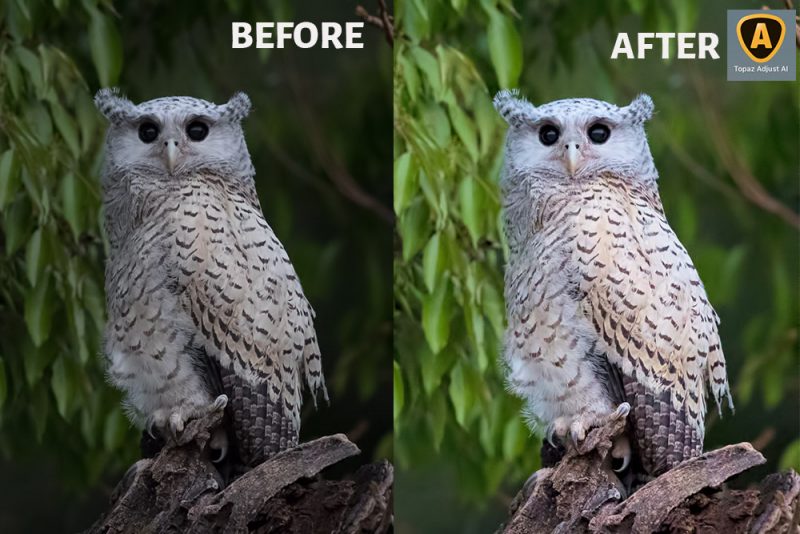
Topaz Adjust AI Before/After Images
Let us have a look at some more Topaz Adjust AI Before/After images.
Conclusion
So, Topaz Adjust AI is an easy to use tool when compared to the old Topaz Adjust 5.0 plugin. It saves a reasonable amount of time. We can easily create presets of our choice.
The AI Version is very user-friendly, with minimal controls that do a better job than the previous version. There are no visible halos or artifacts by bumping the detail sliders to get the desired details.
The standalone version does most of the basic photo edits. Only the image crop is missing. So, if you are looking for a good Lightroom plugin to make your images pop out then Topaz Adjust AI is a good choice.
Never open a RAW image directly on the Topaz Adjust AI. I have tried it, and it will mess up the entire color tone of the whole picture. So, the standalone version is not fully compatible with RAW files, even though it accepts RAW files.
In my opinion, they could have added the Histogram feature on the side panel. Whenever we make any change in the dynamic range of the image using the dynamic sliders, it will impact the tones in the histogram. So, this would give better feedback to the user on the change when you move the sliders.
If you are interested, you can give a try with the 30-day trial version of Topaz Adjust AI. It is priced at $79.99. But, you can get a $20 discount on Topaz Adjust AI for a limited period, until July 8. If you already own old version of Topaz Adjust or Topaz Clarity or Topaz Detail, then you can get Topaz Adjust AI for free.