7 Common Photography Mistakes to Avoid
During my early days of photography, I too made quite a lot of photography mistakes, just like you. But I don’t regret it. I am really happy that I made it since I learned from my mistakes. Once you learn from the mistakes, then you will never commit them again.
I will share the 7 photography mistakes which I made during my early days of photography. If you have just started on photography then this article will help you to avoid these common photography mistakes and be a better photographer.
7 Common Photography Mistakes To Avoid 😎
1. Shooting in JPEG

My first camera is a DSLR camera. When I got it, I started clicking immediately. Later, after two months, my memory card got full. So, I downloaded all the images to my computer.
After opening the photos, I realized that the highlights are burnt in some, and the darks are crushed in others. I felt really sad. All the efforts to capture the initial sets of photos have gone in vain as it turned out to be pretty bad.
I started checking online for a solution to fix this photo issue. After reading many useful threads from different photography forums, I came to know that there is an option to capture and record the images in RAW format.
The RAW image file format will have more details and hence more file size. These burned highlights and the crushed darks can be fixed in post-processing to an extent if the image is shot in RAW.
Even though I ended up capturing bad images, I learned that the main advantage of using a DSLR/ Mirrorless camera is its ability to capture the picture in RAW format.
I know many amateur photographers, who still records in JPEG format. So, stop doing that and change your image recording format to RAW, now itself. Better late than never.
2. Poor Image Composition 🌄

I heard the term image composition, six months after my camera purchase. Poor image composition is one of the most common photography mistakes made by all photography beginners.
I used to follow some good photographers online. I tried to capture images that look like theirs. But, failed after many attempts.
Whenever I look at my photos on the computer, I felt that my camera is terrible and that is the reason why I am getting bad pictures. But, after one month, I found a fellow photographer, who has the same camera gear, but his photos were far better than mine.
I browsed through his entire image collection, which he has uploaded online. He has given a good description of how the image was taken.
It was when I came to know that there is something called “Image composition.”
You can’t capture a good picture just by pressing the shutter button. You need to compose the different elements in the scene to get a good shot.
There are basic image composition rules like the rule of thirds, composing with leading lines.
I learned all the basic photo composition techniques and applied the same while capturing a scene. My photos have improved drastically with this quick fix.
3. Shooting in Auto Mode

I never bothered much about the camera dial or the different modes in a camera. I always set the mode dial pointing to the green icon (Auto mode) initially, thinking that it will take care of everything.
But, this green icon has landed me into trouble many times. But, I never suspected the mode and blamed my poor camera.
The last time when I used auto mode was for a late evening wildlife shot with a herd of elephants. To my bad luck, the inbuilt camera flash fired automatically, and the female elephant came charging towards me. I was inside the safari vehicle.
One of the fellow photographers inside the vehicle told me that you had put the camera in auto mode. It is the reason why the flash fired. He also advised me to use the aperture priority mode or manual mode. After this incident, I ditched the auto mode.
4. Not Giving Importance to Background
Just like any other beginner photographer, I never concentrate on the background part during the initial six months. My only focus was on the subject.
Somehow, I want to capture it tack sharp on my camera. That was my only goal. I noticed the background only when I preview the images on my laptop.
Even though the subjects have come nicely, the background will be a total mess. Trees were growing on the heads of people in the frame. Many of my images had this issue.
It took me some time to give equal importance to background and subject while framing.
5. Wrong White Balance Settings
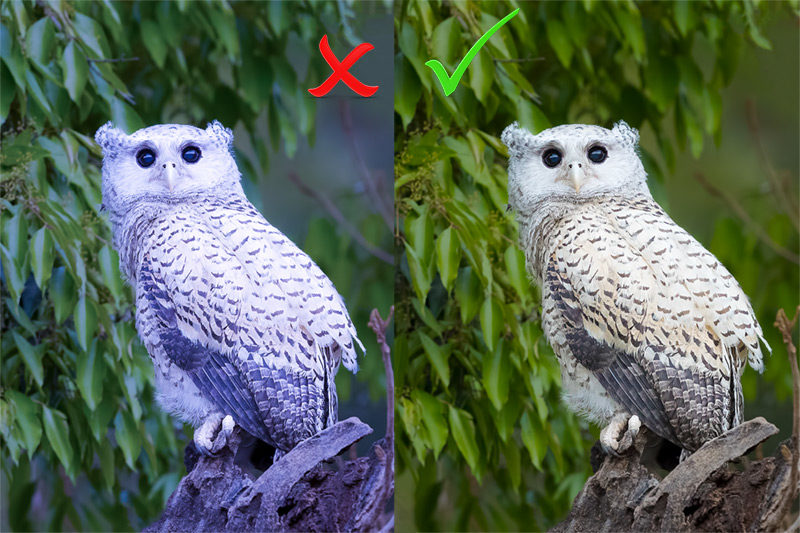
Initially, I used to set Cloudy as the White Balance for all my shots. I feel that this setting will give an excellent warmth to all my images.
Later I realized that this wrong white balance settings only resulted in creating a color cast in my pictures. It was made worse by the fact that I recorded the image in JPEG format.
I switched to Auto White Balance Settings (AWB) with the RAW format as the recording format. So, even if the camera fails to set the right balance, I can fix it during post-processing. Thus, I don’t have to worry anymore about the white balance factor.
6. Blaming Camera for Blurry Images
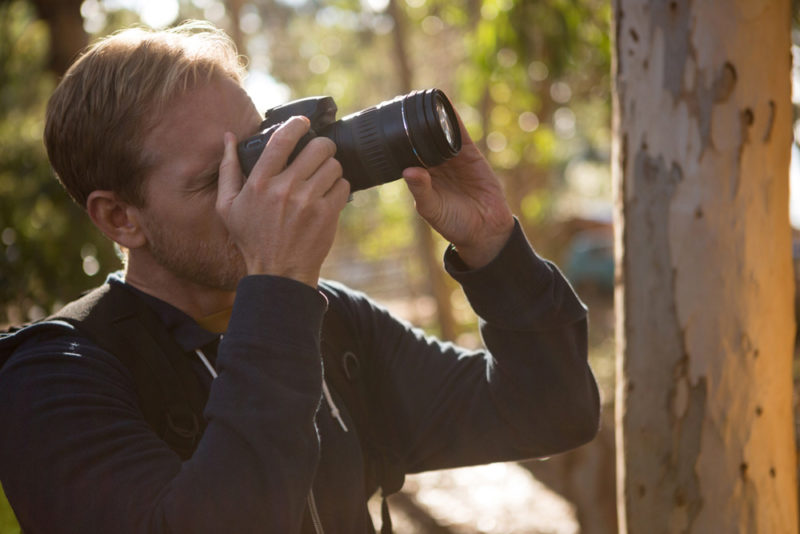
Many of my initial images were shaky and blurry. I thought that the entry-level Canon EOS 500D is the issue and a better camera would have got me good photos. So, I started looking for an upgrade.
Here, the actual culprit was the wrong camera holding technique along with a lack of shutter speed. As a thumb rule, you must use a shutter speed, which is at least the reciprocal of the focal length of shooting.
So, at 50mm focal length, you should go for a minimum shutter speed of 1/50, for a non-IS camera and lens set up.
👉🏻 📖 READ : How to Avoid Image Blur
7. Using Auto ISO Mode
Initially, I was looking for easy ways to capture images and never bothered about the ISO settings. I always left it in the auto mode, thinking that the camera would give me the best possible ISO value.
The camera indeed gave the best ISO values to get the correct exposure. But, the higher ISO values in low light situations made the picture grainy.
You can solve this problem in two ways.
You can either set your specific ISO value according to the lighting. The other option is to apply the Auto ISO value with limits.
All cameras may not support this ISO limiting feature. if your camera support this feature, you can set the maximum ISO value in the camera. Once it is set, when you enable the automatic ISO mode, your ISO value will not go beyond the specified limiting value.
Conclusion
So, these are some of the common photography mistakes which I made when I started photography with my first DSLR camera, Canon EOS 500D. I hope you won’t repeat these same photo mistakes.
Avoid these mistakes. It will help you to quick start your photography learning curve.