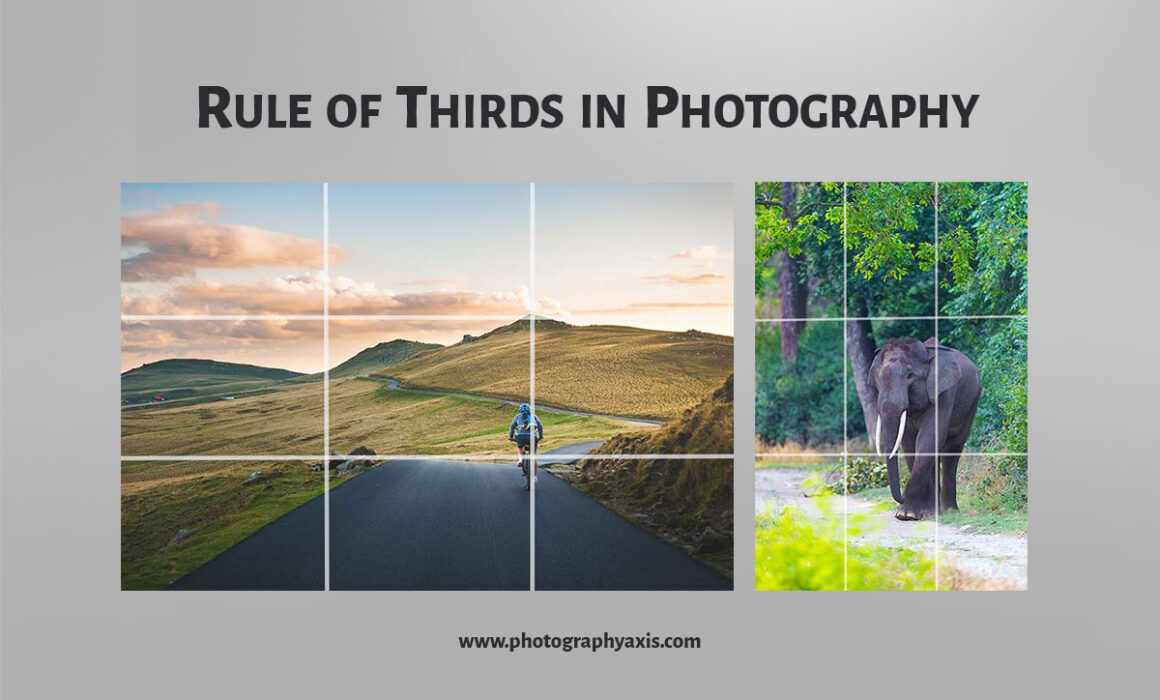
Rule Of Thirds in Photography
The rule of thirds in photography is well-known, some would say the infamous thumb rule of photo composition. If you are a beginner in photography, then this rule is for you. Beginners in photography can use this rule as a starting point to compose their pictures. I will explain the rule of thirds photography composition technique in detail in this guide.
What is the Rule of Thirds in Photography?

Imagine a photo divided into nine equal sections using a set of two equally spaced horizontal and vertical lines. According to the rule of thirds photography technique, the four points of intersection along with these lines will become the points of interest.
So, when you compose an image, try to place the important elements in such a way that they coincide with one or more of these points or the line. It will make the photograph more interesting and beautiful. Thus, it will draw the viewer’s attention to the image.
The rule of 3rds applies to both horizontal vertical frames. So, you can apply it to images in landscape and portrait orientation also.
It is also known by other names like the two-thirds rule, one-third rule, rule of three, photography thirds rule, etc.
📖 READ MORE 👉🏼 : Great Tips For Symmetry in Photography
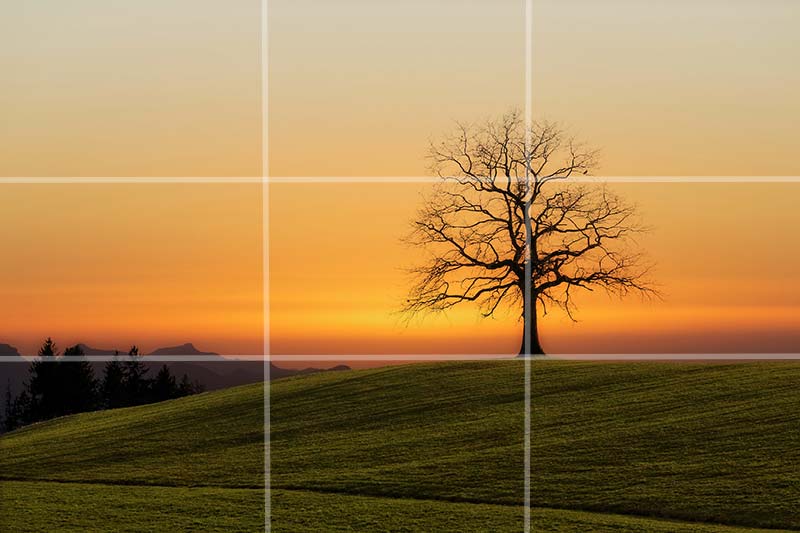
Applying Rule to a Horizontal Frame
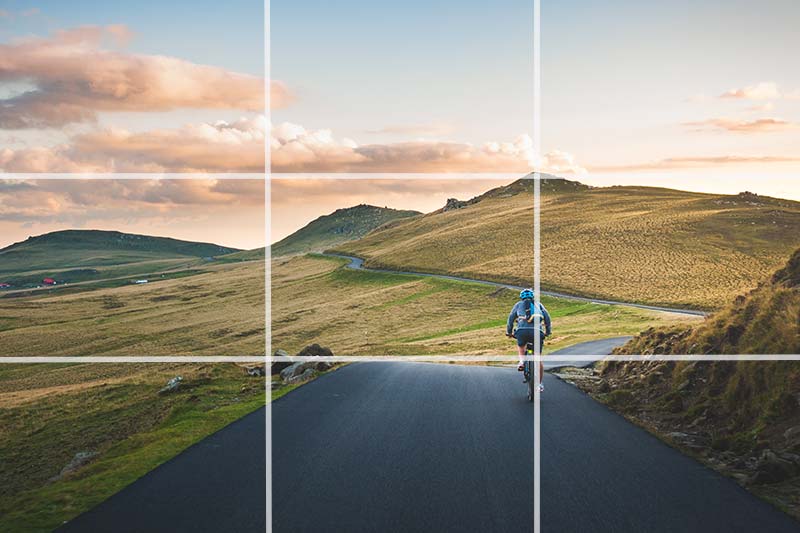
The picture above shows how we can apply this rule to an image photographed in landscape orientation. Here, the two points of interest, the cyclist and the peak of the tallest mountain coincide with 2 of the intersection points of the lines, which makes the image more pleasing.
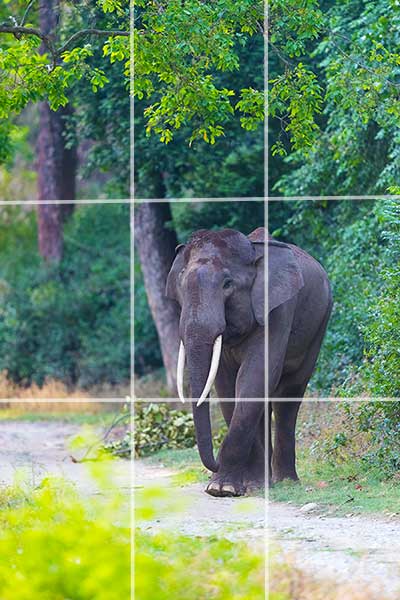
Applying Rule to a Vertical Frame

The picture above shows how we can apply this rule to an image photographed in Portrait orientation.
How to Use Rule of Thirds in Camera?

Now, the question is, how do you use the rule of thirds on camera.
All cameras, DSLR/ Mirrorless/ Point and Shoot/ Smartphone cameras come with the rule of thirds grid feature. You need to enable this grid feature in your camera by going into the settings.
Once you enable the grid, then you can see two vertical lines and two horizontal lines dividing the frame into 9 equal parts.
Now, you have enabled the rule of thirds in your camera. So, try to align your subject/ point of interest in the points of intersection of these lines and capture the image.
If you have multiple subjects, then you can try to frame the scene in such a way that the subjects coincide with these points of intersections.
How to Use Rule of Thirds in Lightroom?
You might have already captured the image without using the grid feature in the camera.
So, let us see how to apply the rule of thirds in Adobe Lightroom, which is the popular photo editing tool used by most photographers.
Step #1: Open Photo in Adobe Lightroom

Import your image to Adobe Lightroom. I will apply this image composition to one of my bird images, Rufous babbler using Lightroom.
Step #2: Enable Image Crop
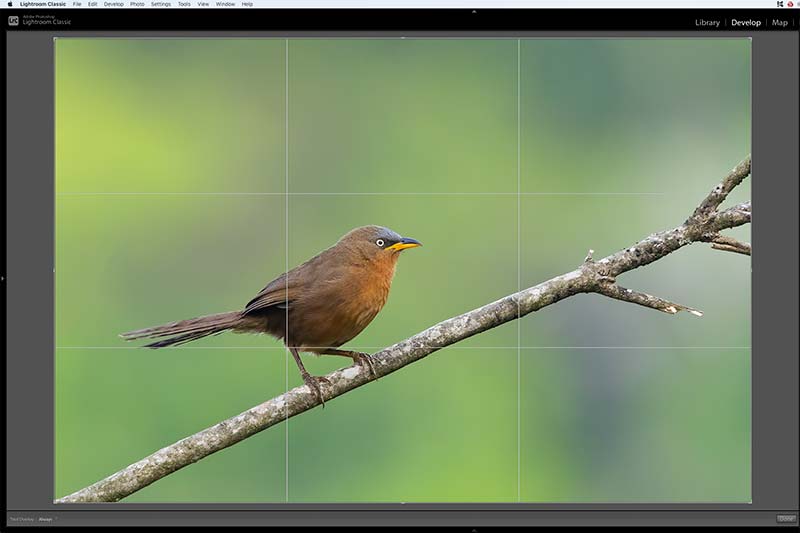
Hit the “R” button to enable the crop mode. The image will be taken into the Develop module directly from the Library module. Now, you will see the cross-type pointer, ”+.”
Hold any of the corners of the grid and position to get the desired alignment of the rule of thirds grid lines on the subjects. Hit the “Enter” button to get the desired composition.
How to Use Rule of Thirds in Photoshop?
Another popular photo editing tool used by photographers is Adobe Photoshop, which is more powerful than Lightroom.
We can apply the rule of thirds to images using Photoshop also.
So, if you are planning to apply this rule during the post-processing stage, then you must leave sufficient space on all four sides of the picture. Only then, you will be able to crop and compose the image perfectly.
Step #1: Open Image in Adobe Photoshop

So, open your picture in Photoshop. I will open one of my bird images, the Black-capped kingfisher in Adobe Photoshop 2020.
Step #2: Open Crop Tool
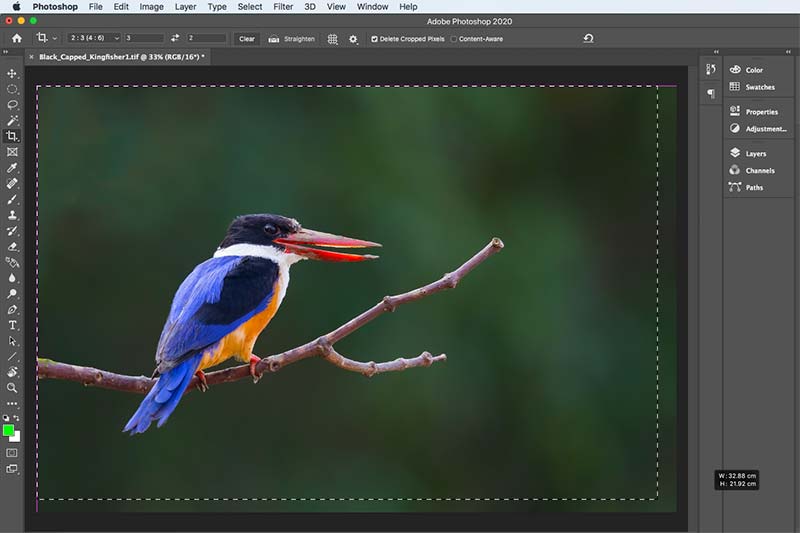
Hit the button “C” or select crop tool in Photoshop. Now, you can see that the mouse pointer ion has changed to the “+” icon.
Left-click on the mouse to draw a box in the picture. It will appear as dotted lines while drawing and will turn to lines once you release the mouse button.
Step #3: Crop to Apply Rule of Thirds
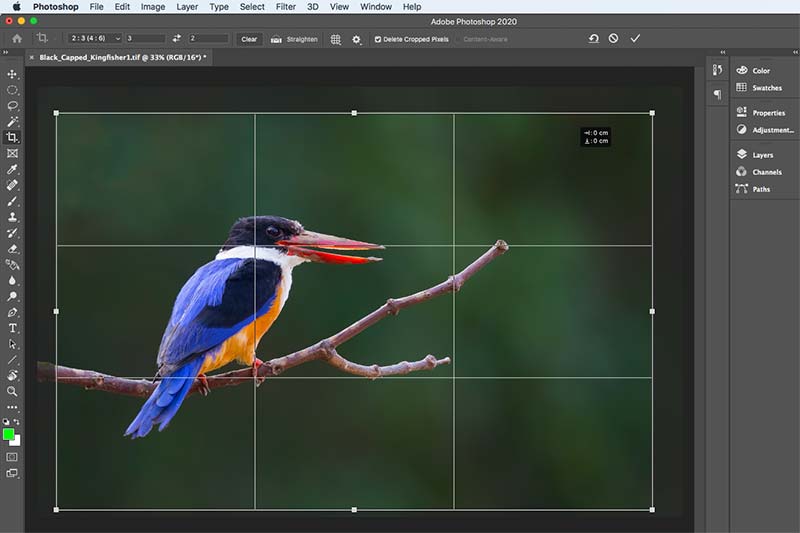
Hold and drag any of the corners of the drawn box. Now, you can see the rule of thirds grids along with the box. You can position according to your desired composition. You can also change the aspect ratio of the crop in the settings on the top toolbar.
Here, I will maintain the 2:3 aspect ratio of the image while cropping. I will crop the image in such a way that the head of the bird coincides with one of the points of intersection of the grid lines and the body of the bird aligned to one of the vertical lines.
Hit “Enter” to complete the crop process and save the image.
Thus, I have applied the rule of 3rds to the image using Adobe Photoshop.
Rule of Thirds Examples
I will share some good examples of images where the rule of thirds is applied.
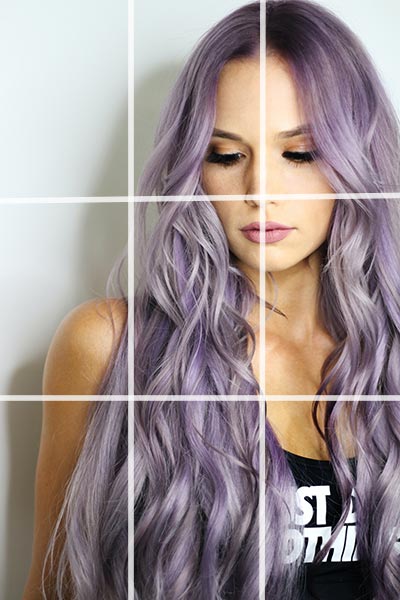
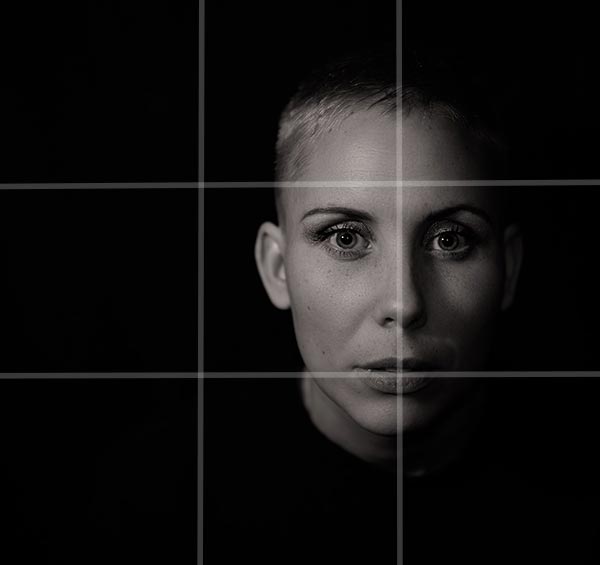
Rule of Thirds Portrait Images
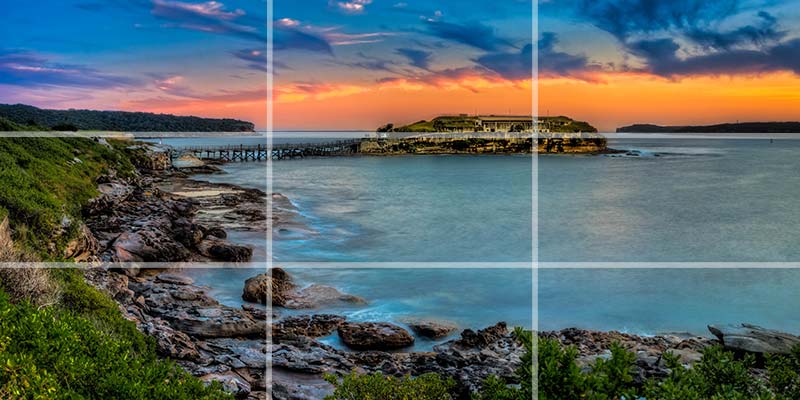
Rule of Thirds Landscape Images
Most landscape photographers, especially beginners, make use of this rule to compose their images.
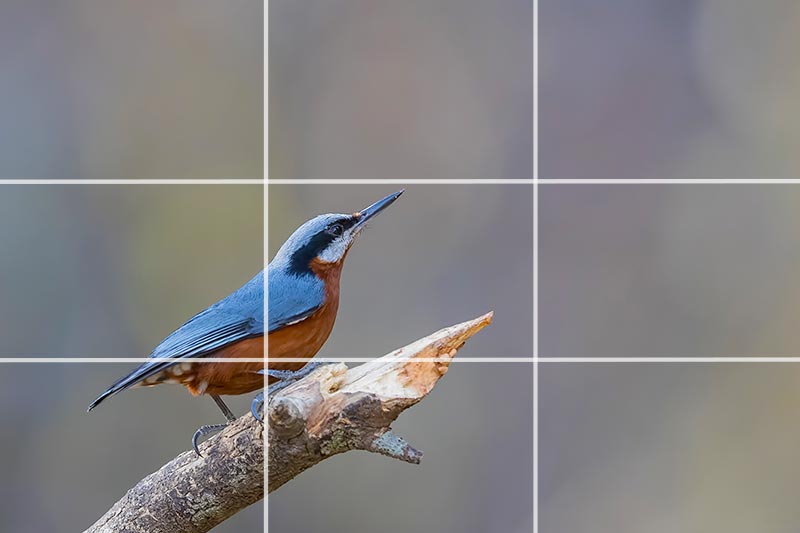
Rule of Thirds Wildlife Images
Conclusion
Once you master the art of composing images with this technique, then you can also try composing pictures using other techniques like the golden ratio, leading lines, fill the frame, etc.
Different types of composition techniques suit different scenes. So, you cannot this photo composition technique in all your pictures. So, learn other photo composition techniques also.
Nice explanation and apt use of pictures four explanation
I truly appreciate this article. Cool.