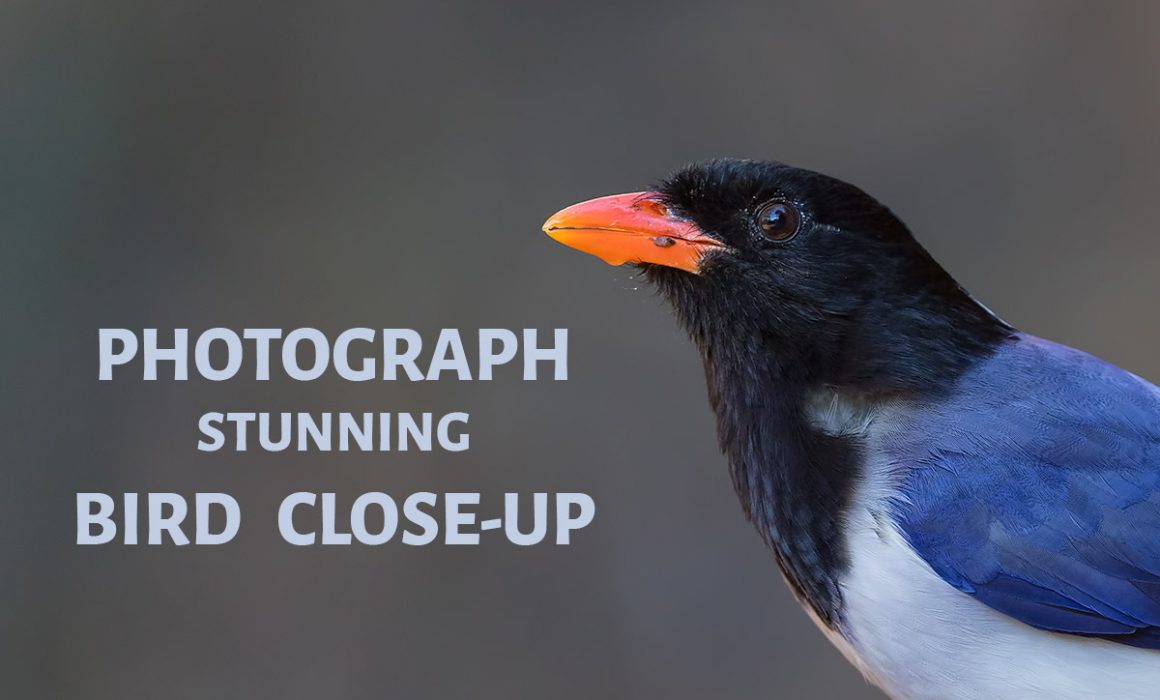
Tips for Shooting Stunning Bird Close Up Photos
Are you interested in taking your bird photography skills to the next level? Don’t wait, start reading this and start shooting perfect bird close up.
Bird Close Up Photography Tips & Techniques
1. Use Telephoto Lens
Use telephoto lenses with your DSLR/ Mirrorless camera for photographing bird close ups. Any focal length greater than 400mm is good for close up shots.
You can make use of a prime or zoom telephoto lens. I recommend using a prime lens since it allows you to capture more details. You can get crisp and sharp details of bird feathers and eyes.
A telephoto lens will also help you to get good background blur (provided the bird and the background is at a distance apart)
2. Spend Some Time with Bird
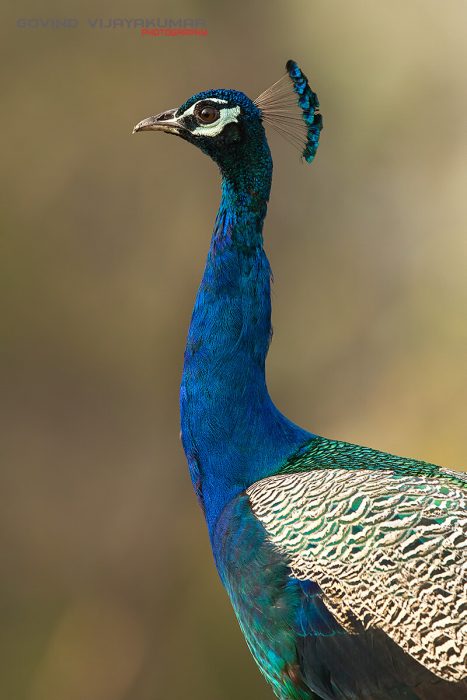
You need to spend some time with the bird so that the bird gets used to you.
Initially, the bird would see you as a threat. So, once you give some time. It will get used to you.
Thus, you can get closer to the bird for close up images.
Don’t try to chase the bird. If they start flying the moment you point your camera. It is better to leave such a shy bird since it is never going to pose for you. Look for other birds.
3. Use Single Shooting Mode
Single shooting mode is good for bird close up. If you use continuous burst mode, the bird will fly away after hearing the irritating sound of the continuous shutter firing.
Enable silent shooting mode if your camera supports it. In this way, you can reduce the shutter noise. Even though the name is silent, some amount of sound would be there.
4. Shooting in Aperture Priority Mode
If you are a beginner in photography, then use Aperture Priority Mode.
You can go for the lowest possible aperture to get a shallow depth of field. It will help you to get a good background blur.
If you are too close to the bird then you will have to increase the aperture by 1 or 2 stops so that the body of the bird is also in focus.
In such situations, you can even go for a creative shot by using low aperture values like f2.8 or f4. You can focus on the eye of the bird in such a situation. So, only the eye and face will be in focus when you use large apertures, blurring the rest of the parts
5. Shoot in Manual Mode
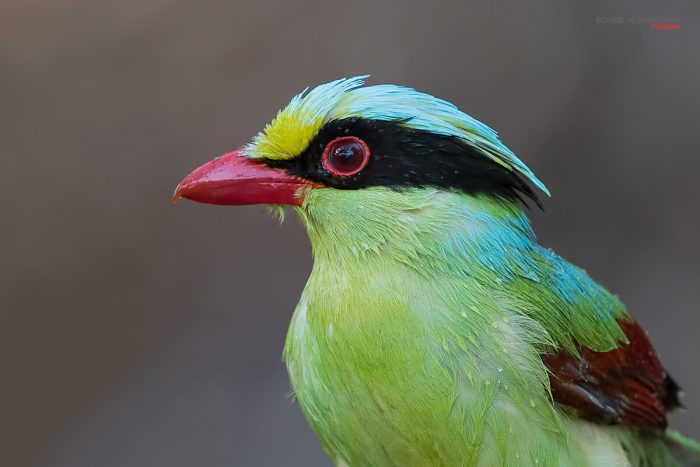
Manual mode gives you full control over the camera. You can get the desired exposure, depth of field, and color balance.
The settings which I have mentioned for the Aperture Priority mode are also applicable over here.
6. Focusing Technique
Always focus on the bird’s eye when photographing bird close-ups. Try to keep your lens face parallel to the head of the bird so that you get the full head in focus. It is very important while shooting close up images.
Sometimes you may have to do Manual focus since you are photographing close-ups. So, switch to Manual Focus by sliding the focus button to “MF” in the camera lens.
Rotate the focusing ring manually to lock the focus. Use Live View and zoom digitally to ensure that you are getting a proper focus lock.
7. Importance of Background
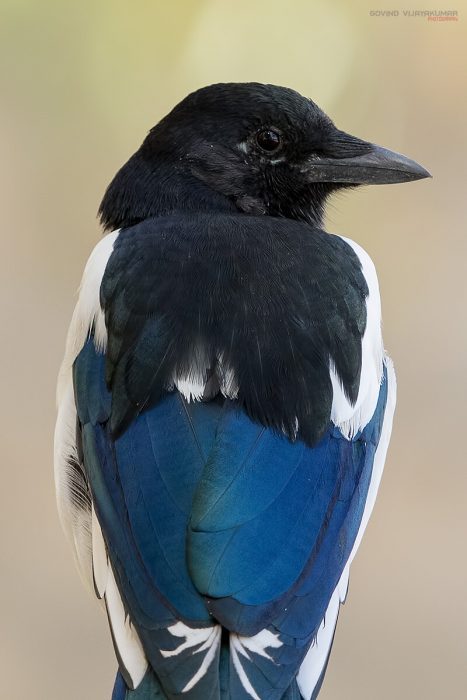
Background plays an important role in Bird close-ups. The image will look uninteresting if the background is white in color. So, you need to ensure that you have a good background.
Examples of good backgrounds include clutter-free blurred colors of different shades of green and brown. Even a low key image with a black background is a treat to watch.
8. Metering
The right metering mode gives you the correct exposure. Since you are shooting close ups, you can use Spot metering mode or Evaluative metering mode.
I use Evaluative Metering for most of my shots.
9. Use Tripod
In order to get a blur-free image use a tripod. You will also get the benefit of a low ISO value.
If you shoot handheld, you may have to go with a high shutter speed to avoid any camera shake. This, in turn, calls for a high ISO value.
So, it may result in a slightly noisy image. Tripod solves this issue.
Read this for selecting the right tripod.
10. Shooting Handheld
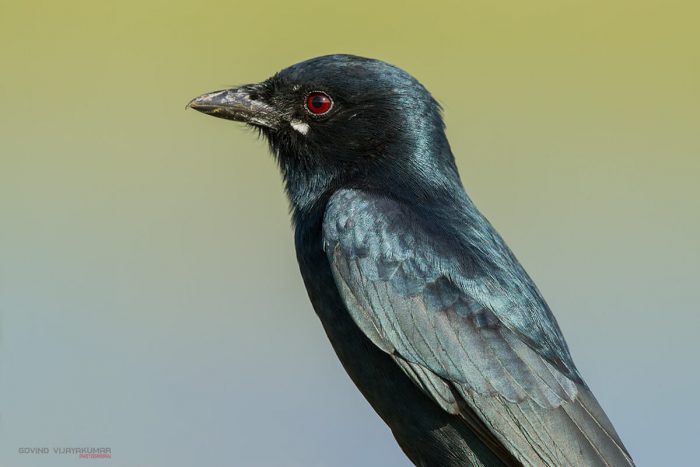
Using Tripod may not be a feasible solution in all situations. So, you may have to shoot handheld. Here the trick is to set the correct shutter speed to avoid image blur.
As a thumb rule use the focal length of the lens to derive the shutter speed. Suppose you are using a 500mm lens, choose a Shutter speed of 1/500 or a faster one. Thus, you can get a sharp image.
Always switch on the Image Stabilisation feature in the camera lens when you shoot handheld. It will take care of some amount of shake.
In certain cases, you may not be able to follow this thumb rule, especially in low light conditions.
From my experience, you can deal with this condition in 2 ways.
Reduce the shutter speed by a stop if your camera lens supports Image Stabilization / Optical Stabilization.
You can even reduce the exposure by a stop. Here you need to make sure that the image is captured in RAW. You can adjust the image exposure later in post-processing.
11. Close Up of Ground Birds
When you shoot close-ups of ground birds like desert birds. You can lay down on the ground and start crawling until you reach the comfortable photographing distance to photograph the bird.
In this way, you can get an eye level shot. The image will look like a painting with a nice blur in the background, with the subject in focus.
Here, you can play with your aperture values to see the change in the feel of the image.
12. Shoot in RAW
When you do close up bird photography, you may have some bright portions of feathers along with dark ones. So, you might burn the highlights in the photograph when you do a 0 exposure.
Shoot in RAW so that you can recover the highlights during post-processing. It also helps to recover the details in shadows if your shadows have gone darker.
Now you have covered all the techniques needed to shoot a perfect bird close up. Start using these tips and techniques and be a better bird photographer.

