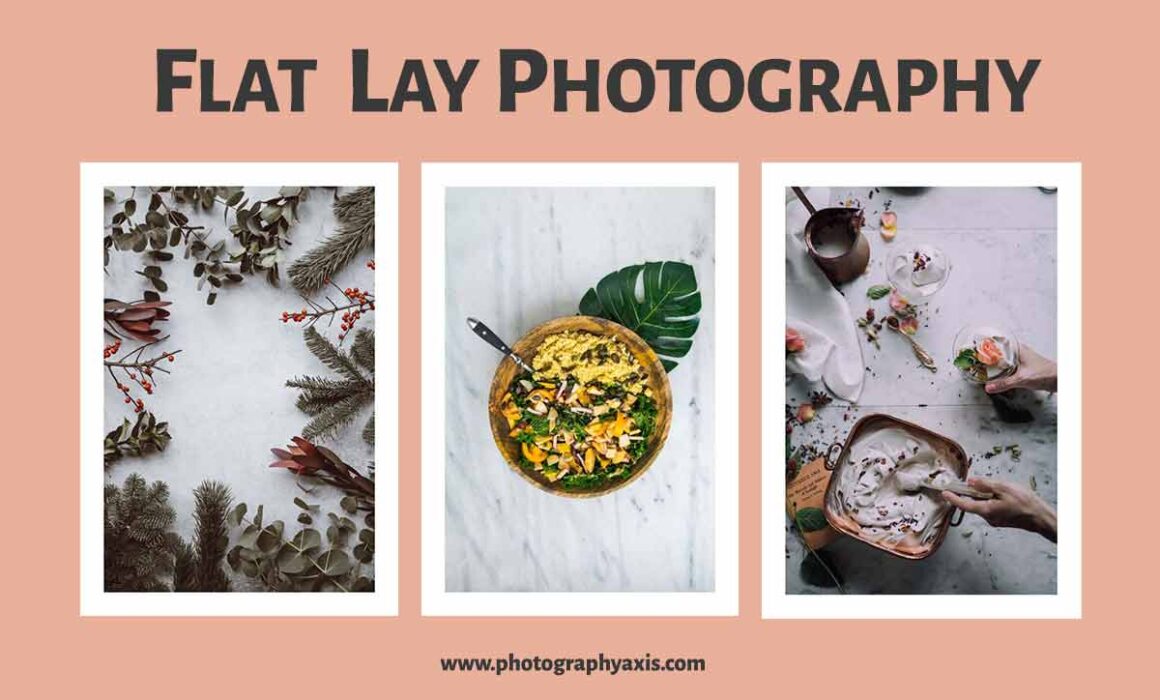
Flat Lay Photography – Complete Guide+ 12 Pro Tips
Flat lay photography is one of the popular photography styles used by many photographers. So, what is this flat lay photography? How to capture pictures in this style?
In this guide, I will cover all the aspects of flat lay photography in detail. It includes camera gear, and camera settings, and the step-by-step procedure for shooting a flat lay image.
I will also share tips and techniques that you can use to capture stunning images.
What is Flat Lay Photography?
Flat lay photography is a photography style in which the subjects are kept on a flat surface, and the image is photographed from the top. All the objects in the scene will be in focus in this style of photography. Here, you are photographing the scene from a birds eye view perspective.
Camera & Lens for Flat Lay Photography
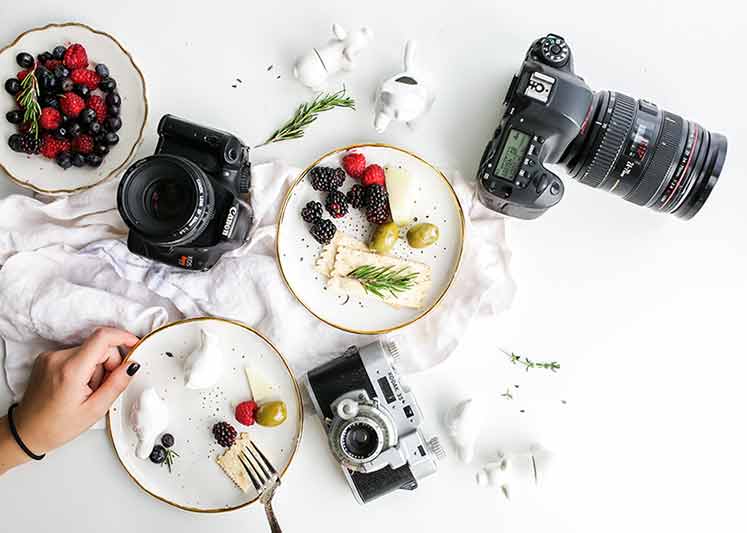
If you want to capture flat lay images in the best resolution and clarity, I strongly recommend using a DSLR or Mirrorless camera. However, even an entry-level interchangeable lens camera is good enough.
You can also use a point-and-shoot camera or a good smartphone camera if you don’t have an interchangeable lens camera.
A full-frame DSLR/mirrorless will help you to get more beautiful pictures because of its higher dynamic range.
When it comes to the lens, you can go for any good wide-angle lens. You can even use the basic kit lens. The nifty fifty lens is another good choice.
But, when you use a lens with a large focal length, you will have to position the camera at a higher distance, making shooting uncomfortable. So, better to avoid it.
Camera Settings for Flat Lay Photography
Camera settings are another important aspect to take care of.
You can go for the manual mode on your camera since you are shooting indoors.
1. Aperture
Select the aperture so that everything in the frame, including the background, is in focus.
An aperture value of f8.0 is a good choice.
So, you can use this aperture as the starting point and increase or decrease the value according to the Depth of field and lighting conditions.
Try to capture the image at the sweet spot of your camera lens for the best quality.
2. ISO
Go for the least possible ISO value, so there is no noise in the image.
A lower ISO value also helps to maximize the dynamic range of your camera. Thus, you can capture a good tonal range in the picture.
ISO values of 100 or 200 would be ideal.
3. Shutter Speed
You don’t have to worry much about the shutter speed if you use a tripod.
Ensure that the image is properly exposed with a shutter speed matching the Aperture and ISO value.
You can go for higher shutter speeds if you are shooting handheld to avoid image blur due to camera shake.
4. White Balance
You can go for auto white balance (AWB) settings to avoid confusion. Nowadays, the camera is capable of selecting the appropriate color temperature.
5. Capture in RAW
If your camera supports it, it is good to capture the picture in RAW format. The RAW image will help to capture more details in the scene, which is useful in the editing stage.
It is easy to fix any color temperature issues if the picture is captured in RAW format.
6. Camera Trigger
You can also use a remote camera trigger if you have one.
If you use the tripod, you can also use the 2-second or 10-second timer to avoid the camera shake due to the trigger button press.
How to Light for Flat Lay Images?
When it comes to lighting for a flat lay, you have two choices. You can either go for natural or artificial lighting.
If you plan to use natural lighting, you must set your photoshoot near a window where a good amount of natural sunlight will come.
The window glass will act as the diffuser. You can also use a light diffuser if required.
You can use a light reflector on the opposite side to remove some of the shadows in the scene.
If the choice of lighting is artificial, you can go for the flash or the continuous lighting setup.
If you have only one artificial light source, you can position it on the left side of your frame and keep a light reflector on the right side, or vice versa.
You can also use two separate lights on either side if you have them.
Capture a couple of clicks on the camera to ensure the lighting is proper in the scene. Then, make fine-tuning in light position and intensity until you get the perfect exposure.
I recommend using diffusers with the flash or the continuous lighting set up to avoid the harsh light falling on the subjects.
How to Do Flat Lay Photography?
Now, let us see how to capture amazing flat lay photographs.
STEP 1: Set Background on a Flat Surface
The first thing to do is to set the background for your picture on a flat surface. You can use a table, desk, or floor as your flat surface.
Remember to position your camera at a high vantage point with the camera lens parallel to the background. So, choose the surface accordingly.
STEP 2: Arrange your Objects in the Background
This step is the most important part. It will decide what your final image will look like.
So, take the necessary subject and props. Then, start arranging it on top of the background.
While positioning the objects, you must have a clear-cut idea of how the frame will look like, whether you are going to capture it in portrait or landscape mode.
You must position the objects according to the photo composition technique that you are going to use for the image.
STEP 3: Position the Camera
After completing the positioning of the objects, you need to position the camera next.
Mount the camera on the tripod and position the camera so that the front part of the camera lens faces the objects in a parallel fashion.
You will have to vary the height of the tripod in such a way that you can see the desired frame and composition in the camera viewfinder or live view. I prefer using the live view.
You can also vary the zoom in combination with tripod height adjustment to get the desired frame if you use a zoom lens.
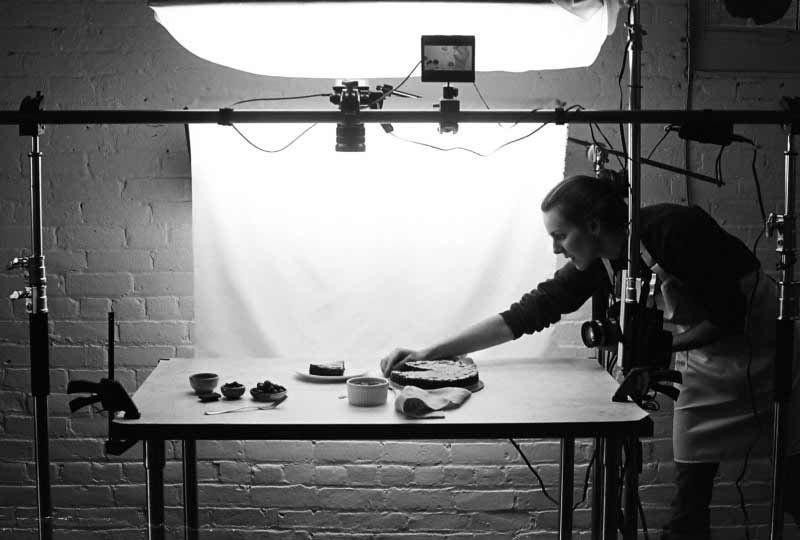
STEP 4: Position the Lighting
Next comes the lighting part. You can position your lights so that the subject is well lit and the unnecessary shadows in the scene are avoided.
View the scene through the camera to ensure you get all the necessary details in the scene without any issues.
Ensure there is a good amount of light on the scene so you can capture the image in low ISOs like 100 or 200.
STEP 5: Capture in Camera

Once the lighting is done, then it is time for the capture.
In the case of flat lay images, you want all the objects and the background to be in focus in the shot.
So, you must ensure that the Depth of field covers all the objects, including the background.
You can face some issues if you have objects with varying heights in the frame. In such situations, you need to ensure that a higher f-number is used, and the focusing needs to be done on an object which is in the average height range. It will ensure that all the objects and the background in the scene remain sharp in the final image.
Once you have captured the frame, zoom the image to 100 percent in the camera. Check and ensure all the objects in the picture are in focus.
STEP 6: Post-process Flat Lay Images
Retouching the flat lay images after the capture is always good for enhancing the image.
I strongly recommend capturing the image in RAW format if your camera supports it. The RAW image will help you edit without losing any details.
You can use any photo retouching software to process these images. Some of the photo processing software that you can use for editing include Adobe Lightroom and Photoshop.
If you plan to share flat lay images on Instagram or Facebook, you can use the following guides to select the right export settings.
Lightroom Export Settings for Instagram
Lightroom Export Settings for Facebook
Tips To Capture Stunning Flat Lay Pictures
I will share some useful tips to capture stunning flat lay images.
TIP #1: Work with a Theme in Mind
Before starting, you must have a theme in mind. The theme will decide what backdrop to select and the props.
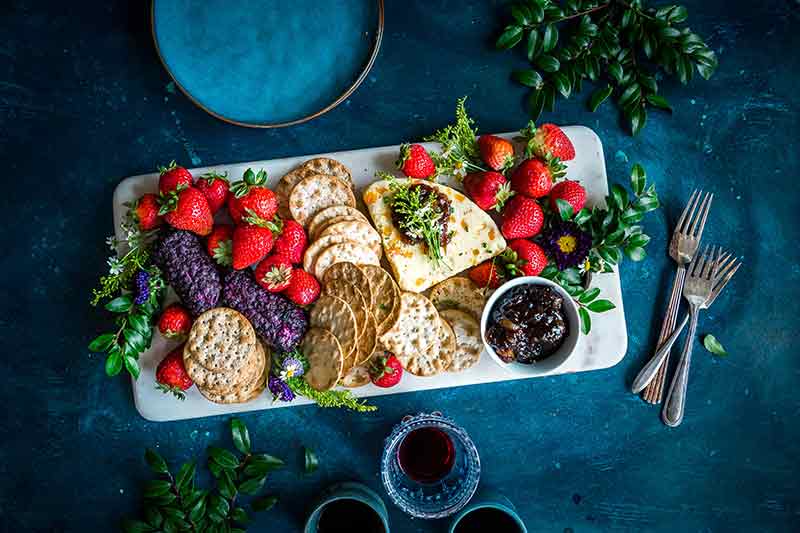
TIP #2: Composition is the Key
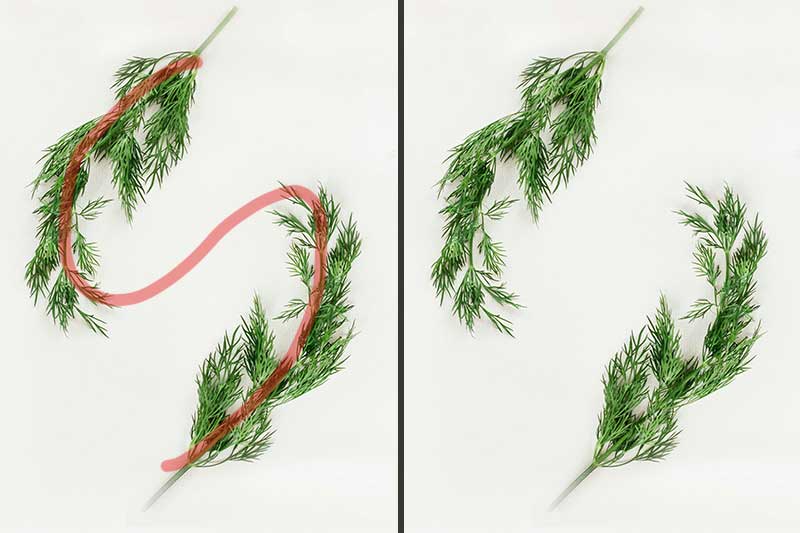
Image composition is a key element here. You must position the subjects in such a way that it follows any photo composition technique.
It will make the picture look more attractive. The above image makes use of the S-curve composition technique.
Some of the best image composition techniques for flat lay images include the rule of thirds, rule of odds, golden ratio, negative space technique, golden triangle, and composing with diagonals.
TIP #3: Background Matters
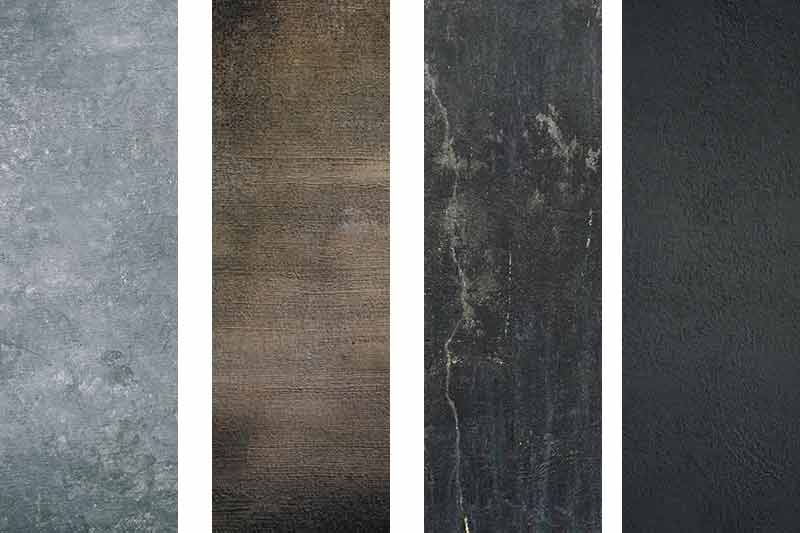
The background really matters in this type of photography. Try to use a background that matches the theme in your mind.
You can purchase background props online if needed. You can also use any cloth or colored paper as the background. The background must complement the subjects and the theme.
TIP #4: Work with Colors
Try to bring a contrast between the colors of objects in the scene. It will make the frame more string to the viewer’s eyes.
You can look at the color wheel to find complementary colors and select objects accordingly.
TIP #5: Use Textured Elements
You can use texture in elements in the scene to make the image pop.
It can include a leather diary, furry hat, or textured background.
Tip #6: Use Hands in Frame to Make the Image More Dynamic
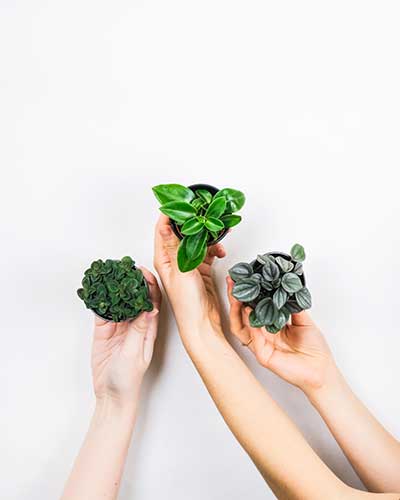
You can bring your hands into the frame to bring more life to a flat lay image.
It can help to make your image stand out from the rest of the typical flat lay pictures.
TIP #7: Introduce Objects That Compliment the Subjects & Theme
It is a bad idea to keep some random props for flat lay images.
The props that you use must complement the main subject and the theme. Only then the frame will be meaningful and interesting for the readers.
TIP #8: Use Negative Space Composing Technique
It is a good idea to create a flat lay image using the negative space composition technique.
You can use the negative space technique if you want to add some graphics or text to the image later.
TIP # 9: Go for a Dark & Moody Style
You can go for a dark and moody style image. It can help make the picture more aesthetically pleasing for the viewer.
It will help to make your subject stand out in the image.
TIP #10: Get Inspired from Other Works
If you find it difficult to select a theme or style for your flat lay photography, you can check the work of others.
Pinterest and Instagram are two good platforms to check good flat lay images. You can save these images.
Don’t copy these images. Instead, use it as a reference to create your style.
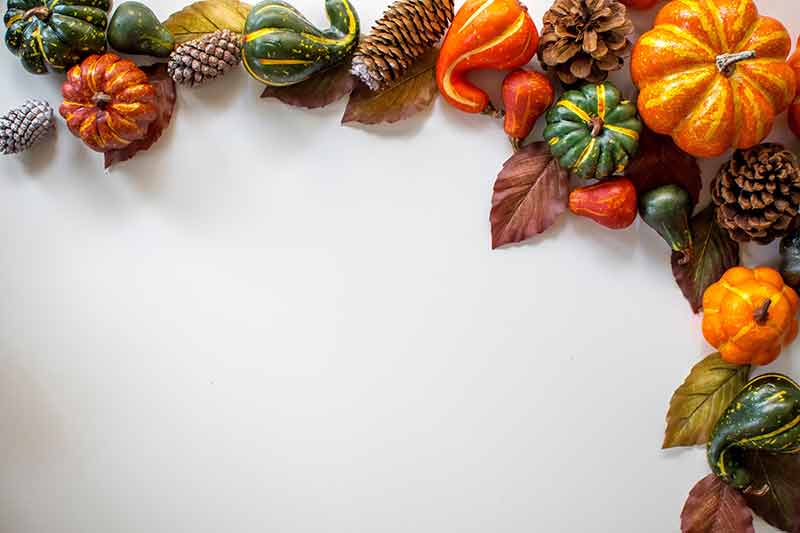
TIP #11: Try Seasonal Themes

You can include props and background that depict a particular season.
For example, you can use any furry sheet or white background with woolen clothes and dried bark for the props to show the winter mood. The props must complement the main subject.
TIP #12: Capture Story-Telling Images
Try to use the storytelling composition technique to photograph your flat lay pictures. It will help to make the image look more powerful.
Who Should Do Flat Lay Photography?
Now, the question is whether flat lay photography is for you. I will list the types of photographers and people who find such images useful.
1. Food Photographers
If you are into food photography, this is the best way to capture some beautiful food shots. Food photographers constantly use this top to bottom approach to capturing images.
2. Product Photographers
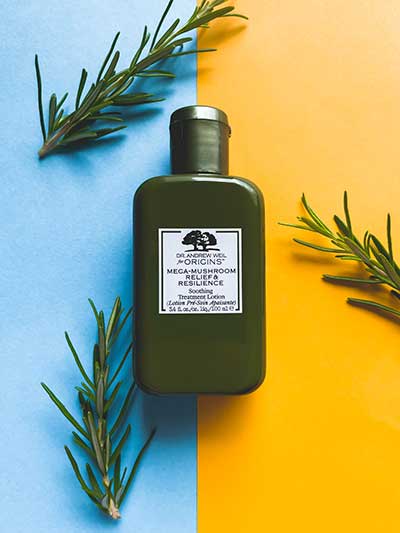
Product photographers can use this style for their product photoshoots. They can arrange their main product along with the supporting props in a flat lay setup and capture the image.
3. For Instagram

I use flat lay images for my Instagram stories. So. if you are also interested in sharing pictures on Instagram, you can definitely consider capturing the pictures in the flat lay style next time.
4. For Pinterest
You can choose this style if you are capturing pictures to share on sites like Pinterest.
5. Clothing Photography
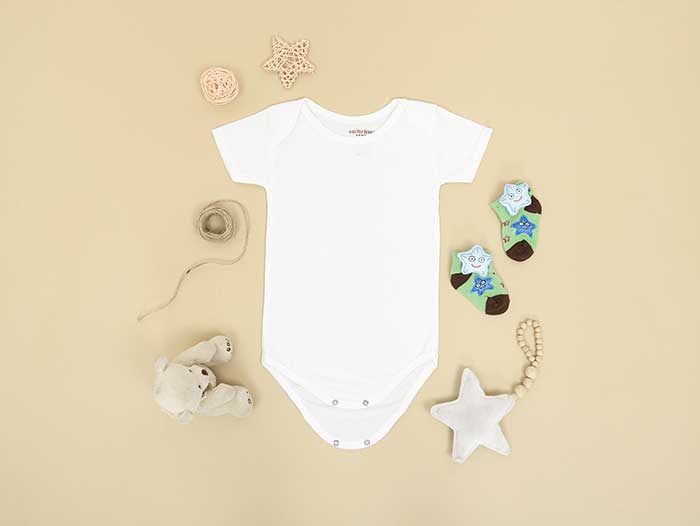
Nowadays, many eCommerce sites use flat lay clothing photography to showcase their clothing products to the customers.
One main advantage is the ease of setting it up. Also, you don’t need a high-end camera gear or lighting set up to capture flat lay clothing pictures.
Where to Get Props for Flat Lay Photography?
The first place where you can look for props is your home. You will get most of the props for shooting from your house itself.
Sometimes, you may need to add more. In such situations, you can check in online platforms like Amazon, AliExpress, or in other e-shops.
Don’t buy expensive stuff since you may not find the stuff useful after a shoot.
Nice Article.