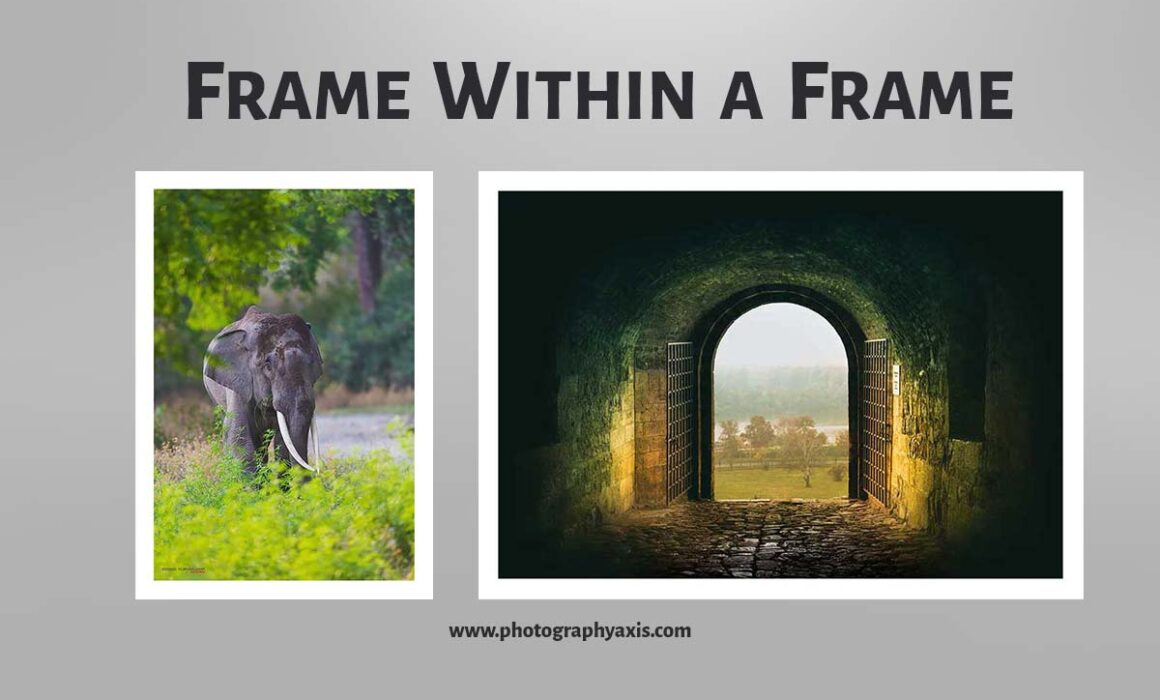
Frame Within A Frame Photography- 15 Ways to Use It
Have you ever used the frame within a frame photography technique for your pictures? If not, then this guide is for you.
There are multiple ways to compose an image. Different composition techniques are suitable for different scenes. Some scenes look best if you compose them using the frame within a frame technique. If you really want to take your images to the next level, you must learn this photography technique.
I will explain this photo composition technique in detail in this guide. I will also show you the different ways you can use this rule in your images. So, let us get started.
What is Frame Within a Frame Photography Technique?
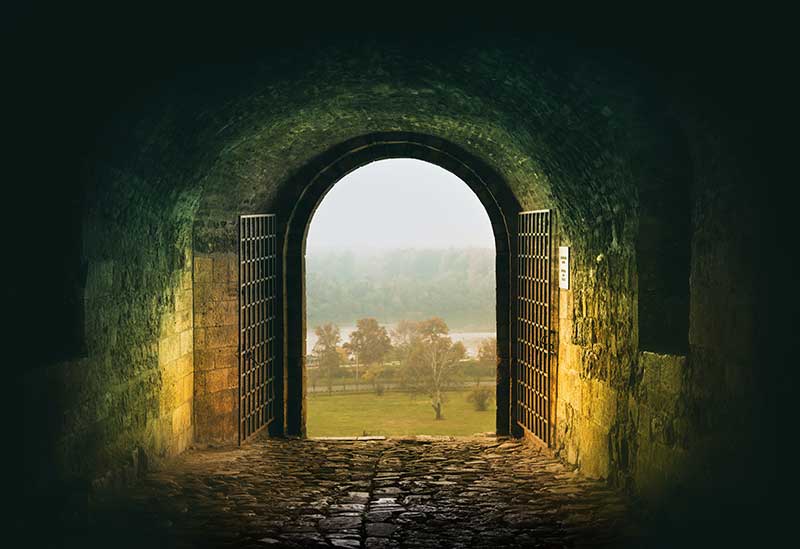
Frame within a frame photography is a composition technique where the subject of interest is enclosed by another interesting frame like a door, window, or foliage of a tree.
It is a useful technique to draw the viewer’s attention to the subject without any distractions.
Here, the frame that comes first refers to the actual subject with the surroundings and the second frame refers to the outer frame that comes around the main subject.
You can use both natural elements as well as artificial man-made elements as the outer frame for your subject.
It is completely different from the fill the frame technique. So, don’t get confused between these two.
Frame Within a Frame Photography Explained With An Example
I will explain this frame within a frame photo composition technique with the help of an example. It will help you to understand this composition method in a better way.
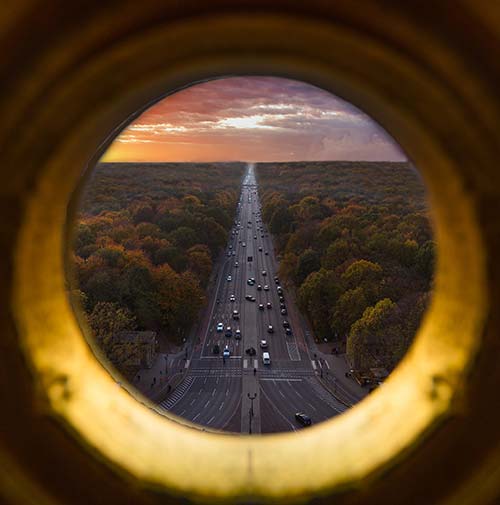
The above picture is a great example of an image composition using the frame within a frame photography technique.
Here, the actual scene is the road with the cars, surrounded by a forest full of trees on either side. This scene is photographed through a circular hole, including the circular hole also in the picture.
Here, the outer frame is the golden circular hole. The actual scene comes inside this golden circular frame. Thus, the viewer’s attention is drawn toward the landscape scene without any distractions.
Subject of Interest- Foreground Vs Background Vs Middleground Vs Same Plane
When it comes to this photo composition rule, the subject of interest can be in any of the four places in the scene.
It can be in the foreground, middleground, background, or both the subject and the outer frame in the same plane.
Foreground
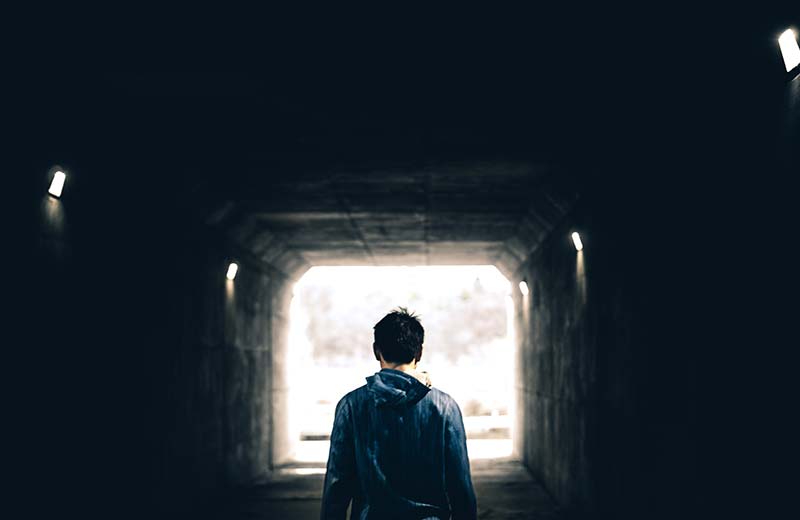
In some instances, the subject will be in the foreground and the outer frame will be in the background.
In this case, most of the time the frame will cover only the three sides of the photograph: two sides and the top.
Background
Most of the time the subject of interest will be in the background.
If your subject of interest is landscape or sky, the subject will be in the background of the picture.
Middle Ground
When you use this photography technique to capture people’s portraits, the person who is the main subject can be in the middle ground.
Subject & Outer Frame in Same Plane of Focus
In some cases, both the frame and the subject of interest can be in the same plane of focus.
For example; if you are photographing a woman peeping out of a window frame, then both the window frame and the woman will be in focus since both of them are in the same plane.
How to Use the Frame Within A Frame Technique In Your Images?
There are many ways you can implement this composition rule in your pictures.
I will list out 14 popular methods that most photographers use to capture images using the frame within a frame photography technique.
1. Use Building Structure as the Outer Fame
One of the popular ways to implement the frame within a frame photography technique is to use the different building structures in the scene while shooting.
When you are in a building you can check for the different openings in the building.
See which of these openings shows a good viewpoint to photograph. You can capture the shots from this opening. The shape of the opening will be your outer frame
2. Take a Photo of the Camera with the Scene Captured in It
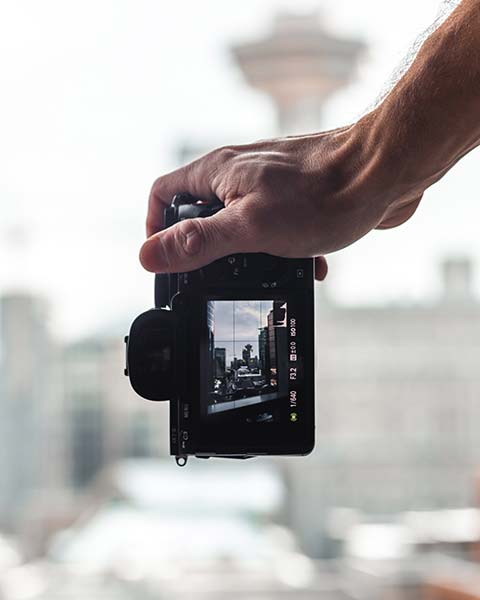
You can enable the live view in your camera to see the actual frame and photograph it along with the backside view of the camera using a smartphone or another camera.
Now, your subject of interest will be inside the LCD display of the camera and the backside view of the camera forms the outer frame.
You can even capture the scene in your camera and click on the play button to display the image on the LCD screen and then capture it.
3. Use Windows in Buildings
Another popular method is to use the windows in the building to capture the picture using this technique.
You can also try it in your home or if you are inside a hotel that has got a good scenic view from its window. You need to include the window also in the photo to get the image using this technique.
4. Use Mirrors
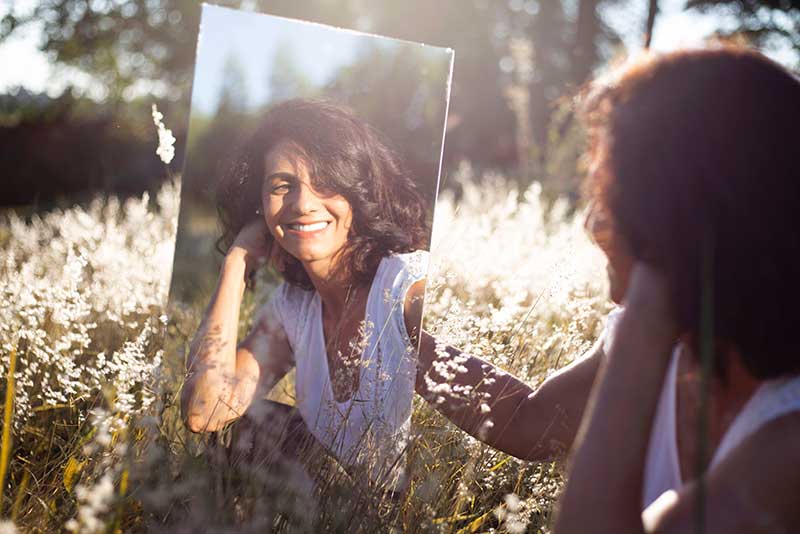
Another prop that you can use to apply this composition technique is the mirror. You can either carry a mirror with you or if there are mirrors in the location, use it to your advantage.
You need to point your camera into the mirror in such a way that you get the reflection of your subject in it.
Thus, the scene of interest will be inside the mirror and everything outside the mirror will act as a frame for it.
The mirror selfie shot including the mirror in the frame is a great example of an image composed using this rule.
5. Use Windows in Cars & Airplanes

You can use the windows in cars and airplanes for framing your scene. In the case of car windows, you will have the option to open and close the window.
So, try capturing the scene with the windows in both open and closed positions. You can choose one of the frames, whichever is good for that scene.
6. Use Foliage of Leaves in front
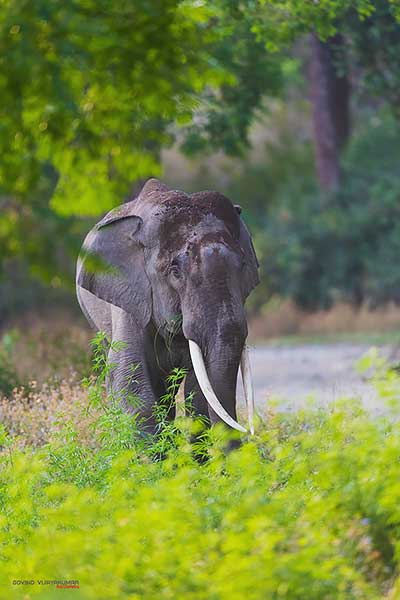
When I shoot wildlife, I use the foliage of the trees for applying the frame within a frame technique to my images.
It is not necessary to have foliage on all sides. Foliage on two sides, top and bottom, or left and the right side is good enough to apply this rule.
You can use this technique for other types of photography also. It includes landscape, portrait, street, etc.
7. Use your Smartphone
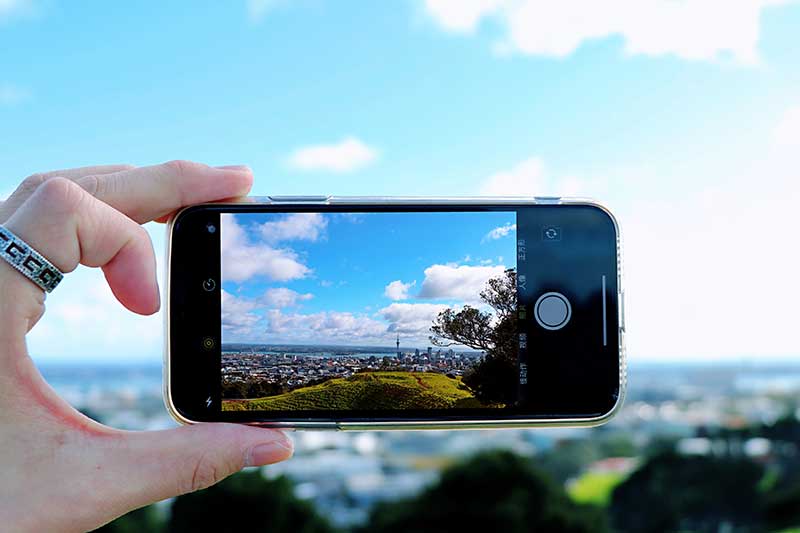
If you are not able to get the outer frame for your scene, then you can consider creating one. One of the easiest ways to do it is to use your smartphone.
You can switch on the camera on your smartphone and hold it with your hand.
You can capture this image using your digital camera or using another smartphone camera. Focus on your smartphone and take the snap.
8. Makes Shapes with Hands for the Outer Frame
If you are not able to apply this photography composition rule because of the lack of an outer frame in the scene, use your hands to create one.
When you use your hands, you need to keep the camera on a tripod or in a stable place. You will have to trigger the capture remotely or use the timer mode in your camera.
9. Use the Actual Photo Frame (Outer Sides Only)
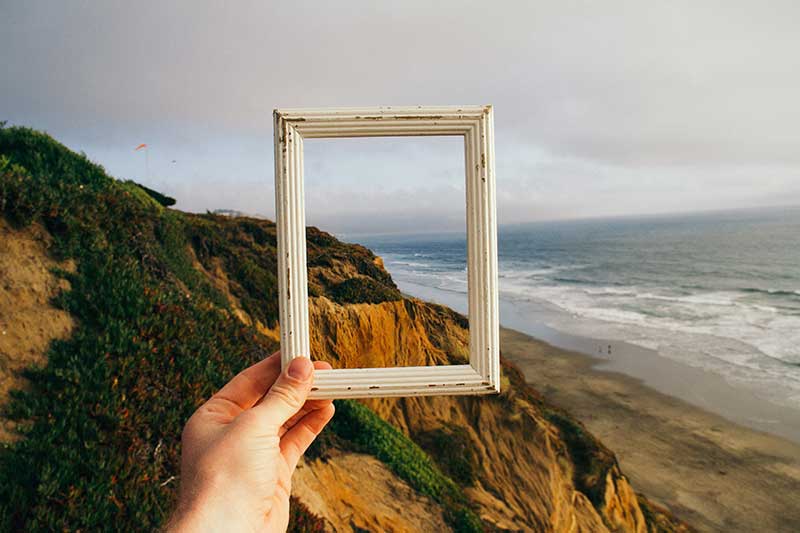
You can even consider carrying the outer side of an actual photo frame with you to apply this rule. It will also allow you to capture the shot in portrait and landscape orientation.
It will work well for couple portraits. Make sure to use a frame color that complements the color of the subjects to make the image more appealing to the viewer.
10. Use Door Frame
You can even use the door frame for your shots. Open the door and shoot in such a way as to include the door frame also in the picture.
Sometimes, the doors can act as a distracting element in the frame.
If it is distracting, then when you open the door, make sure the opened doors are on the other side, not facing the camera.
11. Use Openings in Mountains & Rocks
If you have rocks in front, search for some interesting cracks or openings in it.
You can also apply this rule if you are standing on a mountain that has got some openings or holes in between.
12. Use Rear View Mirrors in Vehicles
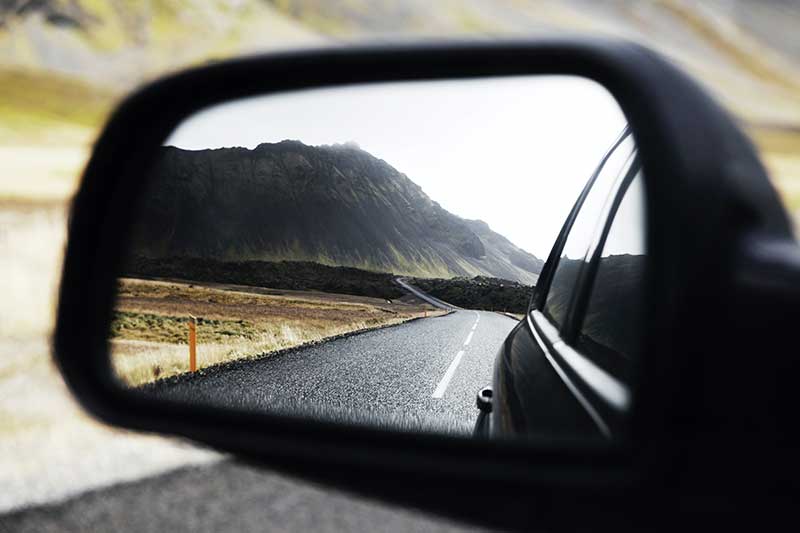
Use the rear-view mirror in your vehicle to your advantage. It can be either the front rear-view mirror or the two side rear-view mirrors.
You need to position your camera in such a way that you get the desired scene inside the mirror. Try multiple angles to see the difference.
13. Use Your Spectacles
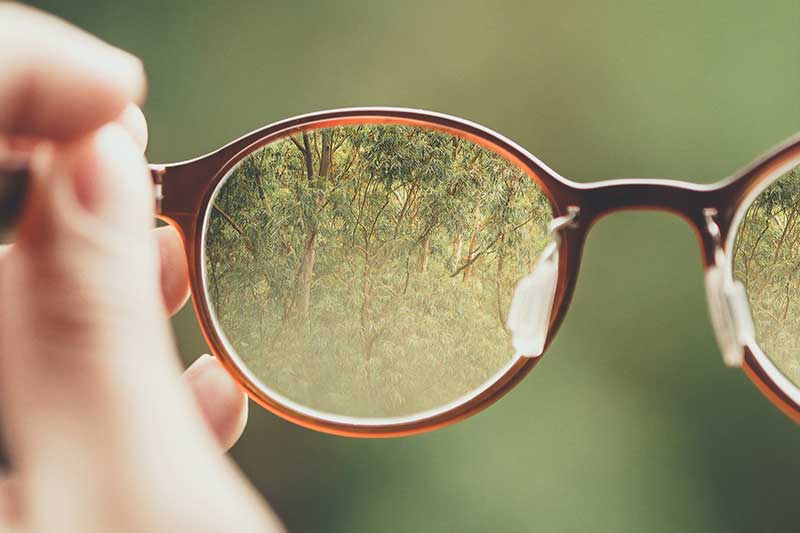
If you wear glasses, you can use them also for composition. Here, the actual scene needs to be inside the two eye-piece of the spectacles.
14. Use Structures Around You
Look for structures around you. It includes metal structures with openings, statues, artworks, etc.
You might be able to find some interesting open holes in these structures through which you can shoot your subjects. Give it a try.
5 Tips to Improve Your Frame Within a Frame Shots
I will share 5 tips that I found useful when using the frame within a frame photo technique.
1. Nail the Exposure
Getting the correct exposure is one of the key ingredients of any successful photograph.
When you use this photo rule, sometimes there is a chance that the frame around the subject gets underexposed. Sometimes, the scene in the frame may get overexposed.
It can happen when you use the tunnel passage as your frame or during a bright sunny day.
So, as a photographer, you need to ensure that the subject of interest is properly exposed without losing any details.
2. Depth of Field
There are two ways of using the Depth of field when you use the frame within a frame photography technique. You can go for a shallow depth of field or a wider depth of field.
When you choose a shallow depth of field, the focus needs to be on the subject.
You can go for a higher aperture of f/2.8 to f/4.0. Thus, the outer frame will appear blurred and the subject will appear to stand out in the picture.
When you choose a wide depth of field, both the subject and the outer frame will appear sharp.
You can go for higher f-numbers like f/8.0 and above. If the subject and the frame are in the same focal plane, you can get both in focus with smaller f-numbers also.
3. Capture Silhouette
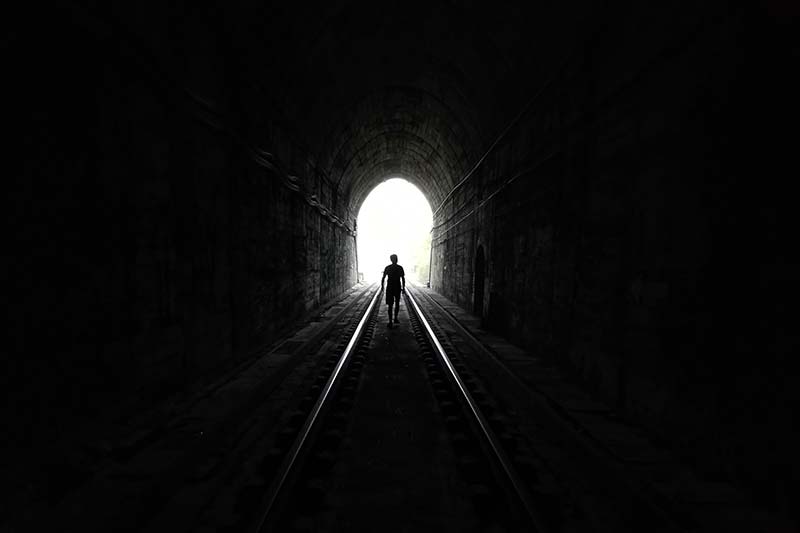
When you are trying to photograph people using this rule, you can also go for the silhouette photography style.
If you shoot through a tunnel or small passage, you can make your subject stand at the end of the tunnel, ensuring that the light is always behind the sibject.
You can focus on the subject and the expose for the background. You will end up capturing a beautiful silhouette of the subject.
4. Try to Compose the Scene Inside Multiple Frames
Sometimes, you will have multiple windows or openings in the scene. You can make use of these multiple openings to create a single picture.
The actual scene will be split inside the different window openings. It will help to capture an interesting image. It can appear like split photo prints on the wall.
5. Try HDR Image
You can also go for an HDR image. If your camera does not support HDR, use the exposure bracketing feature in the camera to capture multiple exposures.
Combine these images to get the HDR version using any photo editing tool like Adobe Photoshop.
Sometimes when you expose the subject inside the frame, the outer frame may end up underexposed. If you go for an HDR image, you can get both these sections exposed properly.
Conclusion
Next time when you do photography, try to use this picture composition technique. You may find it difficult to use this rule initially. If you start practicing it, you will start to see places where you can use this rule.
The frame within a frame photography rule may not work for all scenes. So, as a photographer, it is necessary to learn other photo composition techniques also. Some of the popular ones that you can consider trying out include the rule of thirds, leading lines, golden ratio, golden triangle, etc.

