35 Best Sunset Photography Tips and Ideas
We all know that the colors produced during sunset are so beautiful that we can’t take eyes from it. The dynamic range of a digital camera is less than that of the human eye. Thus, we may not be able to reproduce all the details during the sunset scene into an image. But, still, you can capture the entire beauty of the sunset if you use the correct camera settings and technique. In this guide, I will share the best sunset photography tips based on my experience.
1. Check Sunset Timings ⏰
Timing is the first and the most important factor in sunset photography. The sunset will last for 30-40 minutes.
You need to ensure to reach the place at least one hour before this time. It will help you explore the area and set up your camera in the right spot for the best vantage point.
2. Use an App📱
There are many smartphone applications that can tell you the exact sunset timing for a place.
You can use the Sunrise Sunset Times app to know the exact time. This app is free and is available for both iPhone & Android users.
Another app that you can use is the Golden Hour app.
3. Check the Weather 🌞
Weather is another crucial factor for photographing sunsets.
If the sky is clear, the visibility of the sunset will be more when compared to rainy days.
You can also make good dramatic shots of the sky during sunset on a cloudy day. There are many opportunities for photographing sunsets in changing weather conditions.
4. Shoot Silhouettes
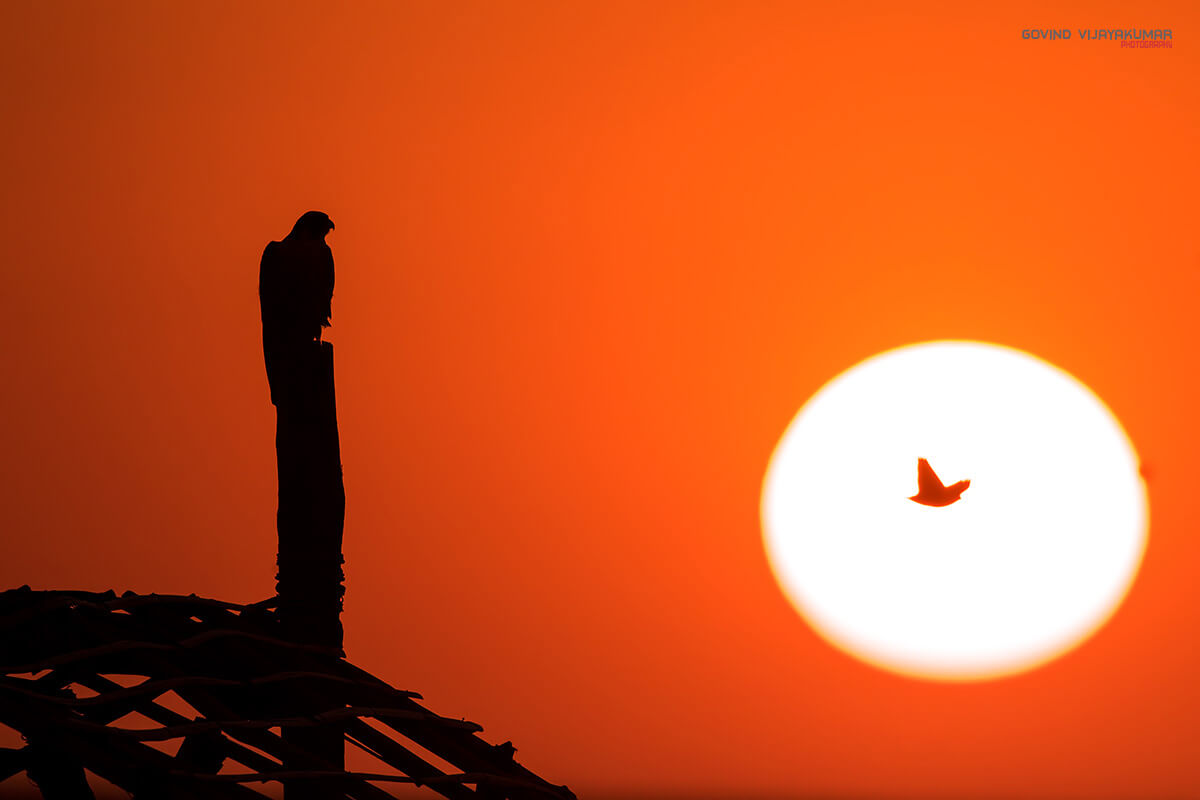
Shooting Silhouettes is one of the best things to do during sunset photography.
Silhouettes are shapes of objects in the picture without any details.
You should shoot toward the Sun and the subject should be in between.
I would recommend using spot metering mode while doing silhouette photography during sunsets. The image above is a Silhouette shot of a Perigrine falcon watching a lark when the sun is setting.
5. Underexpose Image
Always underexpose your image when you are photographing Sunsets.
Now, the question would be, how much to underexpose?
Normally you can underexpose by 1/3rd or 2/3rd stops. It actually depends on the available lighting.
Underexposing is essential to get rich and vibrant colors.
6. Try Different Exposures
Sunset photography is not only about just capturing the sunset colors. You can try different exposure settings to capture some unique images.
Sometimes overexposing the image will be good if there are some interesting elements in the foreground.
Underexposing may be good most of the time. You can try underexposing by 2 or 3 stops to see the effect. It may result in dramatic images.
7. Go For an HDR Image
You don’t need an HDR camera to capture an HDR image.
You can use the exposure bracketing feature in your camera to take images of the scene in multiple exposures. Merge these pictures in tools like Adobe Photoshop to generate an HDR Image.
If you don’t know to bracket your shots, just take 3 photos at 3 exposures. One image needs to be underexposed, one overexposed and one correctly exposed. Combine these 3 images.
8. Play with Camera White Balance
You don’t have to set the Camera White Balance Settings to Auto.
Try setting different White Balance values and capture the scene. You will be able to see different color tones when you change the color temperature.
I recommend using the Shade camera white balance setting for Sunset photography. You can also use Cloudy.
9. Use Tripod
It is always good to carry your tripod to the field for sunset photography. During sunsets, you will have less light when compared to the daytime. Thus, you will get a lower shutter speed for a properly exposed image.
Also, if you want a silky smooth effect of any water bodies in front, you will have to use a lower shutter speed. In this situation, you cannot shoot handheld. Shooting handheld will result in a blurry image. So, you need to use a good tripod.
If you are planning to buy a tripod, I would recommend you reading this article on how to select the right tripod
10. Use Low ISO
Always try to capture pictures with low ISO values.
I would recommend shooting at ISO 100 or 200 for sunset photography. You should not go beyond an ISO value of 800.
A higher ISO would result in a grainy image. You can also see color artifacts in your picture if you increase ISO values.
11. Use Good Composition Techniques
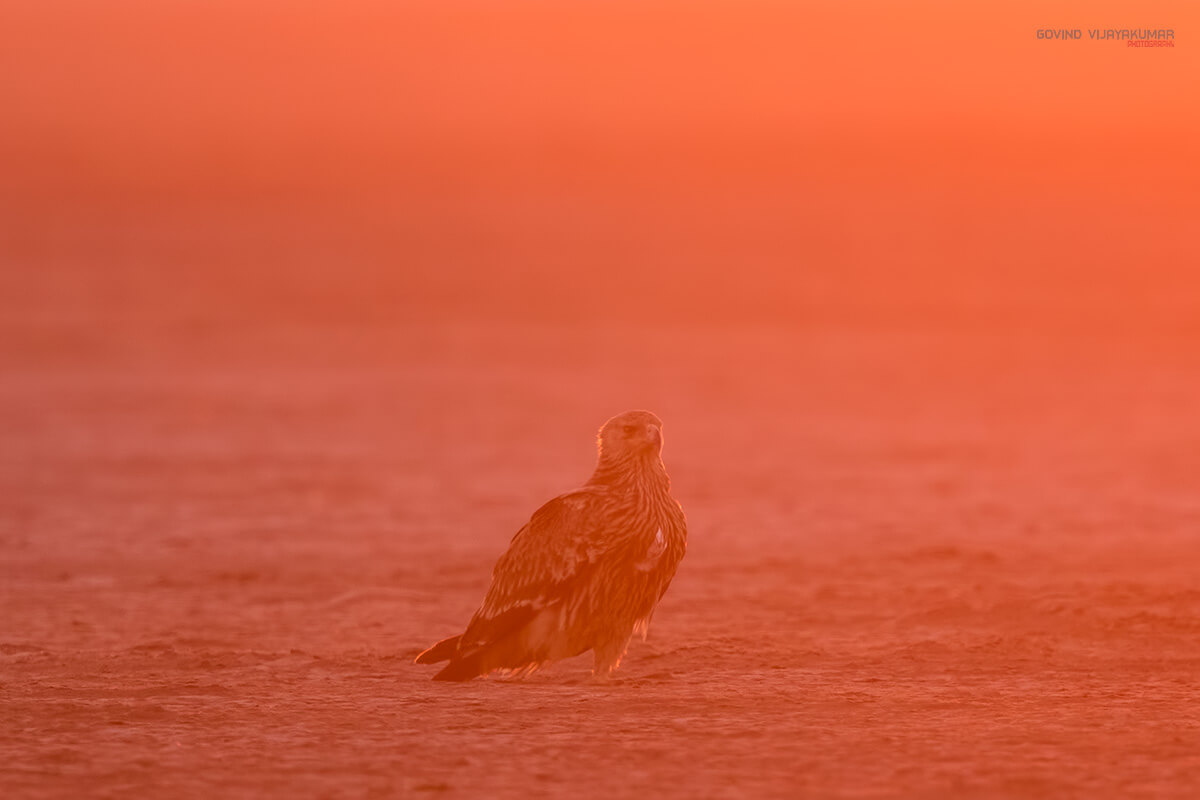
There are many ways to compose an image. You can use any of the popular composition techniquese for your sunset shots.
But, make sure that the composition rule that you use does justice to the image.
12. Look for Interesting Subjects in Scene
If you just photograph a Sunset, you are just creating another boring shot. There is nothing in the frame to cheer about.
So, make sure to have some interesting subjects also in the frame. It can be any natural subject like trees or a house.
You can even bring any artificial subjects along with you and keep them in your frame.
13. Use the Rule of Thirds to Compose
Using the Rule Of Thirds would be a good Composition Technique for Sunrise photography.
If you are shooting location is a beach then you can make the beach occupy one-third frame and two third by Sun and sky.
Including some objects in the lines of intersection would be a good idea. Otherwise, it would look like an ordinary Sunset photograph.
14. Use a Wide Angle Lens
I recommend using a wide angle lens for sunset photography. In most cases, you would be capturing a landscape scene.
A wide angle will help you include all the elements of the scene rather than the Sun occupying the majority of the area.
15. Try with a Telephoto Lens
If you want to focus on the Sun or any other subject of interest in the frame, use a Telephoto lens.
You can use a medium telephoto lens like the Canon 70-200mm or Canon 70-300mm to compose your shots.
If you are looking for a different perspective, try with a 400mm or 500m telephoto lens. I have done Sunset photography with my Canon 500mm telephoto lens, the results are really amazing. You can make the Sun look large by using a Telephoto lens.
16. Shoot in Aperture Priority Mode
The question that comes to your mind when you are in the field would be, which mode should I use for Sunset photography?
If you are a beginner, I recommend going for the Aperture priority mode.
You can set the aperture, and the camera will give the shutter speed according to the exposure settings. Always set the ISO to 100 or 200.
You can choose an aperture value from f9 to f22.
17. Shooting in Manual Mode
Manual Mode is the best mode for doing Sunset Photography. Here, you will get full control over the camera settings.
Set the desired aperture value and set the ISO value to 100 or 200.
Set the desired shutter speed.
Take a picture and see what exposure you are getting. Fine-tune Aperture, shutter speed, and ISO to achieve the perfect shot.
18. Shoot in RAW
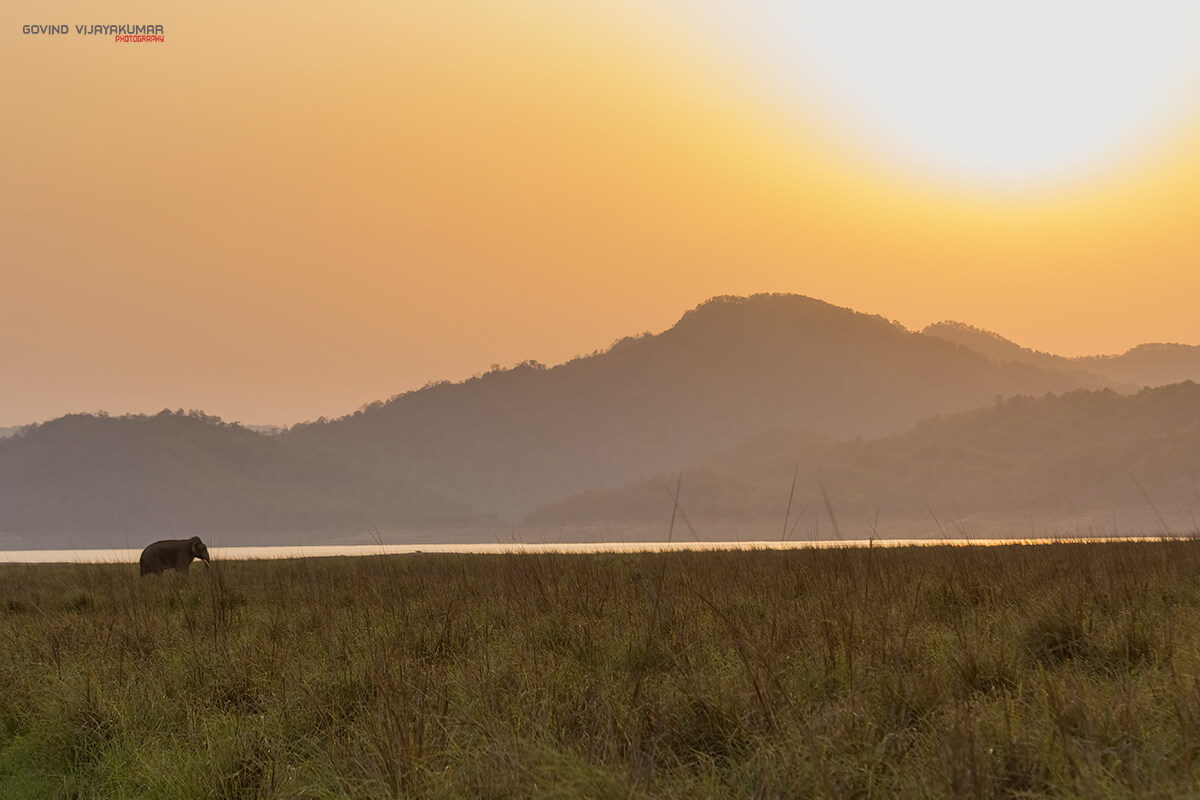
Never shoot in JPEG. Always shoot in RAW.
It will help you fine-tune your sunset photographs during the editing stage. Also, you can easily change the white balance if the image is in RAW format.
You can also get better photo prints with RAW images.
19. Capture Panoramic Shots
Panoramic shots are always a treat to watch, especially if it is full of shades of Red, Yellow, and Orange. So, give it a try.
Use a tripod and shoot 3 or 4 images along the Horizontal plane and stitch it using any post-processing software like Adobe Photoshop.
You can even do a 180-degree panorama or 360-degree Panorama shot.
20. Use an ND Filter for Sunset Photography
Make use of an ND filter if you want to cut out a few stops of light. It can help you capture dramatic images.
A Neutral Density filter can give a silky smooth finish to water bodies in the frame.
Many professional landscape photographers use ND filters for photographing sunsets.
21. Try Double Exposure
Don’t shoot ordinary sunset pictures. Try to capture some extraordinary Sunset photographs. One way to do it is by going for a Double Exposure effect.
Some cameras have an inbuilt Double exposure feature. Don’t worry if you don’t have one.
Shoot two scenes including a Sunset frame and combine them in any photo editing software.
22. Use Flash If Required
Sunset Photography and Flash? How does it correlate? Let us see.
When you photograph a person with a sunset in the background. You want both the person and the Sunset to be correctly exposed.
If you try to expose for the person then the sunset in the background will get whitewashed.
So, if you try to expose for the background then the person will become dark.
You can use the camera flash in this situation. Use Camera Flash to fill in some light on the subject so that the person will not become dark.
23. Try a Vertical Composition
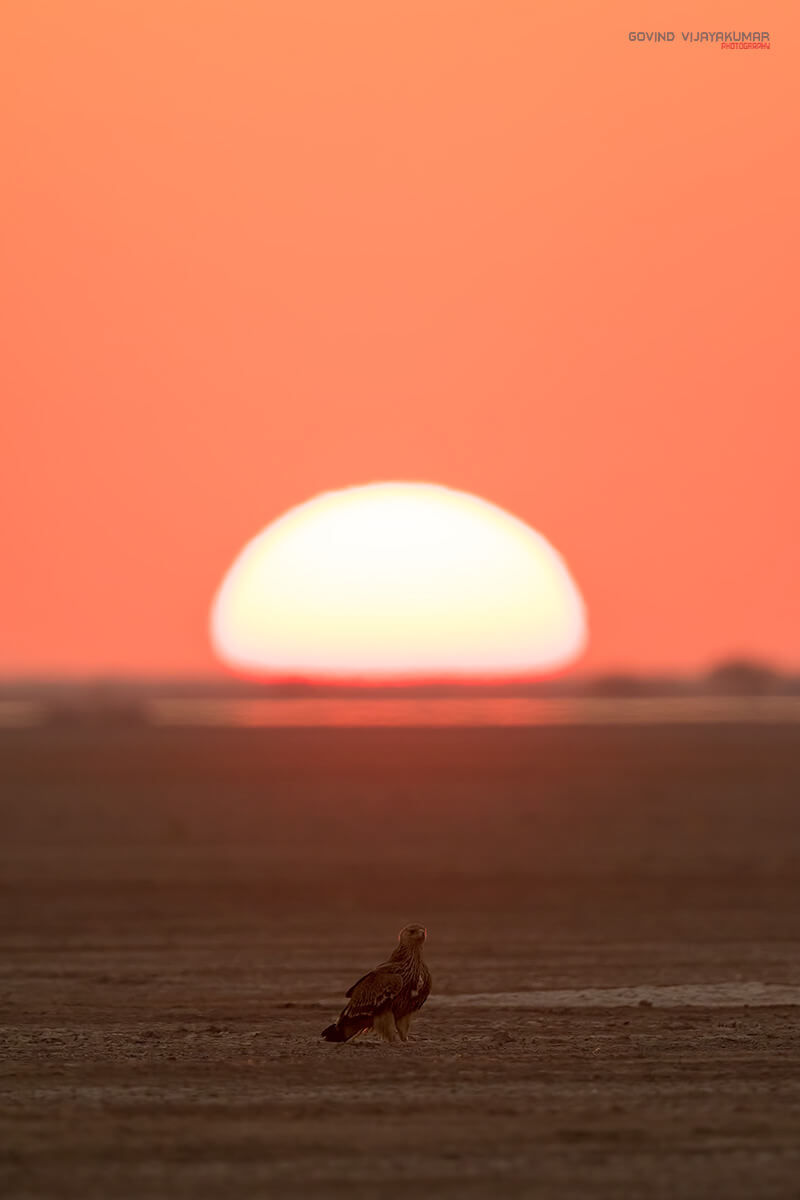
Make it a habit to shoot in a vertical composition too. Most photographers shoot horizontally since it comes by default in the camera.
Doing Sunset photography with a vertical composition has its own advantages. If you look at Magazines, Books, or Smartphones, all come in portrait mode by default.
If you want to publish your pictures in a Magazine or Book, you will need the image to be in portrait orientation. So try composing vertically.
If you are still confused and don’t know whether to shoot vertically or horizontally. I would strongly recommend reading this article, Portrait Vs Landscape Shooting Orientation
24. Auto Focus Vs Manual Focus
You can use Auto Focus for sunset photography if you are able to get focus on the subject.
Sometimes, the camera’s autofocus may not work in low light conditions. In such situations, use Manual focus to focus on the subject.
Read this article for Low Light Photography Tips.
25. Make Use Of Reflections
If you do Sunset photography in a place where you can clearly see the reflection on the water, capture the beautiful reflection too.
Make sure to set enough shutter speed to get the reflection correctly. I recommend capturing the same scene from different angles and select one which you like the most.
26. Camera Level Correction
Always make sure to keep the camera in such a way that you get the correct horizon level for the image.
Use a Spirit level with a bubble to correct the horizon. Certain tripod and tripod heads come with an inbuilt horizon level.
High-end DSLR cameras come with accelerometer.
Make use of any of these features to correct the horizon level.
You can also buy one spirit level separately and check the level by keeping it on top of the camera before shooting.
27. Make Use Of Grids
Grids are very useful in image composition.
Most cameras come with the option of enabling Grids. Enable Grids and use them for image composition.
28. Use a Grad ND Filter
Use a Graduated Neutral Density Filter if you want to capture rich colors.
By using a grad ND filter, you can darken the sky without darkening the other parts of the image. A Grad ND Filter really helps to set the mood of Sunset photography.
29. Try Motion Blur
Always, try to be creative when you plan for a shoot. Just think about how you can create a completely unique sunset picture.
Try the Motion Blur effect during Sunset photography. You can use a slow shutter speed and focus on a moving subject like a person to create a panning shot.
You can do it the other way too. Give motion effect to the subject, keeping the background intact.
30. Try Light Painting
Light Painting is another idea where you can be creative.
You can create shapes or paint structures in the frame using light. Laser pen can be used to create light drawings in the scene.
I recommend trying light painting during the last 10 minutes of sunset when the light goes low.
31. Shoot into the Sun

For Good Sunset pictures, shoot into the Sun keeping Sun as one of the main elements.
If you have an interesting composition without including the sun, give it a try.
32. Shoot in the opposite Direction to Sunset
Sunset photography is not all about shooting sunsets alone. You can use the warm sunset light for portrait photography, wildlife photography, and architecture photography.
In this case, you will be shooting in the opposite direction of the sunset mostly. The rays of the setting sun would be falling on the subject. So, try shooting in the opposite direction to Sunset.
33. Use Landscape Picture Style
Always use the Landscape Picture style in the Camera to get the right colors during Sunsets, especially if you shoot in JPEG.
34. Try Zoom Blur Effect
This is another effect similar to light painting. You need to use a zoom lens for this effect. Use a slow shutter speed and zoom in or zoom out the lens while capturing the image.
You can see light streaks moving inward or outwards in the image.
35. Use Histogram to Double Check the Exposure
Some photographers have the habit of checking the LCD display screen for image exposure.
Never used Camera’s LCD screen for checking exposure. Always use Image Histogram for checking exposure.
The image on the LCD screen is dependent on the brightness of the screen. So, It can fool you sometimes.
Getting the right exposure is essential for Sunset photography.

I would have never thought to try double exposure. I am going to have to give it a go soon. I love getting shots at dusk and dawn but have always struggled with sunsets. These tips are amazing and I will be trying a lot of them in the near future. I am going to be attending a local school for photography lessons in the fall so I will be taking notes from your blog and keeping them with me. I think they will help!
You must try double exposure when you are in the field next time. No source of lighting can recreate the lighting at sunsets