
21 Best Travel Photography Tips
Are you planning for your next trip? Are you interested in travel photography? If your answer to the question is an emphatic “Yes,” then you are in the right place.
I have been traveling to different places around the world for photographing Animals, Birds, and People. So, I have decided to share 21 travel photography tips that I found to be very useful. You can make use of these travel photography tips next time when you are traveling.
21 Best Travel Photography Tips
1. Use a DSLR/ Mirrorless Camera
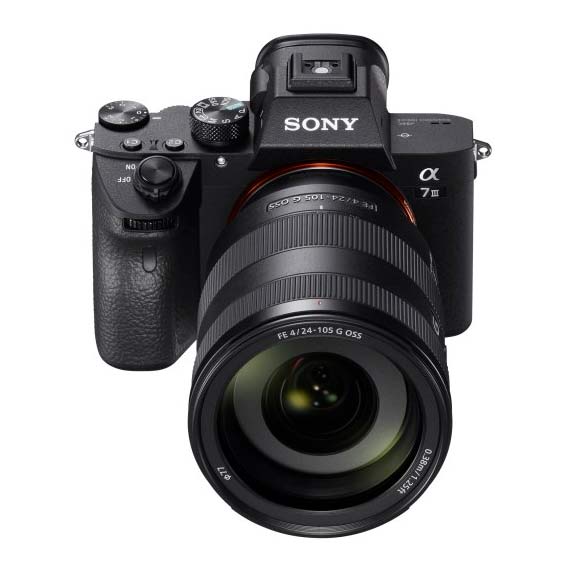
When you are doing travel photography, you don’t want to miss any good photographic opportunities. Later, you should not tell that you could have got a better camera after downloading the photos to your computer. It had happened to me initially when I was using a point-and-shoot camera.
So, use a good DSLR or a Mirrorless camera for travel photography. It will help you to capture high-quality images.
Now, the immediate question would be, whether to go for a full frame or APS- C camera. I recommend a full-frame one because of its noise performance and dynamic range. But, if you don’t have the budget, choose an APS-C camera.
A mirrorless camera also helps to reduce camera weight.
2. Use Right Lens
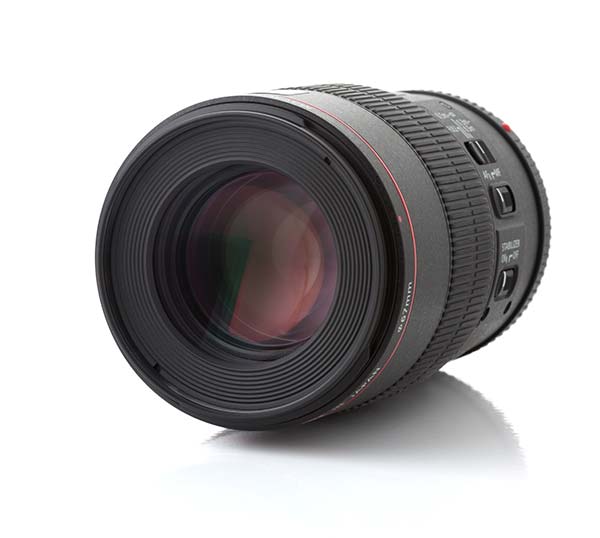
You should use the right camera lens. I don’t recommend carrying all your camera lenses while traveling. It can become hectic, and you will end up losing interest in photography itself.
So, carry only one or two lenses with you. If you plan to take two, then I would recommend one zoom and a prime lens. If you are not interested in carrying two lenses, then go for a zoom lens alone.
18-105mm lens or a 24-105 mm lens are two good zoom lenses for travel photography. You can carry any zoom lens which covers these focal lengths. If you are taking a second lens, consider using a 35mm or 50mm, or 80 mm prime lens.
3. Use a Good Camera Bag
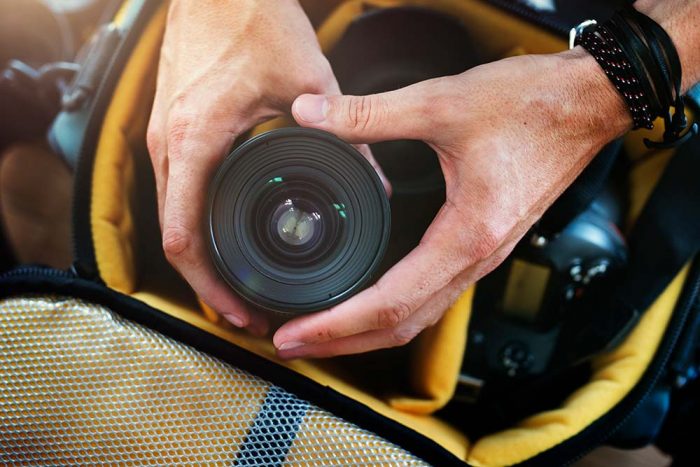
Now, you have a good camera and lens for travel photography. So, what else you should buy? Get a good camera bag, one that can hold your camera and lenses.
It should be weatherproof and comfortable to carry. There should be sufficient padding inside the camera bag so that it can take minor hits and drops. You must ensure that your camera gear is safe inside the camera bag.
There are many varieties of camera bags like backpack type, sling type, trolley type, etc. You can choose one which you feel comfortable carrying.
4. Shoot in Manual Mode
Why shoot in Manual mode when I have a camera that is capable of capturing images in Auto mode? It is true that your camera is capable of operating in Auto mode. But, there is no guarantee that you will get your desired image in that lighting conditions.
In Auto mode, you don’t have any control over the camera settings. Your camera will take full control of the situation and capture the scene, which should not be the case.
You should get satisfied with the image you capture, which is possible in Manual mode. Don’t worry if you make mistakes initially. These mistakes will help you take consistent better photos later, once you learn from them.
If you are entirely new to camera stuff, then go for the semi-automatic mode, Aperture Priority mode initially, and then switch to Manual mode later.
5. Shoot in RAW format

When you travel for photography, you don’t want to go there again to recapture a scene, just because you were unable to capture it right last time. Thus, you lose travel opportunities to a different location at that time.
So, I recommend recording your images in RAW format. Shooting in RAW will ensure that you can make minor edits like white balance correction, recovering shadows or highlights, or basic sharpening and denoising your image without losing any details.
Check out the advantages of shooting in RAW to know how capturing in RAW can really save your image and time.
6. Post-process your Image

Now, you have shot the image in RAW format. You can’t upload it as such on social media or on your websites. So, what to do with it? Don’t worry. Learn basic post-processing. It will help you to fine-tune your image.
You can make use of Lightroom or Photoshop for editing photos in RAW format. These are paid photo editing software. If you don’t want to invest more, you can make use of the free photo editing software that the camera manufacturer provides with the camera.
If you find it challenging to learn post-processing, then make use of the free photo editing tutorials available online. It will make your life easier.
7. Travel Light
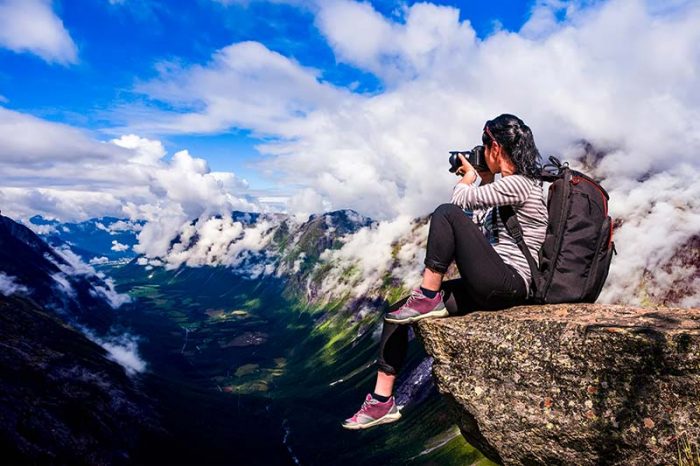
Travel photography doesn’t mean that you should carry all your cameras, lenses, and other camera accessories with you. You would feel very uncomfortable if you take all the camera gear with you.
So, make sure that you carry only a camera body with one or two lenses maximum. You should not be in huffing and panting state when you press the camera shutter. You need to be calm, relaxed and focused. Only then you can capture beautiful images.
If you take your car for travel photography, then you can consider carrying additional camera gear. You can put it inside the vehicle.
I generally carry a full-frame camera body with a 70-200mm f4 lens and a 50mm f1.8 lens for travel photography.
8. Carry a Travel Tripod
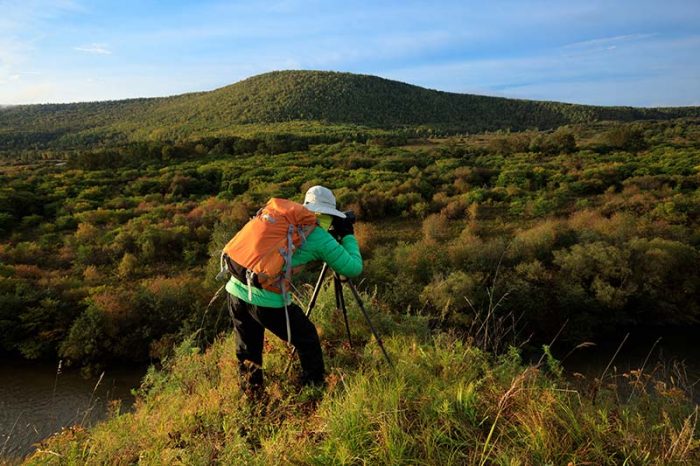
You may be having high-end camera tripods that are capable of handling any camera weight, made of aluminum or carbon fiber. I don’t recommend carrying such a heavy tripod for travel photography. Always try to reduce your luggage weight, including your camera gear.
So, use a travel tripod, one which is explicitly designed for travel photography. It will be lightweight and can be easily folded and kept in your camera bag. You need to ensure that the payload of the tripod matches the weight of your camera and lens.
Are you getting confused about selecting the right tripod, consider reading this article, on how to choose the right tripod.
9. Capture People/ Portraits
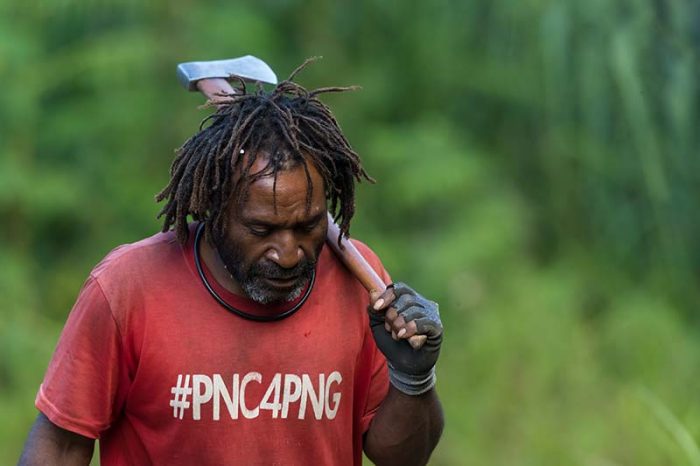
Travel photography is an excellent opportunity to create unique portrait shots, especially if you explore the rural side of that place. You will be able to see people in traditional attire and style.
If you are a portrait photographer, then this is an excellent opportunity to add one more excellent portrait frame to your portfolio.
Don’t try to take pictures of people without their permission. It can invite more trouble.
So, always ask before taking a picture. If you go and ask directly for a click, they may refuse. So, start a conversation with the person whose portrait you want to shoot. Ask for permission only when you find the person is comfortable with your presence.
Try to capture an image at the lowest focal length, including their workplace or house. It can make the picture more interesting.
One of my friends travels around the world to capture people portraits alone. Once he is back after a trip, he looks into his pictures and selects his favorite people portraits to convert them into actual portrait paintings. These images will act as the reference for his paintings.
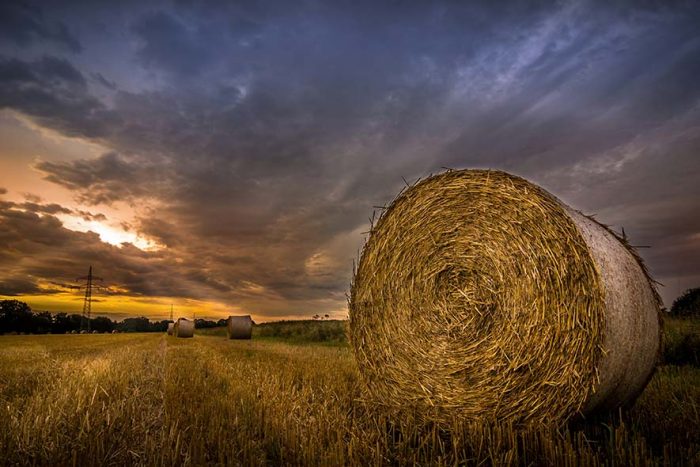
10. Do Landscape Photography
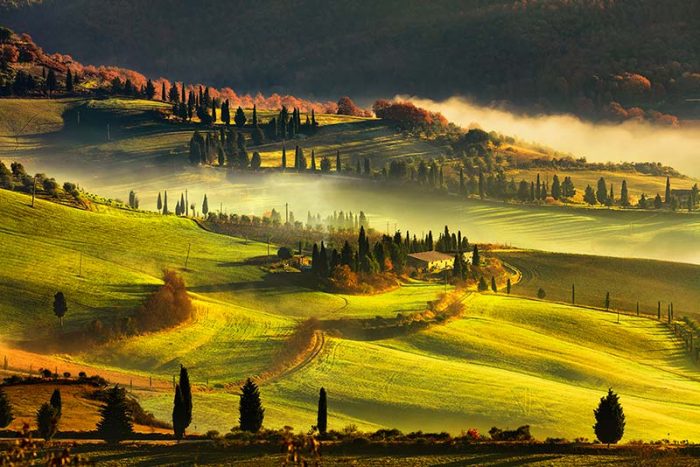
I recommend capturing the landscapes of the places that you are visiting. When you are at a new place, spend some time over there to know which angle will be right for that particular landscape, and what elements to be included in the frame for a good composition.
Don’t try to capture the regular frames which you can find all over the internet. Try to photograph something exciting and unique. You can make use of camera filters here. Use ND filters or Grad ND filters for your landscape shots. Make use of a tripod to get a steady shot. Use long exposure wherever you find it useful.
Try to include some human elements also in your frame to make it more interesting.
11. Try Street Photography
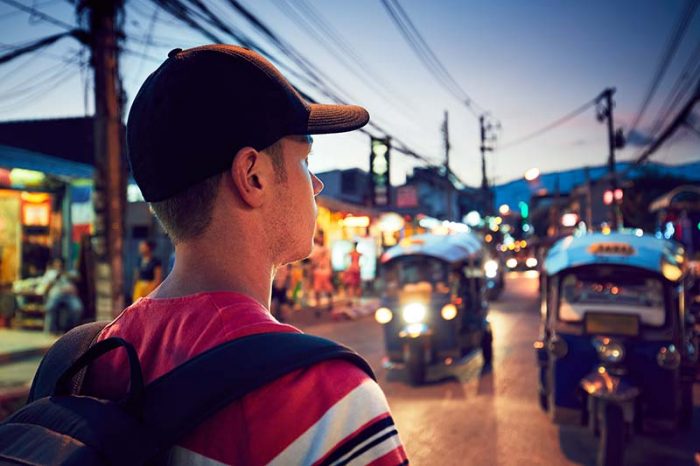
If you want to capture the emotion and essence of a place, you should not come back without trying street photography. Streets are the best place to create some good frames, and each lane will be unique in its own way.
Use the wide-angle focal length for street photography so that you don’t miss to include the elements in the street. I usually do street photography at 24mm on a full-frame camera.
You can also shoot street foods and local cuisines. Use your prime lens for food photography, if you are carrying 2 lenses
Don’t stalk people to get photographs. You are inviting trouble by doing this.
12. Shoot HDR Images
Shooting HDR images is a good option. If your camera doesn’t support the HDR feature, then use Auto Exposure Bracketing and capture three or more images in multiple exposures. You can later merge these images using any photo editing tool like Photoshop.
Use your tripod while doing exposure bracketing. Otherwise, you may face a photo-alignment problem when you take the images for an HDR merge.
13. Do Proper Research
It is a good practice to do proper research on the place before visiting. This will give you an idea of what you can expect over there. So, you can prepare yourself accordingly.
The best place to do the research is on the Internet. You can Google the place to get the images and other details of the area.
You may be lucky even to find blogs written about that place. A travel blog about that place will really help you to plan your activities over there. Thus, you can use your time effectively.
14. Use Geotagging Feature
Try to get a camera with a geotagging feature. This will help you to get the location of the photo automatically, provided you have enabled geotagging in camera.
I found this feature very useful for travel photography. You don’t have to note down the locations in a paper or diary. You can sit and relax and take photos.
Once you are back at your computer for processing images, you can see the photo locations easily in your photo editing tool.
You can even enable the GPS logger option in the camera to track your travel route.
15. Record Sound Memo / Take notes
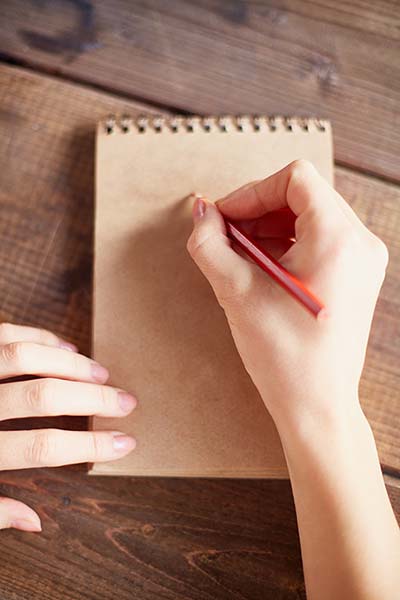
Don’t worry if your camera doesn’t come with a geotagging feature. You can always do it in an old-fashioned way by noting it down in a small pocket diary or on paper. You can also make use of the smartphone to take notes.
If you are a blogger, then it would be a good idea to record your sound clips in the form of memos. Some cameras come with this option.
If your camera doesn’t support this, use the recording feature in your smartphone. This will make your travelogue writing easier.
16. Shoot in the Golden Hours
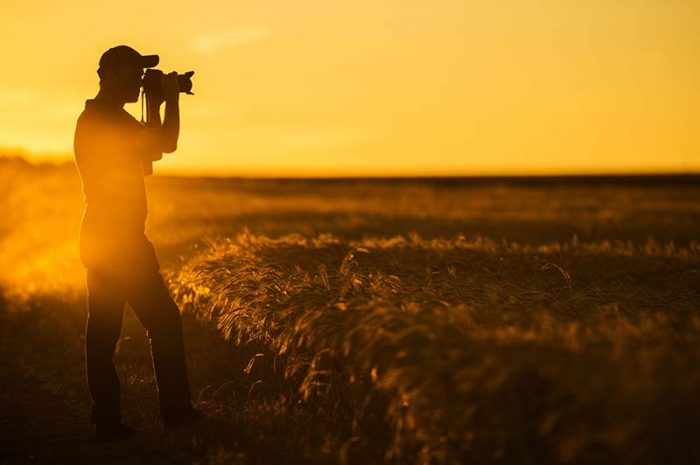
Try to do maximum travel photography during the golden hours. It is the best time to capture extraordinary photographs. The best natural light you can find is during the golden hours. You can try shooting silhouettes also.
So, make sure that you are at some location, taking photographs, instead of traveling or stuck in traffic. So, plan your travel accordingly.
Use the Sunset Photography Tips guide for the best results.
17. Do It Safely
Your safety should be your first priority. So, make sure that you don’t invite unnecessary troubles. Don’t try to photograph a person without his knowledge.
Don’t risk yourself by walking towards the dangerous side of a cliff or a mountain for a spectacular shot. Try to avoid such instances. Never ever try to do travel photography in photography prohibited areas. So, always do a double check before photographing.
18. Carry Additional Batteries
Sometimes, you may be traveling to a remote location that doesn’t have electricity or power. So, you won’t be able to charge your cameras. So, better to carry one or two charged additional batteries with you.
I also recommend you carry one power bank for charging your smartphones. You can even consider investing in a portable solar charging panel to charge your power bank. I had found it to be very useful in many places.
There are external USB camera battery chargers available from third-party vendors. You can make use of these devices to charge your camera batteries from the power bank. This has saved me on many occasions.
19. Carry Additional Memory Cards
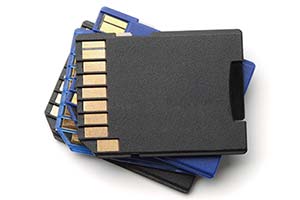
Always carry additional memory cards with you to ensure that you never run out of memory. Otherwise, you need to take a laptop to transfer your photos on a regular basis.
I don’t recommend carrying your laptop when you are doing travel photography, just for the sake of transferring photos. You can read this article on how to transfer images from a memory card without a computer.
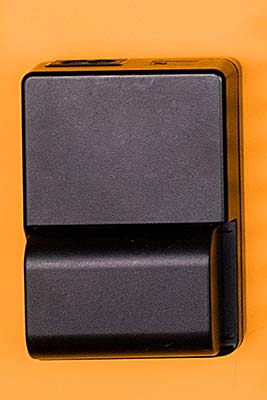
20. Carry Portable External Hard Disk
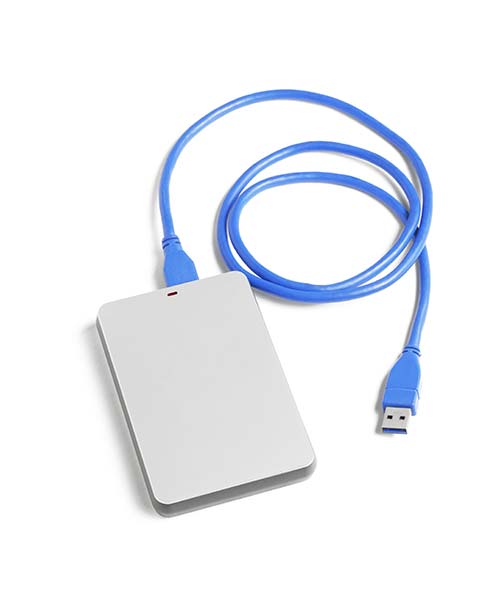
If you are going for a long trip, then there is a chance that you may run out of all memory cards. Here, you can make use of a portable external hard disk to transfer all the images.
Now, the question will be, how will I transfer photos to the hard disk without a laptop? You can make use of a file hub device, which would be half the size of a hard drive to do the photo transfer.
You can connect your memory card and hard disk to file hub. Once the file hub is switched ON, it acts as a router, you can interface it to your smartphone using the file hub application.
You can view the contents of your memory card and hard disk on your smartphone, and you can initiate the photo transfer through your smartphone.
21. Don’t be in a Hurry-Burry Mode
As a photographer, you need to have some patience. Don’t rush to a place, do some clicks in a hurry and move to the next area. You should explore and observe the site entirely to find exciting things over there.
Don’t worry if you miss some locations since you have spent some extra time in a few places. You can always come back to the missed places later.
If you are in a hurry-burry mode, then you will not be able to focus on your image composition on exposure settings. So, you will end up in an ordinary or a bad image.
Consider reading, what is in my camera bag? if you are interested to know the camera gears which I carry.
So, next time when you are out for travel photography, make use of these travel photography tips to get better results.
Dear Govind
Thanks for this very helpful blogpost! 🙂