Emphasis in Photography – 13 Proven Techniques To Show It
The right kind of emphasis on the subject in an image helps make the photo beautiful and exciting. There are many ways of achieving emphasis in photography. The use of shallow depth of field, proper positioning of the subject, using the texture in the scene, and proper usage of the correct composition technique are some popular methods used by photographers.
As a beginner in photography, it is essential to learn the importance of emphasis in photography. Therefore, I will also share the 13 best techniques used by professional photographers to get emphasis on their images.
What is Emphasis in Photography? 😎
The subject or the area of interest in the photograph must be the first point of attraction to the viewer’s eye. It is up to the photographer to ensure that the desired element gets emphasized by using the proper technique. The process of drawing the viewer’s attention to the main subject of interest is called emphasis in photography.
Emphasis in Photography Explained with An Example 🚀
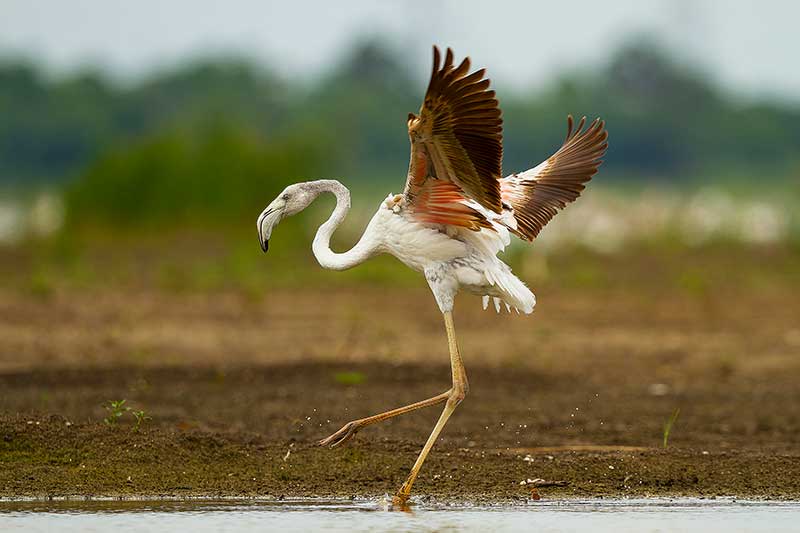
In the above picture of the Greater Flamingo bird playing in the water, the emphasis is on the main subject, which is the Flamingo bird.
I have set the focus point on the flamingo and used a shallow depth of field by selecting the lowest possible f-number, f4.0. Thus, I got a nicely blurred background. So, the viewer’s attention will be fully on the bird without any distractions.
What to Emphasis in a Photograph?🤔
Sometimes you will have multiple subjects in an image. Otherwise, you will have a single subject. If there is only one subject, then the emphasis needs to be on that subject.
If there are multiple subjects, you need to frame it so that the emphasis is given to all the subjects in the scene. If there is an order for the priority of the subjects, then you need to maintain the same when it comes to emphasizing these subjects.
13 Best Ways To Emphasize an Image 😍
1. Portrait vs Landscape Orientation for Emphasizing 🌄
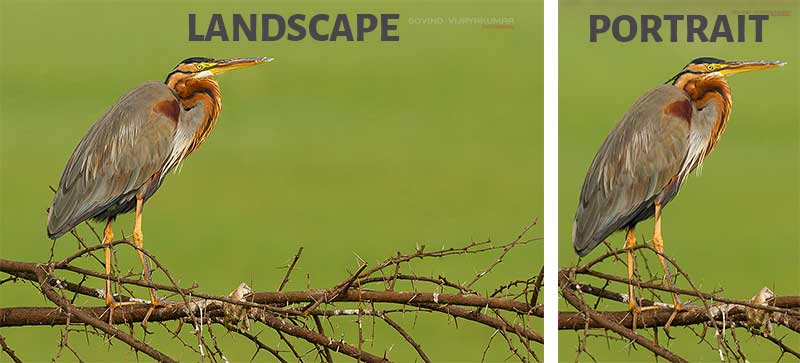
You can also use the image orientation to emphasize the subject or the area. There are two types of orientations, portrait and landscape orientation.
When you shoot full-body portraits, you want to emphasize the model or the person you are shooting. Here, when you shoot in portrait orientation, the person will occupy more part of the photograph than when you shoot in landscape orientation. On the other hand, if you go with landscape orientation, then only the person will occupy only less part of the frame.
2. Positioning your Subject 👨🏻🌾
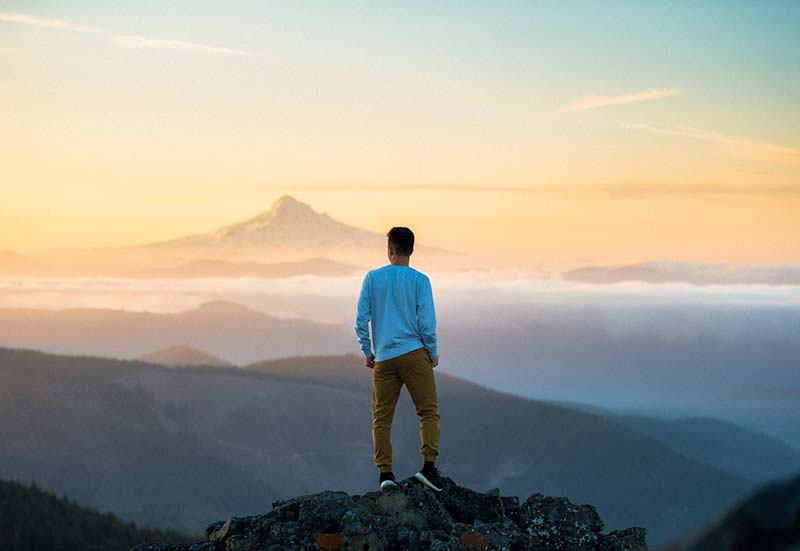
The positioning of the subject is another way to make the subject the point of interest in the photograph. The viewer must not look and search the image for the main subject. If there are lines in the scene, you can ask the person to stand so that the lines lead to the person in the picture.
3. Using Shallow Depth of Field
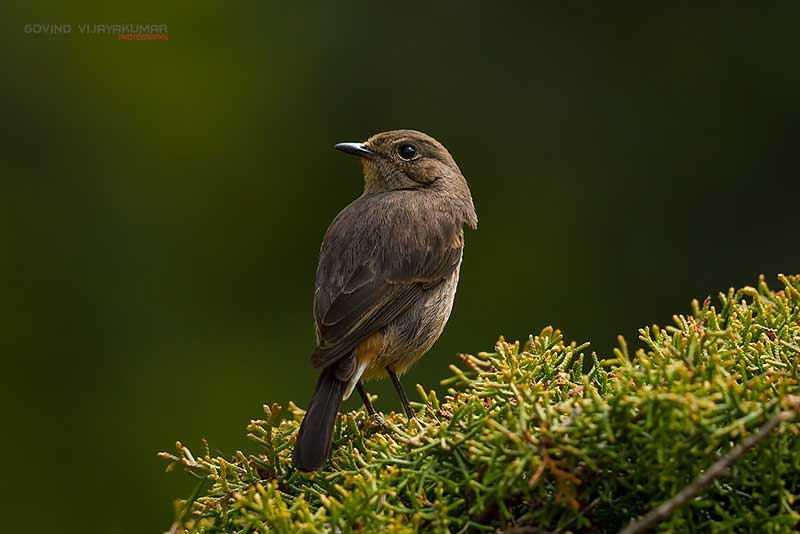
When you take portrait shots of people, birds, or animals, you can use the shallow depth of field technique to draw the viewer’s attention to the subject without any distraction. This technique is very useful when you have distractions in the background of the subject.
You can go for the largest possible aperture opening in your lens and reduce the distance between the subject and the camera to get a nicely blurred background. Thus, the subject gets isolated from the background.
4. Vantage Point 🌆
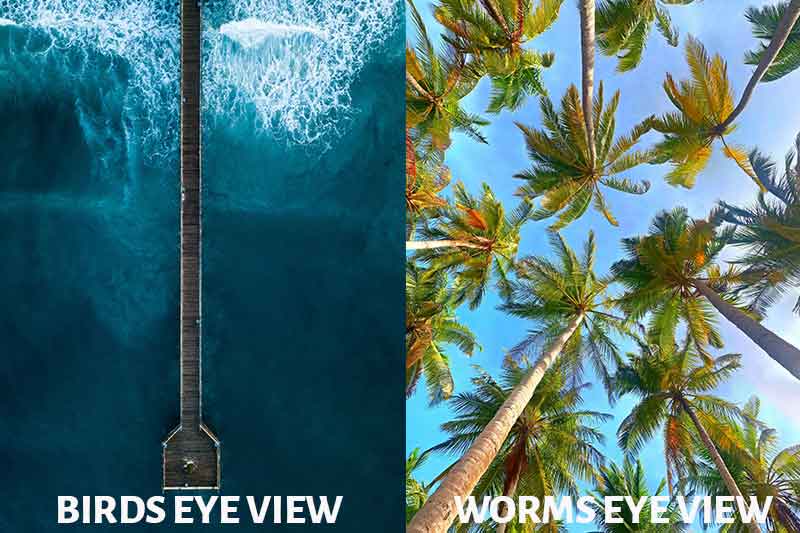
The angle of the shoot is another factor that you can use for emphasis in photography. You can capture an image from different angles.
When you change the perspective of an image, then it will shift the emphasis also. Some of the vantage points you can try include the Worms eye view, Eye level, and Birds eye view.
To have a better understanding of each of these perspectives, I strongly recommend you try all these vantage points next time when you are shooting.
5. Using Color 🎨
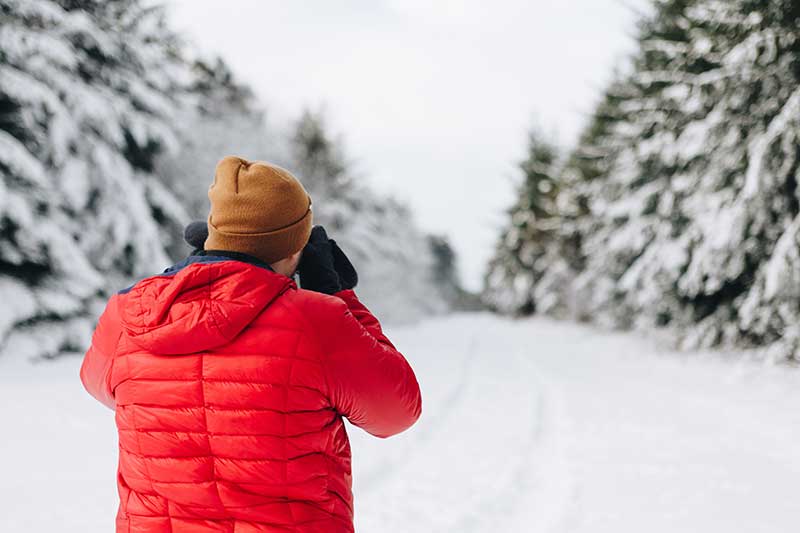
Many photographers use color for emphasis. Sometimes, the color of the subject makes it easy to bring the viewers’ attention to the image.
The color must stand out from the rest of the image to get the desired effect. You can also look at the color wheel to know the impact of different types of colors.
The use of complementary colors can make the picture look more interesting and eye-catchy. In the above image, the bright red jacket of the person draws the viewer’s attention. You can also use other color combinations from the color wheel. It includes analogous, triadic, and split complementary.
6. Light & Shadow Method 💡
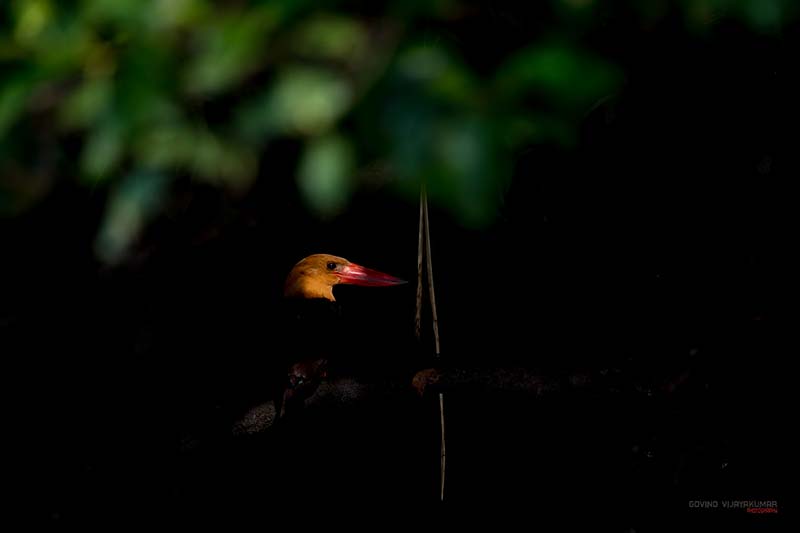
You can also make use of the light and the shadow in the scene for emphasis in photography. For example, you can put the subject or the area of interest in light and the others in the shadow region.
You can play with the exposure slider in your camera to get the desired amount of darkness and light in the scene. The use of low key photography is an excellent example of this kind of emphasis on the subject.
7. Image Cropping

Cropping the picture can also help you to bring emphasis to the desired part of the photo. You can use it during the photo editing stage.
Sometimes, you will have to crop the image since the subject is quite far in the frame. It happens most of the time when you are shooting birds or wildlife.
Most of the time, you will be shooting with an aspect ratio of 2:3. But when you want to upload pictures to sites like Instagram, you will want to change this aspect ratio to 4:5 or 1:1. So, you will have to crop the image. When you crop the picture, there will be an impact on emphasis also.
8. Use Texture
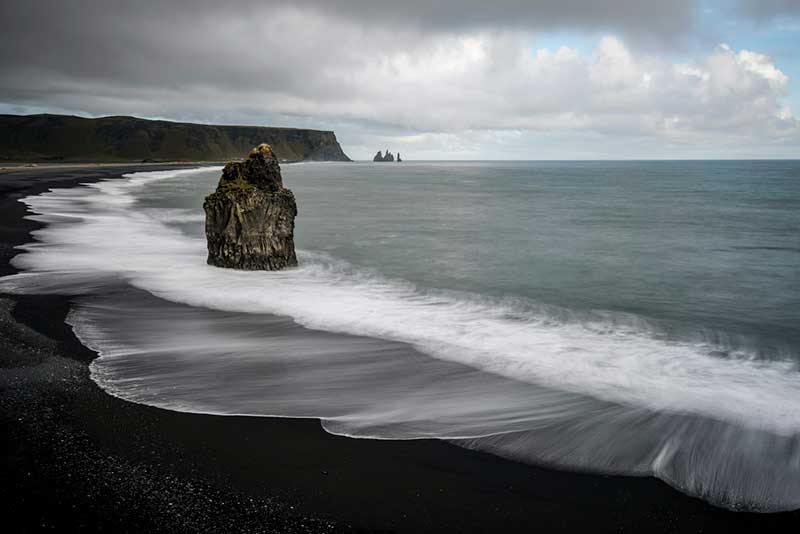
You can emphasize the texture of the subject or the main area. There should be a contrast in texture between the main subject and the rest of the elements for this to work.
In the above image, you can see the difference in textures of the main element versus the rest of the elements. The texture of the main element, which is the rock in the water, is quite prominent. It is because the water around the rock is made silky smooth with the help of long exposure.
9. Emphasis through Contrast
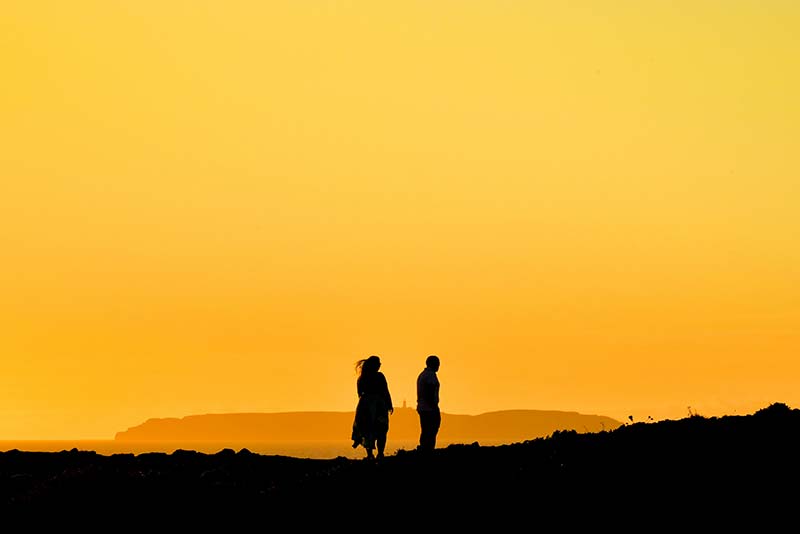
When you have good contrast in the scene, you can make use of it for your image. It can be a high contrast scene or a low contrast scene. So, you need to expose and compose the picture properly according to the situation.
10. Type of Lens 📷
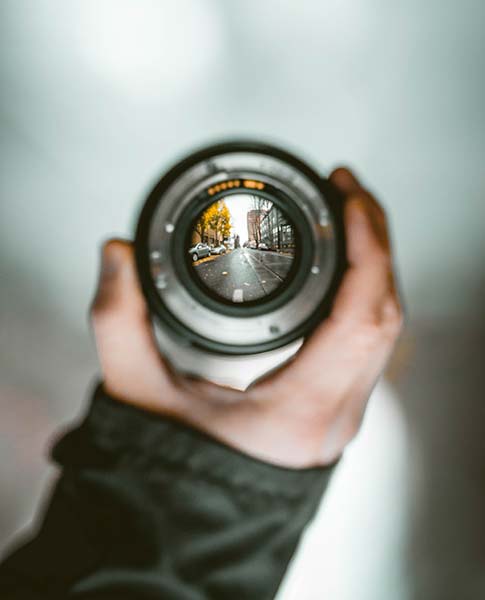
You might be carrying many types of camera lenses when you are going for a shoot. For example, there can be a wide-angle lens, macro lens, telephoto lens in your kit.
Suppose you have a mountain full of trees in your scene. You can use the wide-angle focal length to capture the entire mountain. Here, the emphasis will be on the mountain in the photograph.
If you use a telephoto focal length to capture this scene, your image will have some of the trees in the mountain as your subject. So, the point of interest has changed entirely with the lens change.
11. Selective Coloring technique
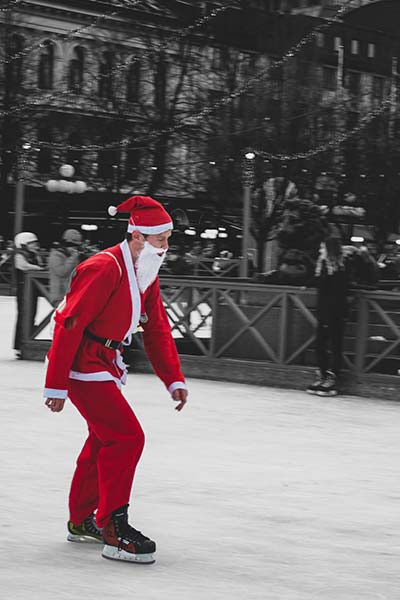
Many photographers use this technique to emphasize the main subject of their interest. You need to use this method during the photo editing stage.
In the above image, the person skating, dressed as Santa Claus is our main subject. The background is quite distracting with the people standing. Here, the use of selective coloring on the main subject has helped to bring the viewer’s focus on the skating guy.
You can use tools like Adobe Photoshop for selective coloring with the help of masks and brush. When you edit the picture, you can apply colors only to the main subject and leave the colors desaturated or black and white for rest of the scene.
12. Proper Framing 🏞
When you do photography, ensure to compose and frame the images properly. Otherwise, it will look unpleasant and uninteresting.
You can use any of the photo composition rules to frame your image. These rules will help to ensure that the emphasis is on the subject of interest, provided you use the proper composition technique according to the situation.
13. Emphasis through Size of the Subject
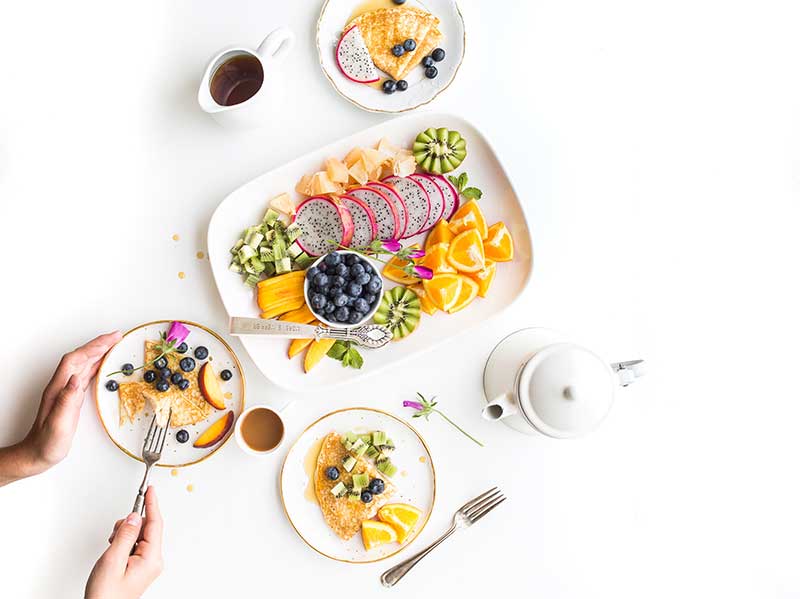
The size of the subject can also be used to your advantage while doing photography. For example, most food photographers use this technique when they are doing flat lay photography.
Food photographers will keep their main dish in a bigger bowl with the other side dishes in smaller bowls for the shoot. Thus, the viewer’s eye will be directed to the bigger bowl first, followed by the smaller one. It is how you can use the object’s size to your advantage.
👉🏻 📖 READ MORE: How to Get Into Photography?

