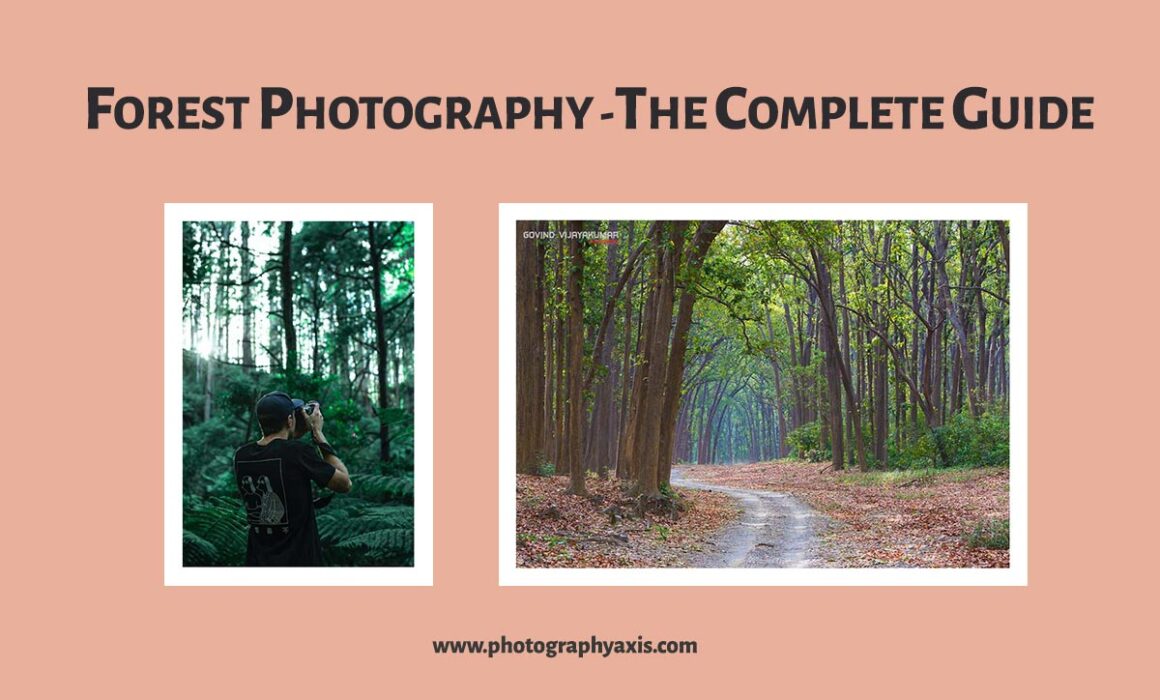
Forest Photography – The Complete Guide
I have been visiting many forests, both inside and outside India, for photographing wildlife, birds, landscape, forest scapes, etc. So, I am sharing my experience in doing forest photography. If you are a beginner in photography, then you will definitely find this guide useful.
What is Forest Photography?
Forest photography is a sub-genre of Landscape photography. So, you can also call it as forest landscape photography.
In this type of photography, you will be capturing beautiful frames inside the forest. Here, the elements of composition are the trees. Different types of trees bring a different feel to nature and the image.
With the right technique, you will be able to capture the beauty of the forest on your camera. The trick here is to use the right photo composition technique with the right angle.
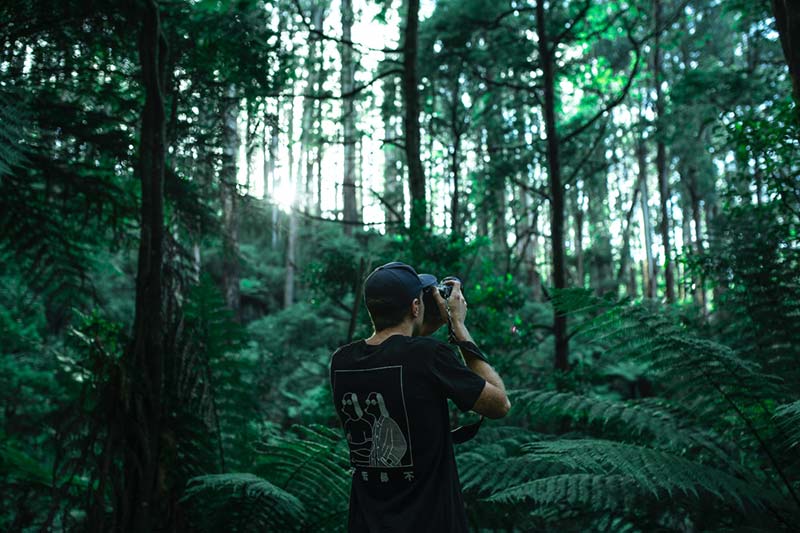
If you are a person who does frequent treks inside the forest, then you can take up forest photography as one of your hobbies. It will also help you to capture the beautiful moments inside the forest.
Which Camera Gear to Use?
Camera Body
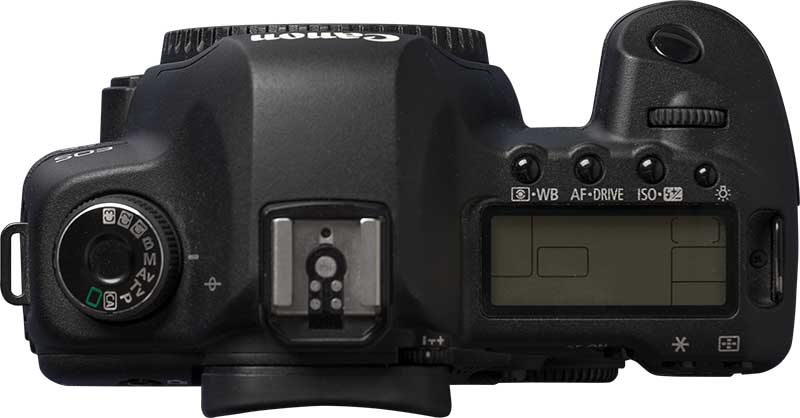
As you all know, there are different types of cameras available in the market. So, you can choose any of these cameras.
I recommend you to go for a DSLR camera or a Mirrorless camera. It will help you to capture the frame in your desired settings. It also offers the advantages of capturing the image in RAW format. The RAW image gives you the power to tweak the pictures in a better way. You can go for a crop or full-frame camera body.
If you are a newbie in photography, I recommend going for an entry-level DSLR/mirrorless camera.
You can even take good pictures with your smartphones and point and shoot cameras also.
Lens
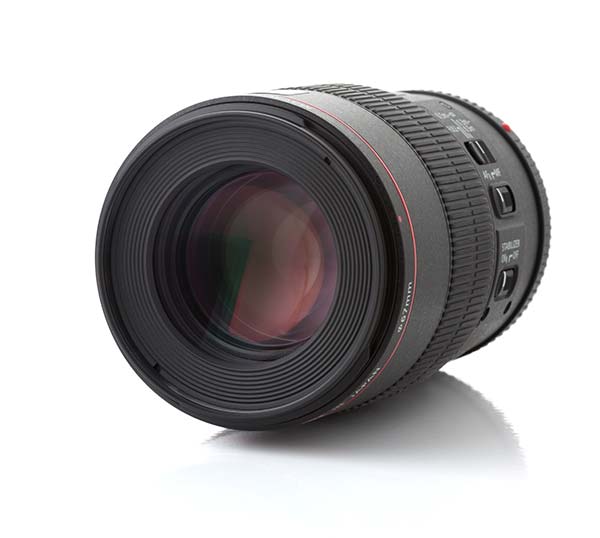
You can invest in any of the wide-angle lenses for forest photography. Even the basic 18-55 mm kit lens can get you good images with the right technique.
If you have more budget, you can go for the 10-20mm or other expensive wide-angle lenses that offer superior image quality.
You can also go for a medium telephoto lens like the 55-250mm or the 70-200mm to capture some interesting frames inside the forest.
Tripod
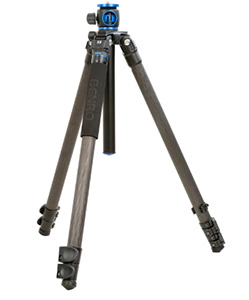
You can also invest in a good tripod and tripod head if you are serious about your forest pictures.
Make sure that you choose a lightweight one that can handle your camera weight without any issues.
📖 READ MORE 👉🏼 : How To Select The Right Tripod?
Camera Settings for Forest Photography
When you are doing forest photography, you have got all the time in the world to set up your camera, tripod and do all the settings.
So, I strongly recommend using manual mode in your camera.
In this photography style, you will be interested in capturing a frame with more elements in focus. So, go for a higher depth of field by selecting a high f-number.
Go for the lowest possible ISO value, something in between ISO 100 to ISO 400. It will ensure that the noise is kept to the minimum.
Fine tune your shutter speed value in such a way that you get the desired exposure. As you know, Aperture, Shutter Speed, and ISO together contribute to the exposure of the image.
Sometimes, the “0” exposure value will work for the scene. Otherwise, you may have to underexpose or overexpose the image.
If you are capturing images handheld, then I strongly recommend using the thumb rule of shutter speeds. Go for a shutter speed, not less than the reciprocal of the focal length of the lens. If you are shooting at 30mm, then go for shutter speeds like 1/30 sec, 1/60 sec, etc.
Don’t go for lower shutter speeds. It may introduce some blur in the image due to camera shake.
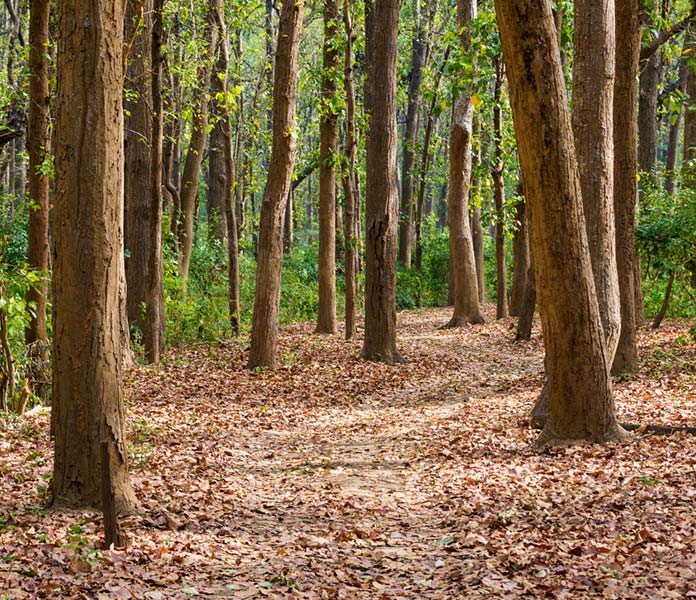
How To Do Forest Photography?
When you are inside any forest, the first thing to do is not take out the camera from your camera bag.
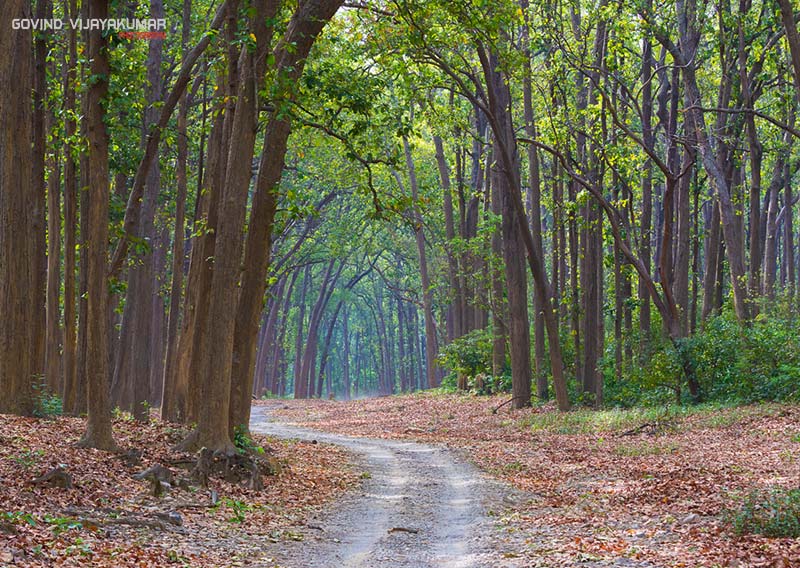
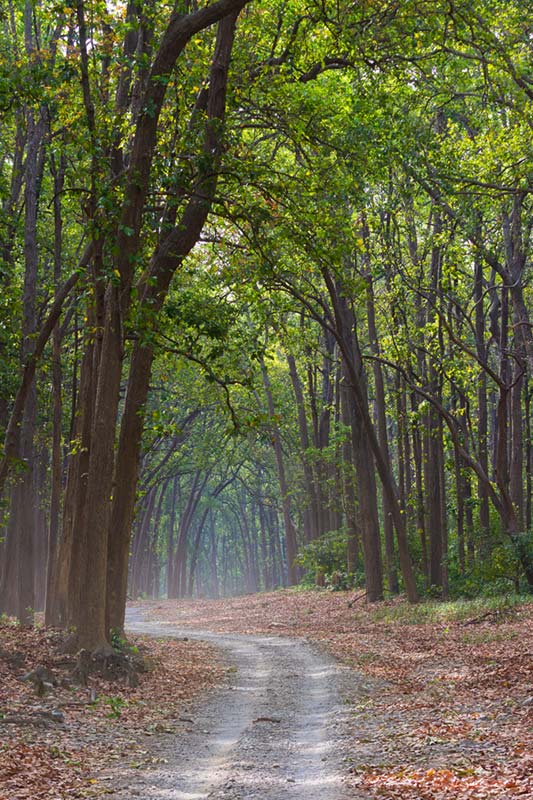
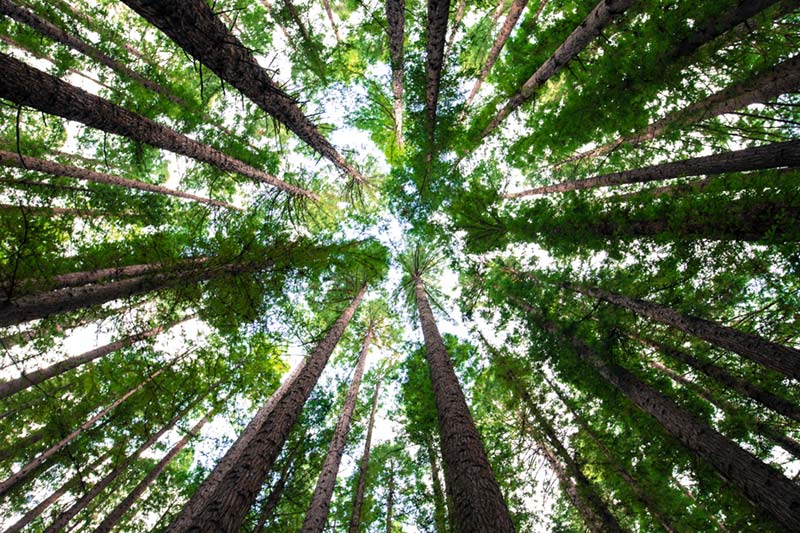
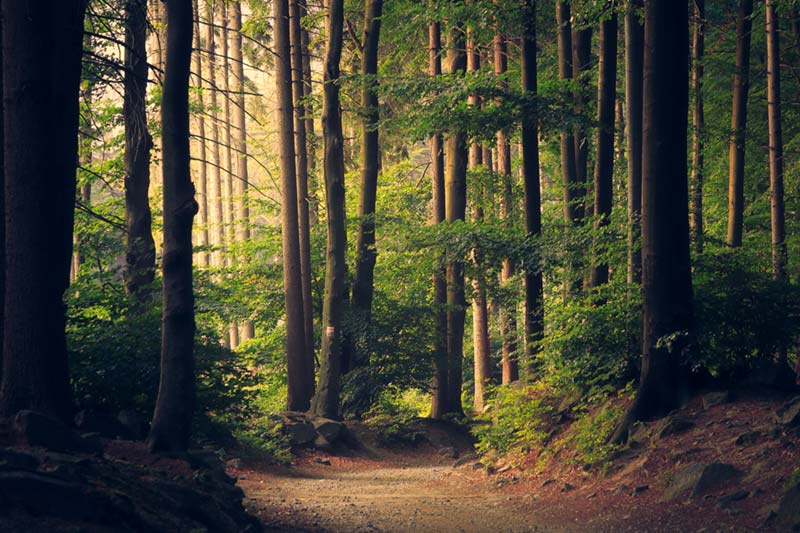
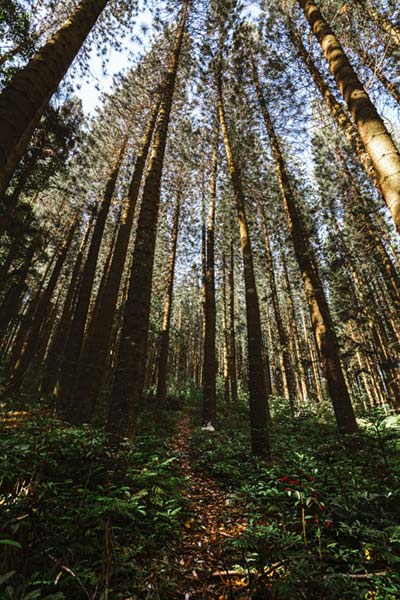
Walk and observe the different elements inside nature. It will help you to find interesting elements in that forest. These elements can be anything. It can be the colors of leaves or the flowers in the tree, shapes of the tree branches, streaks of sunlight coming inside the dense forest, pathway shapes inside the forest, rock structures, or any other exciting patterns or elements.
These elements will help you to decide which photo composition to use for the scene. If you have an interesting pathway surrounded by trees, you can use the leading lines photography composition technique.
If you have sunlight piercing from one side of the dense forest creating light streaks, then you can go for the rule of the thirds or the golden ratio rule, depending on the scene.
If you are entirely new to forest photography, then you can try different image composition techniques for the same scene. Later, you can view these images on your computer to decide which looks better.
Light, Depth, Trees, and Composition are the three main elements in forest photography.
As you know, practice makes a man perfect. So, you may not get it right the first or second time. So, go for frequent trips and use your camera in the field. It will help to improve your images.
Which is the Best Season for Forest photography?
There is nothing like the best season for forest photography. It is because the same forest will appear different during different seasons.
If you visit during the rainy season, then it will be full of green and saturated colors.
If you go in the summer season, then the trees will look dry without any greenery. You can make exciting photo compositions using these dry trees as elements.
If the forest receives heavy snowfall in the winter, then you will get a completely different forest scape with snow all around the place.
The leaves will be in yellowish or golden red color during the autumn season. So, you will get more warmth in the image during this season.
I recommend visiting the same forest in all the different seasons to get a feel of nature at different times. It will help you to plan your shoots accordingly in the future.
What To Wear?
I don’t recommend wearing flashy colored clothes inside the forest. You can go for dull-colored clothes in the shades of brown or green.
Shirts/ Tees
If you are planning to wear a shirt, then go for a full sleeve one. It will protect your arms and shoulders from scratches during the trek and also from insect bites.
If your choice is a t-shirt, then go for a full sleeve one.
Pants
Go for hard pants to ensure that your legs are well protected from scratches.
I recommend going for pants with multiple pockets so that you can carry your smartphone and other small camera accessories inside these pockets.
Hat/Cap
All the paths inside the forest will not be covered with tree foliage. Some sections will be open. So, using a good hat/cap will ensure that your head and face gets protected from the harsh sunlight.
Rain Coat
If you are visiting the forest during the rainy season, then a raincoat is a must.
Shoes
I strongly recommend investing in a good boot for walking or trekking inside the forest. The boot must have a good grip suitable for all types of terrain inside the forest.
If the grip is not good, then you may slip while walking. It can become more fatal if you are carrying your camera in hand.
So, buy a rugged trekking shoe.
Jacket/Vest
It is good to carry a photographer’s vest during such walks. You can carry the additional camera accessories like filters, flash, rain cover, etc. in the vest.
In the winter season, go for a vest with sufficient thickness to ensure that your body remains warm.
Gloves
If you are doing forest photography in the winter, then winter gloves are a must.
Nowadays, you can get photographers gloves with the option to open and close the section at the index finger. It allows you to camera easily.
Camera Accessories to Carry
You can also carry certain camera accessories along with your camera, lens, and tripod for forest photography.
I found the following camera accessories during my forest photography sessions.
Camera Rain cover
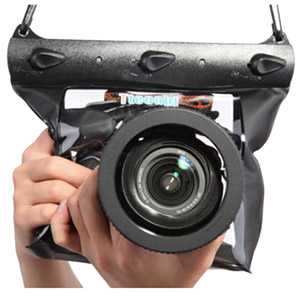
When you photograph during the rainy season, you must cover your camera with a good rain cover. You must ensure that it is easy to operate the necessary camera function using that rain cover.
Flash
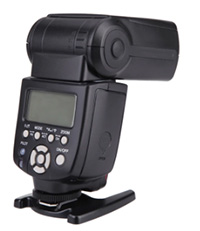
In certain conditions, a flash can be useful to illuminate any subject in the scene. It can get really dark inside the tropical forests.
If you don’t use flash, you may have to bump up the ISO in your camera. The higher ISO will introduce more noise in the image. So, a flash can be handy at times.
Spare Memory Cards
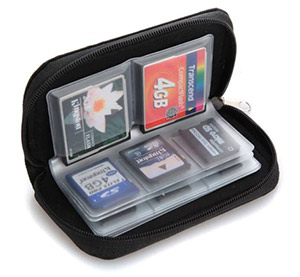
It is good to carry additional memory cards for your camera. When you shoot pictures in RAW format, then the memory card can get full quickly. So, carrying extra memory cards is a good option.
Camera Filters
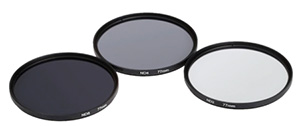
Filters are another useful camera accessory for a forest photographer. Some of the camera filters which I found helpful were the ND filters and the Grad ND filters.
The ND filters help to cut down the extra stops of light in the scene. The Grad ND can be used when the sky occupies some part of your frame.
Ensure that the filter thread size matches your lens thread size.
Camera cleaning kit
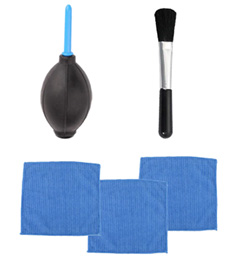
Sometimes your camera can get dirty during the treks. So, it is a good idea to carry the basic camera cleaning kit with you. The lens cleaning cloth and brush are the two things you must carry with you.
📖 READ MORE 👉🏼 : How To Clean Camera, Lens & Filters?
Spare Camera Batteries
When you are inside the forest, you don’t have the luxury of charging your camera batteries. So, carry extra camera batteries with you.
The number of batteries to carry will depend on the number of days of your trip.
10 Tips to Improve Your Forest Pictures
I will share some useful tips to improve forest photography. These tips are based on my own experience inside the forest.
Tip #1: Capture Shake Free Pictures
When you capture pictures at high f-numbers, then even a small shake can introduce lots of blurs in the image. So, you must ensure that all the sources of camera shake are avoided.
Make use of a sturdy tripod to reduce the camera shake to an extent. Use the timer or the remote trigger feature to avoid the shutter release shake. You can enable the mirror lock up feature if you are using a DSLR camera to avoid the mirror retracting shake.
The higher f-numbers demand lower shutter speeds due to the small aperture opening. So, if there is a wind factor, then it can make the leaves blur. So, consider the wind factor also and shoot accordingly.
Tip #2: Shoot in RAW
The main feature of using a DSLR/Mirrorless camera is capturing images in RAW format. The RAW image will have more details of the scene.
You can later post process these RAW images to get beautiful JPEG versions, which can be shared in your social media accounts, websites, or you can even print them in high resolution.
📖 READ MORE 👉🏼 : Why Shoot in RAW?
Tip #3: Retouch Forest Pictures
The RAW image helps you to retouch the pictures without losing any details. You can use any photo editing tools like Adobe Lightroom, Adobe Photoshop, or any other photo editing tools to retouch your images. It helps to fix the color balance, tweaking exposures, etc.
You can even alter your image composition by cropping the image in the post processing stage.
You can even convert these images into fine art photographs with high end retouching, which can be put for sale.
TIP #4: Proper Photo Composition
Just clicking forest frames will not help to create beautiful images. It would be best if you learned to compose these scenes.
There are different image composition techniques that you can use for forest photography, which include the rule of thirds, golden ratio, etc. Try to make use of these composition techniques.
TIP #5: Get your Pictures Reviewed
You can send your pictures to experts in this field and get it reviewed. It will help to improve your shots next time. As you know, photography is a continuous learning process. You need to learn from your mistakes.
TIP #6: Explore the Forest
To capture the best frames, you must explore and observe the different sections of the forest.
Each section of the forest will be unique. So, photographic beauty will different for each of these areas. So, exploring and identifying such areas must be your priority.
TIP #7: Find the Best Photography Angle
You must develop a vision to find the best photography angle inside the forest. This angle will change for different patches inside the forest. It will also depend on the time of the day.
The sunrays falling inside the forest will differ at different times, so is the angle of photography. Try to shoot from the best possible angle.
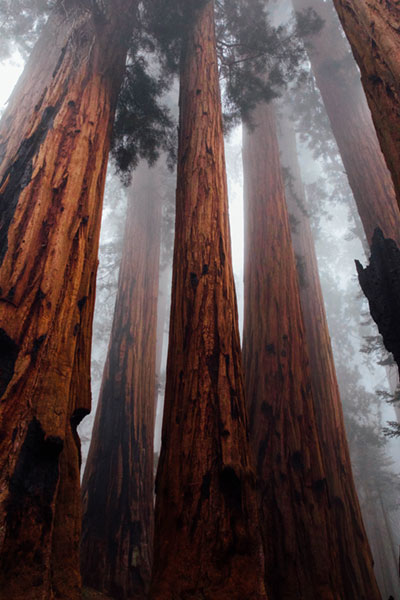
TIP #8: Worst Weather can create the Best frame
I always believe in this statement, “worst weather can create the best frame.” You will get something unique in your scene in worst weather conditions like during fog or mist.
So, don’t keep your camera inside the camera bag during adverse weather conditions. Try to capture some good photography frames during such times, within your safety limit.
TIP #9: Telephoto Length helps at times
A wide angle frame may not bring the beauty of the scene all the time. Sometimes, a telephoto length can help you capture the beauty of the scene with more details. So, carry a telephoto lens also with you.
TIP #10: Experiment with Shutter Speed & Aperture
Try composing pictures with different shutter speeds and aperture combinations. It will help you to learn the effect of these combinations in a forest scene. You may end up capturing some spectacular frames.
TIP #11: Portrait vs Landscape Orientation
Most of the photographers will be capturing forest pictures in landscape orientation. From my experience, certain images look good when captured in portrait orientation than in landscape orientation. So, try both portrait and landscape orientation to see for yourself.
Conclusion
So, now you know everything about forest photography. So, make use of this forest photography guide for your next forest photoshoot.
I recommend researching online about the forest you are going to visit first. It will give you a better idea about what to expect in that forest. You can also read the experience of other people who have been into this forest. These things will help you to prepare and plan your trip better.